So, you want to add a file uploader to your website. Whether you’re a freelancer working on your own project, a developer updating a client’s site, or a template designer charged with enabling website uploads, Uploadcare Image Uploader provides unmatched functionality and can be effortlessly added in a matter of minutes. Let’s see how it works!
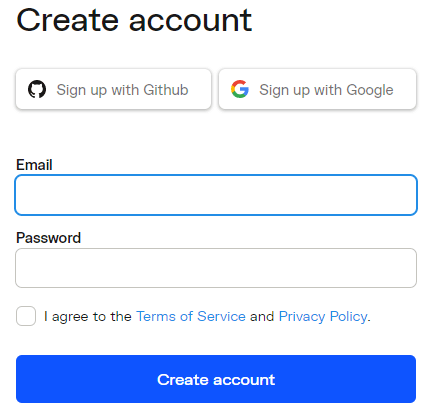
To get started, you only need to sign up. We recommend getting a free trial — you’ll have a whole week to explore Uploadcare’s capabilities and experiment with the code if you like to tinker. Simply create an account or sign up using your Google or GitHub credentials:
 Uploadcare sign up screen
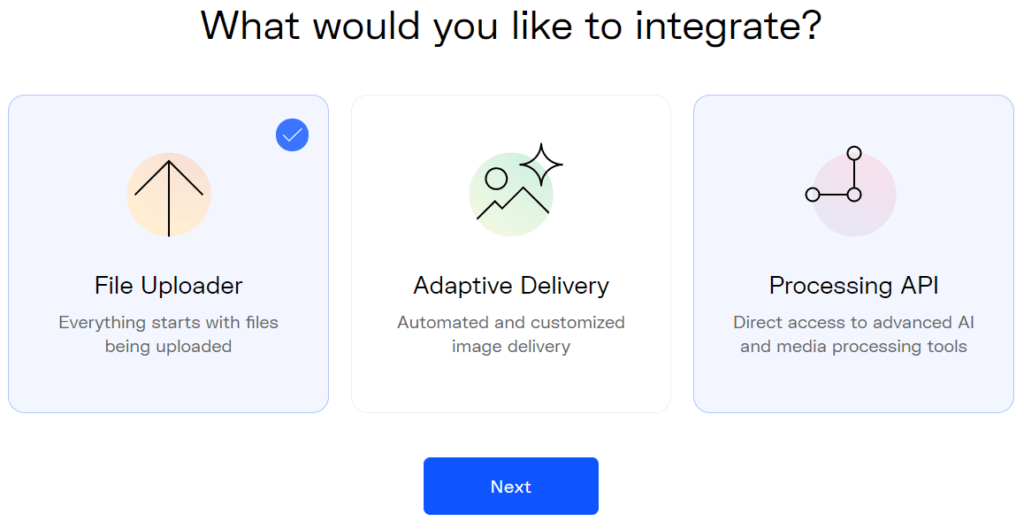
After providing some basic details about yourself, you will immediately get to your dashboard where you can create and manage your projects. Create a project, and choose the file uploader option to begin:
 Uploadcare integration choice screen
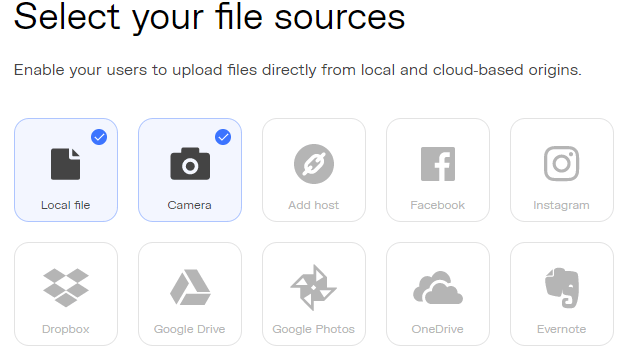
Uploadcare will then ask you to choose the color of the “Upload” button and customize its functionality by selecting the file sources to be used. Besides a device’s local storage and camera, Uploadcare can allow users to import files from Facebook, Instagram, Dropbox, Google Drive, Evernote, and more:
 Uploadcare file source selection screen
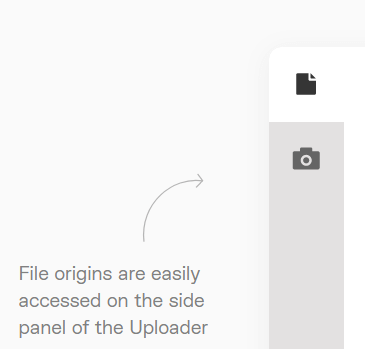
The same choice will be also available for your website users, who will be able to select their preferred file origins on the side panel of the Uploader:
 File origins are easily found
If you just want a simple web uploader, Uploadcare will adjust the settings accordingly, but there’s always the option to change the preferences if needed. Now it’s time to integrate the Uploader into your website. First, you’ll need to install the Uploadcare library. Simply copy and paste this code snippet into the <head> tag:
<script>UPLOADCARE_PUBLIC_KEY = 'fe4390c763035b34c80f';</script>
<script src="https://ucarecdn.com/libs/widget/3.x/uploadcare.full.min.js"></script>
As you can see in the code snippet, there’s something called UPLOADCARE_PUBLIC_KEY, followed by a string of symbols. This is the application programming key, also known as the API key, a unique identifier of your project. Uploadcare will use it to both uniquely identify your project and to authenticate requests to it. The value of UPLOADCARE_PUBLIC_KEY is generated automatically once you create a new project. You can also use secret keys when working with more advanced features such as Video Processing or Document Conversion.
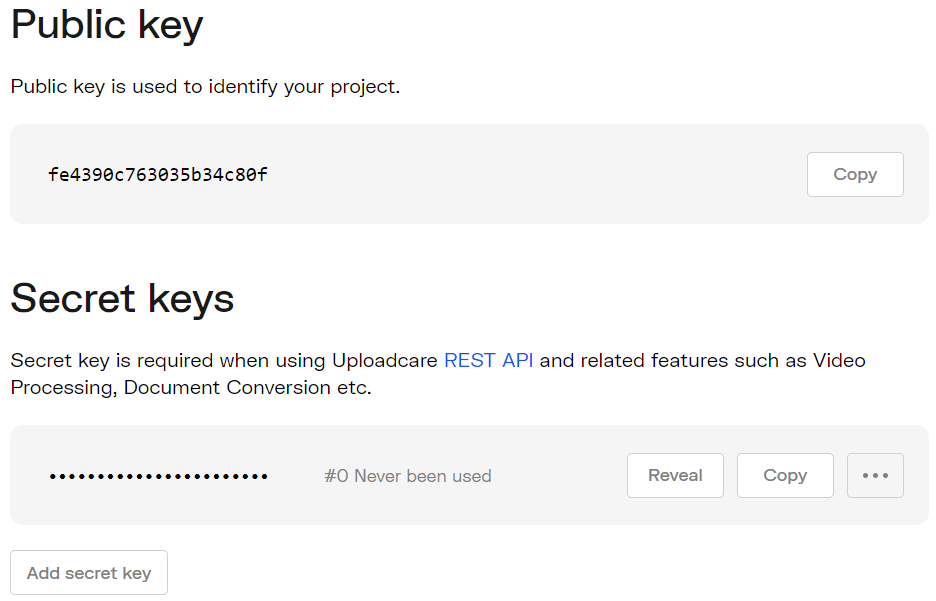 Uploadcare API Keys Screen
We don’t need to get technical here — there’s no point in discussing extensively what an API is and does, so let’s move on to the next step: integrating the Uploader.
Having installed the library, we now have access to all of Uploadcare’s functionality. Now it’s time to integrate the actual file uploader to your website. Again, to do this, simply copy and paste the following code snippet into the <head> tag:
<style>
  .uploader-button .uploadcare-widget__button_type_open {
    background-color: #47d176;
  }
</style>

<script>
  UPLOADCARE_LOCALE_TRANSLATIONS = {
    buttons: {
      choose: {
        files: {
          one: 'Upload image'
        }
      }
    }
  }
</script>
Now for the final touch: the third and last code snippet to add the actual upload button. Once again, simply copy it and paste it wherever you’d like to see the Uploader on your page:
<span class="uploader-button">
  <input
    type="hidden"
    role="uploadcare-uploader"
    data-tabs="file camera" />
</span>
It’s also worth looking at the data-tabs attribute: in the snippet above, its value is “file camera,” which means that the users will only be able to upload files from their local storage or from the built-in camera on their devices.
Depending on your preferences, you can also include major social media platforms like Facebook or Instagram, or clouds like Dropbox or Evernote. Choose as many file sources as you like when creating a new project, or simply click the Integration tab on your dashboard, and then push the blue button to open and change the settings.
 Uploadcare File Uploader customization screen
When you click the Customize Uploader button, you’ll get to the File Uploader Configurator, an interface that helps you adjust the look and configure the features of your uploader in real time. You can change the preferred file origins and language settings, and allow your users to upload multiple files at once. You can also add a preview stage to make it possible for users to see their images before actually uploading them, and give them the option of removing the uploaded files.
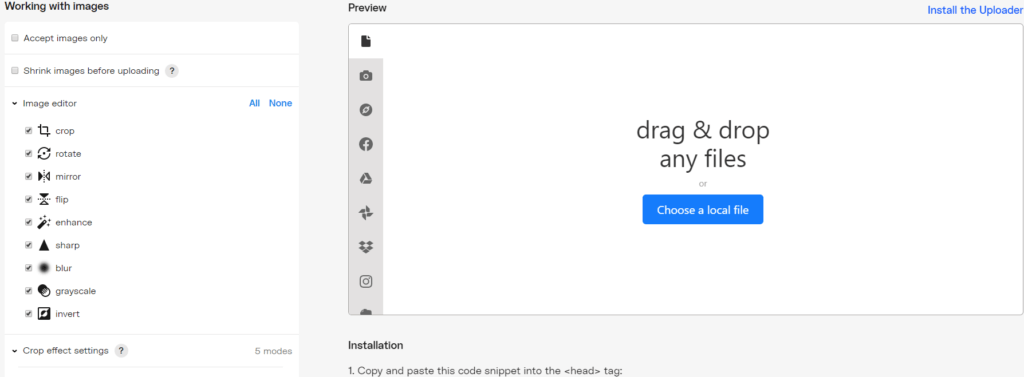 Uploadcare web uploader configurator
Plus, it’s possible to let your users shrink their images before uploading, and provide them with a variety of other editing options. Uploadcare supports as many as 9 image transformations, allowing users to crop, rotate, mirror, flip, enhance, sharp, blur, grayscale, or invert an image.
Finally, on top of that come five cropping effects that you can let your users implement. You can preview all these changes in the Configurator, which will also automatically generate the relevant code snippets to be pasted into the HTML code of your website.
Just four steps — a couple of minutes is all it takes. However, you may want to dig deeper and explore some of the more advanced features of Uploadcare. Check out our extensive library of integration methods: a dozen API clients, plugins for WordPress, Redactor, Netlify CMS as well as third-party integrations.