TinyMCE Native Integration for Serverless File Uploads
TinyMCE is a leading WYSIWYG editor that powers 100M sites on the web. TinyMCE provides a native integration to Uploadcare via its Media Optimizer feature.
Every image uploaded via Media Optimizer is instantly cached on our CDN and swiftly and reliably delivered across 130+ countries. This improves front-end performance for your app users, and cuts down development time. With Media Optimizer, developers don’t have to waste time writing code for image configuration and responsiveness. It’s built in!
This guide covers configuring the Media Optimizer widget in the latest version of TinyMCE.
You can see a demo of TinyMCE’s Media Optimizer, as well as advanced configuration instructions, here.

Get a TinyMCE Account
To use Media Optimizer in TinyMCE, you will need a TinyMCE subscription that includes the feature. Contact the TinyMCE sales team to set up an account with Media Optimizer access. Your subscription will include an Uploadcare account*, and access to a separate Uploadcare admin portal.
While it’s currently only available through sales-assisted subscriptions, Media Optimizer will be available to TinyMCE self-service customers in 2025.
* If you already have an Uploadcare account, the TinyMCE sales team can help you connect that account to your TinyMCE account.
Find your API Keys
Uploadcare API
Once you have access to your Uploadcare Dashboard, create a new project or select an existing one that you want to use with TinyMCE.
Find the Public API Key for your selected project.
TinyMCE API
To find your TinyMCE API key, log in to your TinyMCE customer portal.
Then click Integrate TinyMCE to find your TinyMCE API key.
Prepare Your TinyMCE Installation
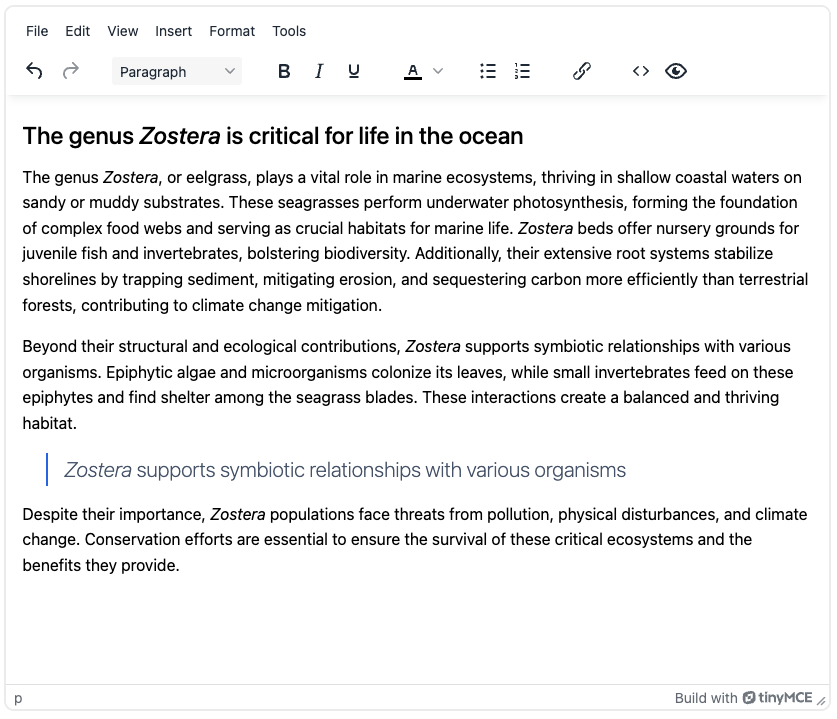
To install a basic TinyMCE setup in your application, update your index.html file with the following code:
If you’re up to learning more, check out the Tiny Quick Start.
Configure Media Optimizer
Now let’s configure Uploadcare for TinyMCE. The code below is required to activate the Media Optimizer plugin:
Make sure to replace YOUR_PUBLIC_KEY in the above snippet with your Uploadcare Public API Key.
Your complete TinyMCE code snippet should now read:
Save your page and open it in your browser. Now you can save images directly from TinyMCE into your Uploadcare account!
The Media Optimizer feature works with Uploadcare to automatically compress images and generate responsive versions suitable for any display and needed resolution. Once it’s integrated with TinyMCE, it will look like this:

Conclusion
Good job, you’ve just enabled serverless image uploading and optimization in your TinyMCE editor 🙂
Now your users can quickly drag and drop images from their local files or import from a URL, and immediately adjust the pictures to fit their needs. With Media Optimizer, over a dozen image enhancement tools are already available to users, along with their image which is cached in our CDN upon upload. No need to write code for responsiveness or compression. It’s that easy!
For further reading, take a look at:
- TinyMCE Media Optimizer documentation
- Other Uploadcare integrations