When building applications, there might be situations where you’d want to extract colors from images and use them in your application.
For example, you could create a color palette based on the colors in a photo, filter products by color on an e-commerce website,
or even allow users to search for images by color.
In this article, we’ll cover what color recognition means and how it works,
as well as how you can use the Uploadcare image processing API
to extract dominant colors from images using its color recognition feature.
What is color recognition, and how does it work?
Color Recognition is one of the built-in image processing operations in Uploadcare.
This feature analyzes the image, automatically extracts the most prominent colors from it,
and returns an array of 8-bit RGB values specific to those colors.
The entire setup takes just a few minutes, saving you a bunch of time.
The feature allows you to specify the number of colors you’d like to extract.
If not specified, it will return the four main colors by default.
Images uploaded to the Uploadcare image CDN can be processed using the Color Recognition feature.
The feature works with all common image formats, including AVIF, JPEG, WebP, and PNG.
Sounds nice, but how can it be used in practice? Let’s take a look at the most common use cases.
Color recognition use cases
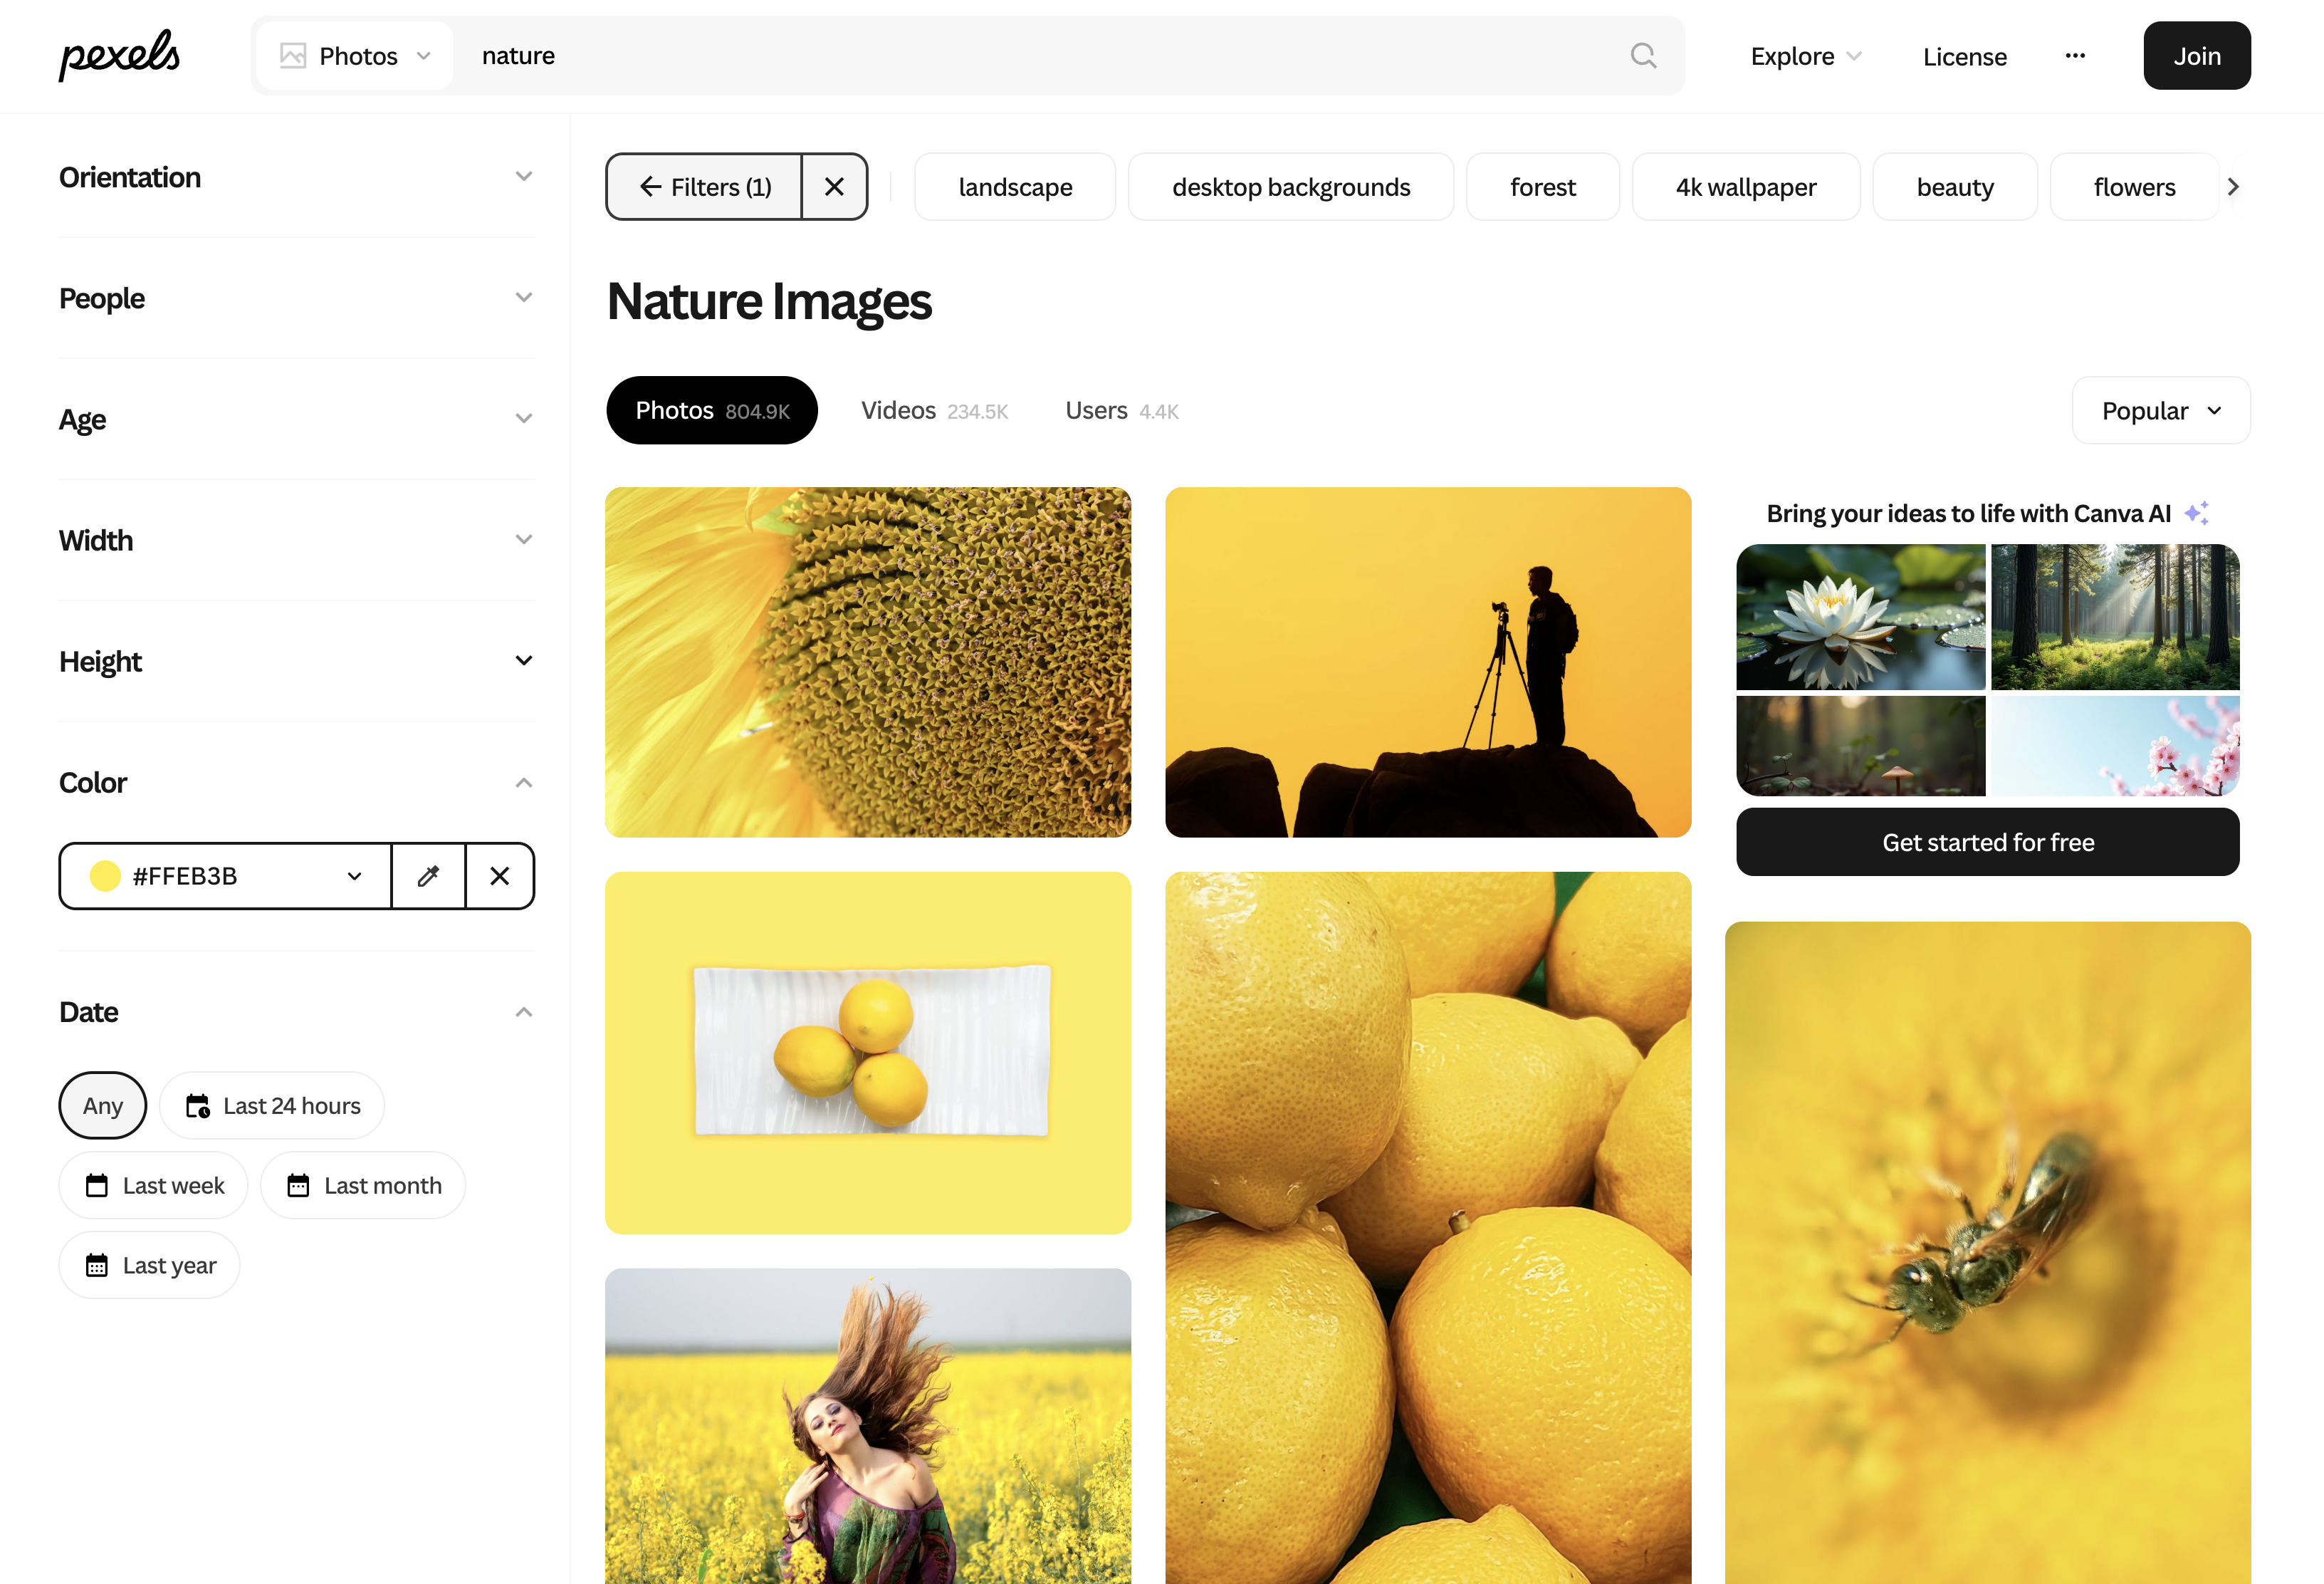
Building image-based palettes for website design
Color palettes are usually manually created by designers to define a color theme and harmonize visuals, but that can be time-consuming.
You can skip this step by picking colors from photos you intend to use on your website or from any other reference image.
Palette extracted from image
Filtering products on e-commerce websites
Sometimes people shop without purpose, and sometimes they know exactly what they want.
In the latter case, filtering by color would save a ton of time and noticeably improve the user experience on your website.
You can use the Color Recognition feature to identify one dominant color in a photo,
letting you build your filtering system much faster.
An excellent feature for people who know what they want.
Given that not all websites have this option, the filter can become a competitive advantage.
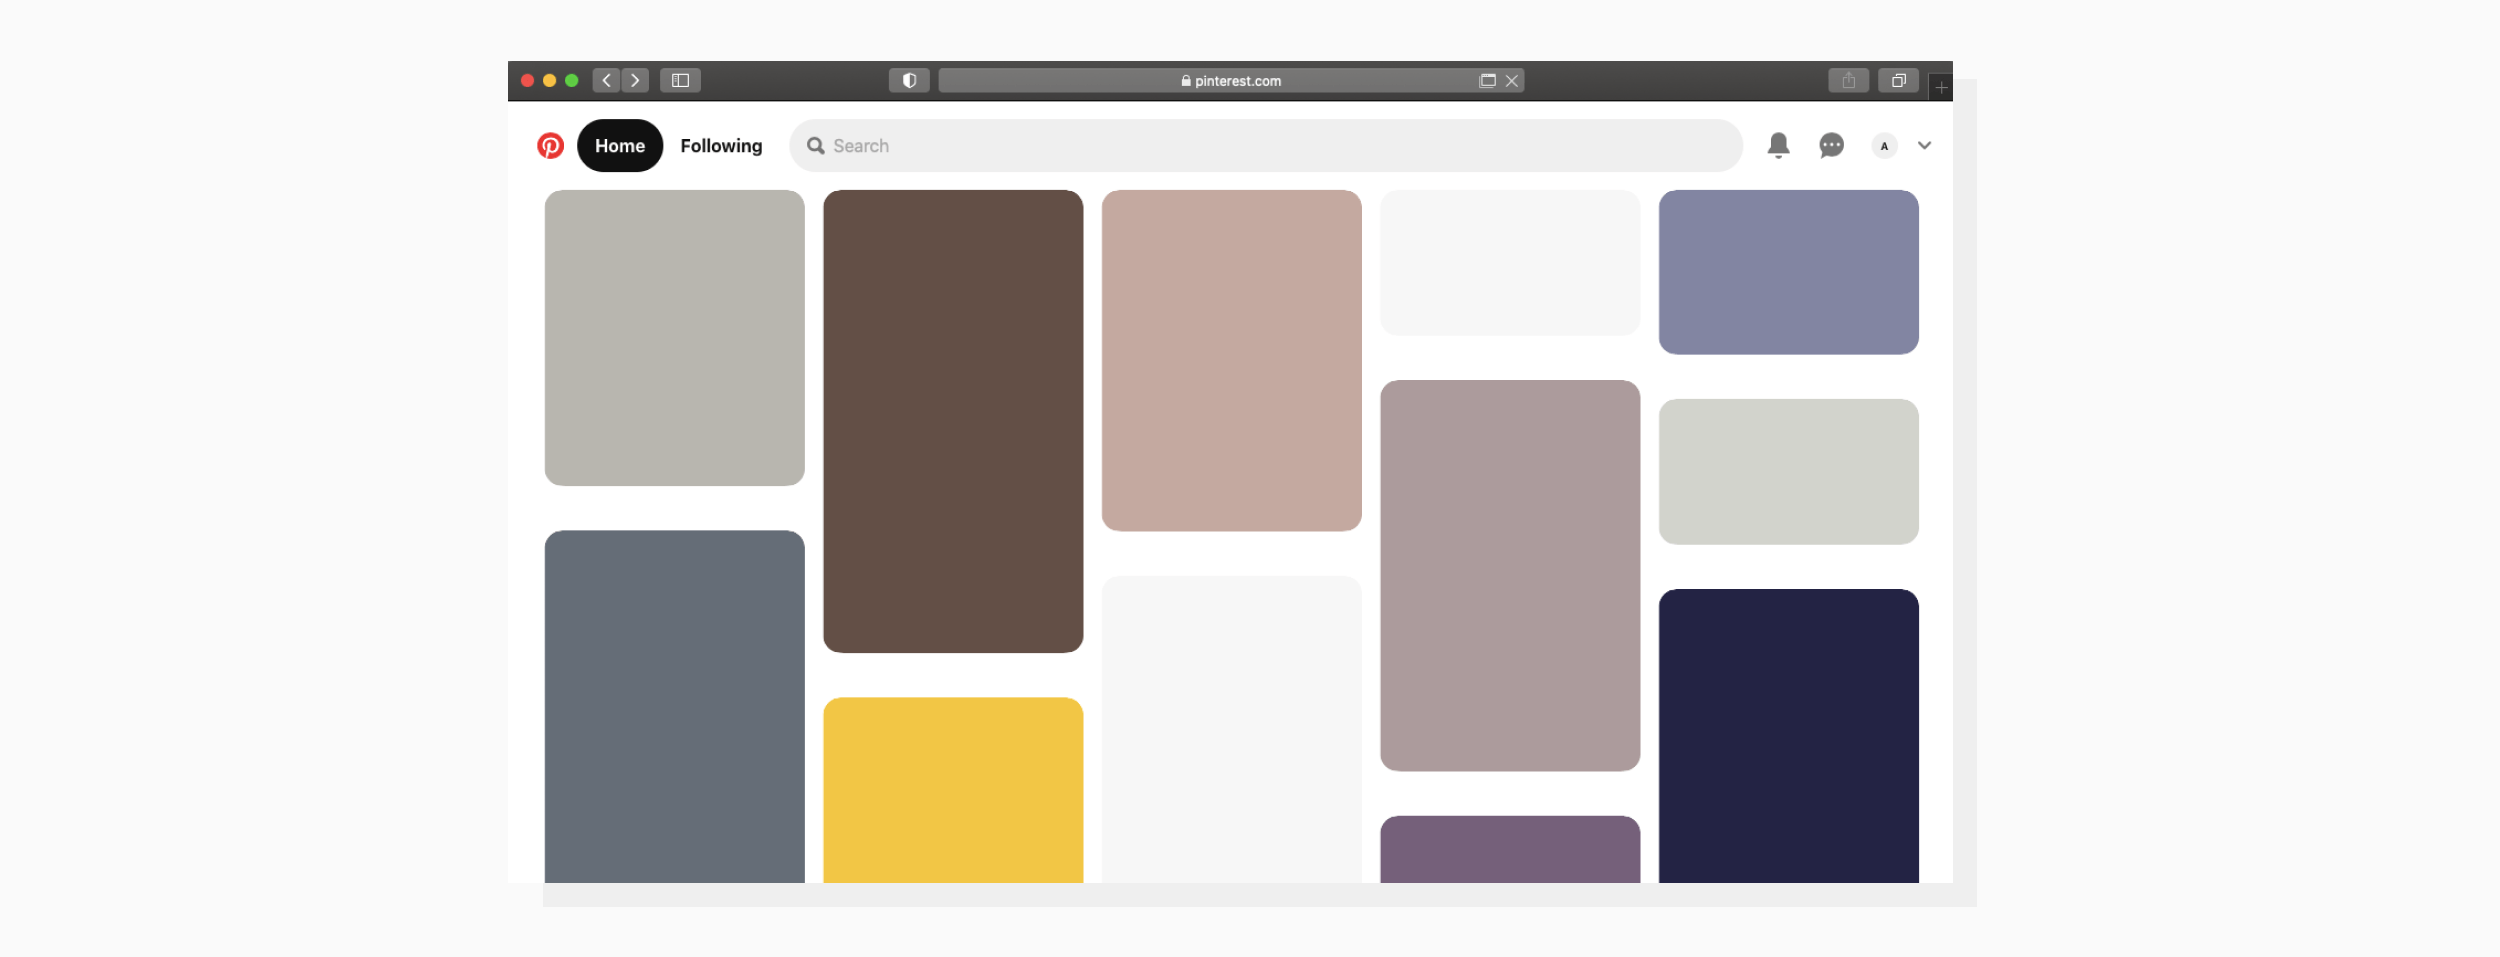
Color search on image-based platforms
Color Recognition can be a great help for image-based platforms where users look for design inspiration or search for images,
such as Pinterest, Unsplash, Pexels, and others. This would allow users who know the color palette they are looking for
to find exactly what they need much faster.
What would you choose: a photo stock with color search or without?
If your website features an extensive visual database, adding a filtering option can really make things easier for your users!
It’ll help them quickly find what they’re looking for, making their experience much more enjoyable.
Keeping a content management system in order
Whether you run an online store, a large online publication, or a corporate website,
chances are your CMS stores an extensive collection of unstructured images.
Using Color Recognition, you can automatically build a script to sort those images by color (if that makes sense for you).
Also, you might want to use Object and Face recognition
to make your system more intelligent and provide another degree of fine-tuning for your filter results.
These are also features you can find in Uploadcare.
Creating placeholders automatically
If the user’s internet connection is slow, it can take a while for images to load.
Instead of displaying whitespace or a loading circle, you can use nice-looking placeholders
that are the same dominant color as the images behind them.
Looks better than a blank page, right?
You can use the Color Recognition feature to build a script that generates placeholders automatically.
Other creative applications (you tell us!)
Color Recognition is a feature that automatically extracts colors from images.
It can be used in a variety of ways — your imagination is the only limit.
It can be useful in applications for artists, services for home decoration or event planning, apps for colorblind people, etc.
Have a great idea, or innovatively used Color Recognition? Contact us — we’d love to hear about it!
Example implementation with Uploadcare
Using Uploadcare’s image processing API,
you can return a list of up to 16 of the most prominent colors in an image,
making it easy to group similarly colored images together and perform actions according to the color palette.
Behind the scenes, the color recognition feature uses the K-means color image quantization algorithm
to analyze the image and extract the most relevant colors.
This allows you to create a more visually appealing and cohesive design in your applications by just calling the URL of the image.
For example, have a look at this image:
Colorful image
To extract the dominant colors from this image, you can use the following URL transformation:
The number 5 in this example specifies the number of dominant colors to return.
You can change it to any number between 1 and 16 to increase the number of colors in the response.
You’ll receive a JSON response with a main_colors section:
Color recognition can be a handy tool in your image processing toolkit.
It can help you create color palettes, filter products, improve the user experience, and much more.
Uploadcare also offers additional image processing features that can complement color recognition,
including object detection, face recognition, and smart crop.
By combining these capabilities, you can create even more complex solutions that cater to your users’ needs.
Ready to get started?
Join developers who use Uploadcare to build file handling quickly and reliably.
Trust Jamin Okpukoro is a Developer Advocate and Senior Technical Writer with a strong background in software engineering, community building, video creation, and public speaking. Over the past few years, he has consistently enhanced developer experiences across various tech products by creating impactful technical content and leading strategic initiatives. His work has helped increase product awareness, drive user engagement, boost sales, and position companies as thought leaders within their industries.

.png)
.png)