How to upload files using AJAX: Build a JavaScript AJAX file upload script
Last edited:
In this article, we will cover how to use the XMLHttpRequest JavaScript object
to send files to a server without executing a page reload.
You will learn how to build a file uploader form, handle file submission, initiate a send request, and handle uploads on the server side.
Also, we will see how, with just a few lines of code, you can implement a full file uploading solution with Uploadcare.
Ways of implementing AJAX file uploaders
This article contains two methods of implementing an AJAX file uploader.
- Using JavaScript and PHP
- Using Uploadcare to create an automated AJAX uploader
The first method includes writing some server-side PHP code and some JS scripts, while the second one includes just simple HTML instructions.
The complexity of these solutions ranges from one page of code to just a few lines, respectively.
Prerequisites for AJAX file uploading
To follow along with this tutorial, you need the following:
- A web development environment set up on your computer that includes a server (Apache or Nginx) with PHP support.
- A code editor or IDE of your choice, like Visual Studio Code.
The difficulty is moderately easy, and this article is aimed to assist anyone, such as beginner developers or those who want to optimize their processes.
Step-by-step: Creating an AJAX file uploader with JS and PHP
This path involves the following steps:
- Creating an HTML form
- Creating an AJAX script (
XMLHttpRequestobject and handlers) - Setting up a server-side PHP script to accept data from AJAX requests
- Testing in a browser
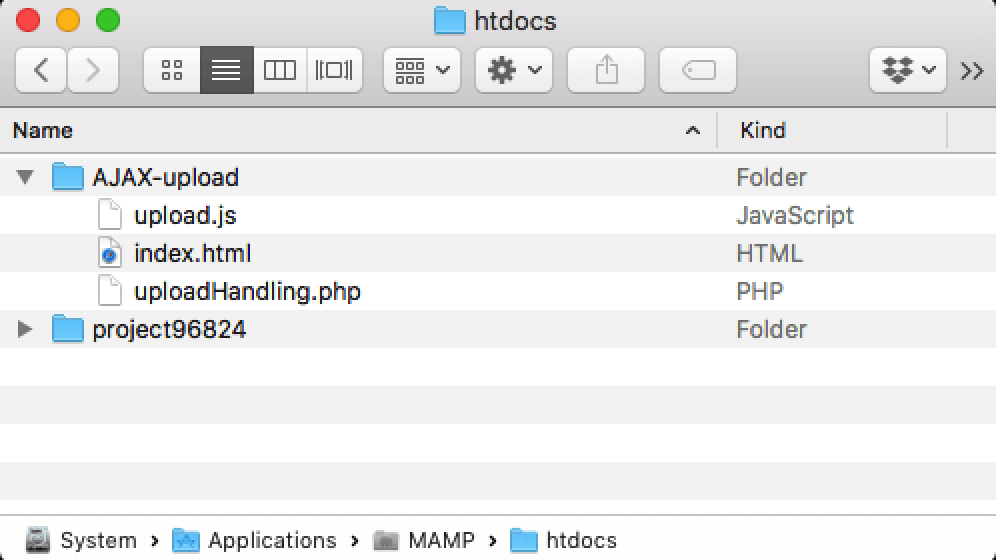 Local htdocs folder for AJAX file uploader
Step 1. Creating an HTML form
Create a new directory for the project (e.g., AJAX-upload) in your website’s root directory
(usually it’ll be something like public_html, htdocs, or www), and then create a new index.html file there.
Inside the directory, paste the following file-upload code into your newly created file.
This is an HTML form with a file select input and a submit button:
<!DOCTYPE html>
<html>
<head>
  <meta charset="UTF-8" />
  <title>AJAX Uploading</title>
</head>
<body>
  <form id="formAjax" action="uploadHandling.php" method="POST">
    <input type="file" id="fileAjax" name="fileAjax" />
    <br /><br />
    <input type="submit" id="submit" name="submit" value="Upload" />
  </form>
  <p id="status"></p>
  <script type="text/javascript" src="upload.js"></script>
</body>
</html>
The action form points to a PHP script that processes the file for uploading.
The method of sending data to a server is POST.
In this form, we don’t need to specify the enctype attribute, because it’s only required for text input management
(e.g., replacing blank spaces with ‘+’ symbols before sending the string via POST to the server).
Also, we need to set an id for the input fields, because we’ll refer to this in our AJAX script.
Even though we’re pointing the form’s action to the PHP script,
we’ll also create a JavaScript that will intercept form submissions and provide asynchronous feedback.
Step 2. Creating an AJAX script
Create an upload.js file in your AJAX-test project’s folder. Copy and paste this code:
const myForm = document.getElementById('formAjax');
const myFile = document.getElementById('fileAjax');
const statusP = document.getElementById('status');

myForm.onsubmit = function(event) {
  event.preventDefault();

  statusP.innerHTML = 'Uploading...';

  // Get the files from the form input
  const files = myFile.files;

  // Create a FormData object
  const formData = new FormData();

  // Select only the first file from the input array
  const file = files[0];

  // Add the file to the AJAX request
  formData.append('fileAjax', file, file.name);

  // Set up the request
  const xhr = new XMLHttpRequest();

  // Open the connection
  xhr.open('POST', '/uploadHandling.php', true);

  // Set up a handler for when the task for the request is complete
  xhr.onload = function () {
    if (xhr.status === 200) {
      statusP.innerHTML = 'Upload complete!';
    } else {
      statusP.innerHTML = 'Upload error. Try again.';
    }
  };

  // Send the data.
  xhr.send(formData);
}
The script starts by saving all the form elements and statuses into the respective variables using this DOM’s method: .getElementById(name).
It then adds the .onsubmit event handler, which is the main function in this script,
since it waits for a user to submit the form.
Next, it defines a form object and sets up an AJAX request with the new XMLHttpRequest() object,
and opens a POST connection to uploadHandling.php. The backend script will take care of further file processing.
It then sets up an .onload event listener for the xhr object to notify the user on the HTML page about the outcome.
Status 200 means that everything is OK.
We then make a POST request to uploadHandling.php. And yes, we must still process the file on the backend,
to which the AJAX request submits the file for processing.
Step 3. Setting up a server PHP script to accept data from the AJAX request
Using the uploadHandling.php script as a server-side solution for this AJAX file uploader, add the following code.
$currentDir = getcwd();
$uploadDirectory = 'uploads/';

if (!empty($_FILES['fileAjax'] ?? null)) {
  $fileName = $_FILES['fileAjax']['name'];
  $fileTmpName = $_FILES['fileAjax']['tmp_name'];

  $uploadPath = $currentDir . $uploadDirectory . basename($fileName);

  if (isset($fileName)) {
    $didUpload = move_uploaded_file($fileTmpName, $uploadPath);

    if ($didUpload) {
      echo 'The file ' . basename($fileName) . ' has been uploaded.';
    } else {
      echo 'An error occurred while uploading. Try again.';
    }
  }
}
This script executes a pretty straightforward process of handling uploaded files and putting them into the upload folder that you’ll specify at the beginning of the script. Feel free to edit the error messages that’ll be shown to the user.
Also, you may want to add file validation. For example, if you want to accept images only, you have to add a check like this:
$allowedFileExtensions = ['jpeg', 'jpg', 'png', 'gif'];

$fileType = $_FILES['fileAjax']['type'];
$fileExtension = strtolower(pathinfo($fileName, PATHINFO_EXTENSION));

if (! in_array($fileExtension, $allowedFileExtensions)) {
  echo 'JPEG, JPG, PNG and GIF images are only supported';
}
Step 4. Testing in a browser
It’s time to test our AJAX file uploader. Launch your index.html page in a web browser:
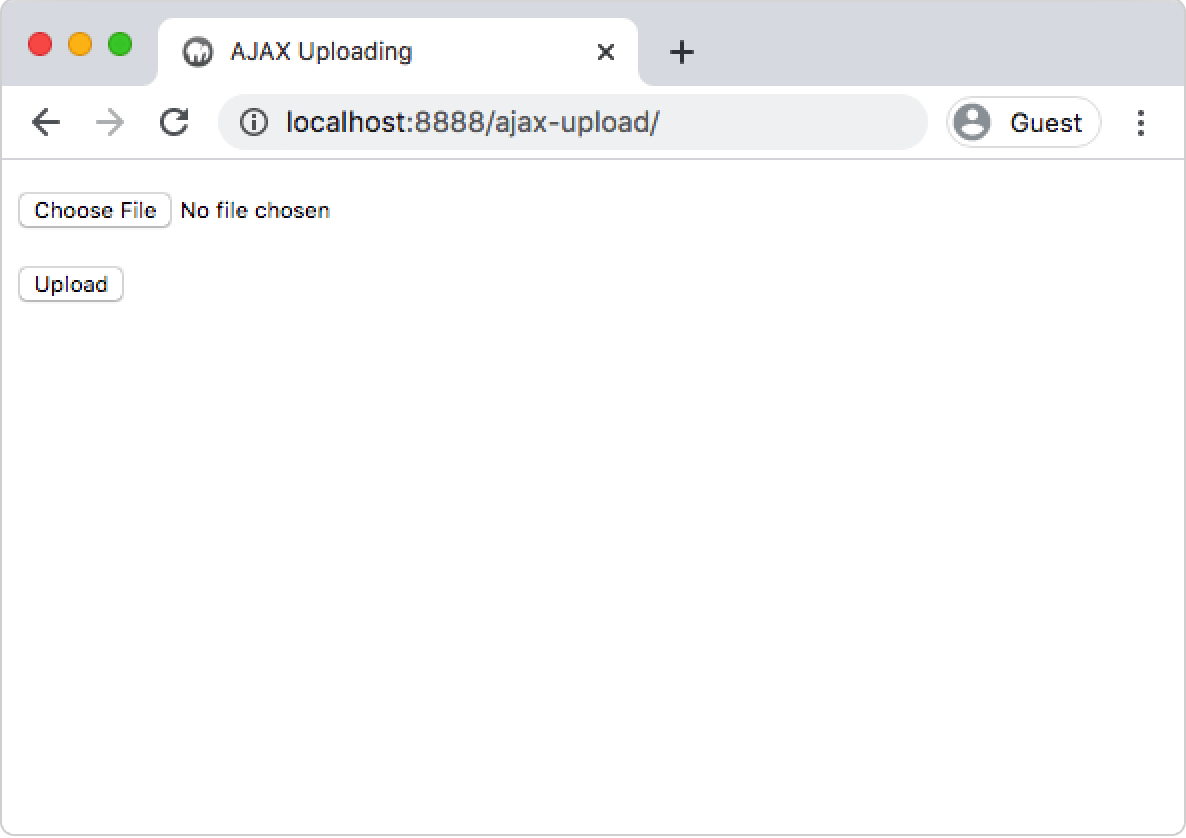 Local AJAX uploader preview
If everything works correctly, you can start adding more methods to validate the incoming files, such as a file size check, which can limit the uploaded files to a specific size. Other options include name length, some meta parameters, etc.
This article provides a very basic solution. If you want to use it in a real-world application, consider additional security measures.
You’re essentially allowing random web users to upload files directly to your server.
👉 Learn how to upload files in JavaScript
Upload files via AJAX automatically with Uploadcare
Uploadcare uses asynchronous uploading techniques, like in the scripts that we created earlier. However, you don’t need to bother with JS/PHP, because the service will take care of file uploading from start to finish. It offers the quickest, most optimal, and secure way of uploading files.
How to access Uploadcare
Install the Uploadcare File Uploader from the CDN by including this snippet within the <head> element of your HTML webpage:
<script type="module">
  import * as UC from 'https://cdn.jsdelivr.net/npm/@uploadcare/file-uploader@v1/web/file-uploader.min.js';
  UC.defineComponents(UC);
</script>
<!-- imports styles for the uploader -->
<link
  rel="stylesheet"
  href="https://cdn.jsdelivr.net/npm/@uploadcare/file-uploader@v1/web/uc-file-uploader-regular.min.css"
>
There is an NPM install option, as well. Type this in your command line, and the Uploadcare widget will be available to use:
npm install @uploadcare/file-uploaderYou can then import it into your project:
import * as UC from '@uploadcare/file-uploader';
import '@uploadcare/file-uploader/web/uc-file-uploader-regular.min.css';
UC.defineComponents(UC);
HTML file upload code
After the widget is available, you can use it in the body of your webpage. For example, in a form element, include the following code:
<uc-config
  ctx-name="my-uploader"
  pubkey="YOUR_PUBLIC_KEY"
></uc-config>

<uc-file-uploader-regular ctx-name="my-uploader"></uc-file-uploader-regular>
Where:
-
YOUR_PUBLIC_KEYis your Uploadcare Public Key from API Keys in your Uploadcare dashboard. -
<uc-config>is an element that configures the uploader. It uses thectx-nameattribute to identify the uploader and thepubkeyattribute to specify your Uploadcare Public Key. -
<uc-file-uploader-regular>is the uploader element. Thectx-nameattribute specifies the uploader to which the configuration applies.
When you open the page in the browser, you will see the File Uploader button with multiple options to upload files.
 Uploadcare File Uploader
Build your own AJAX uploader vs use Uploadcare: What’s best?
The scripts above are just the bare bones of the AJAX file uploading technology, so we urge you not to use them on real projects without major improvements.
Providing a reliable and convenient file loader on your website is not as simple as it might seem at first glance. Writing an AJAX script and customizing it for your needs requires PHP and JS knowledge; plus, you’ll need to take into account possible security issues and include defense mechanisms in the code. It might take weeks or months just to perfect this one feature for your business.
An out-of-the-box file uploader solution (like Uploadcare) is a great choice because it takes care of security, sustainability, etc. It works for small and medium businesses and enterprises by providing various feature sets and pricing models.
Sign up for free today and start uploading files in your applications securely.