How to upload files in Vue.js
Last edited:
In this tutorial, you will learn how to use Uploadcare File Uploader in a Vue.js 3 application, customize the File Uploader to fit your needs, and design and display optimized images in the application.
Prerequisites
Before you begin, you need:
- A free Uploadcare account
- Node.js installed on your computer
- Basic knowledge of JavaScript and Vue.js
Retrieve a Public API key
Head to your Uploadcare Project Dashboard -> API keys and copy the Public API key.
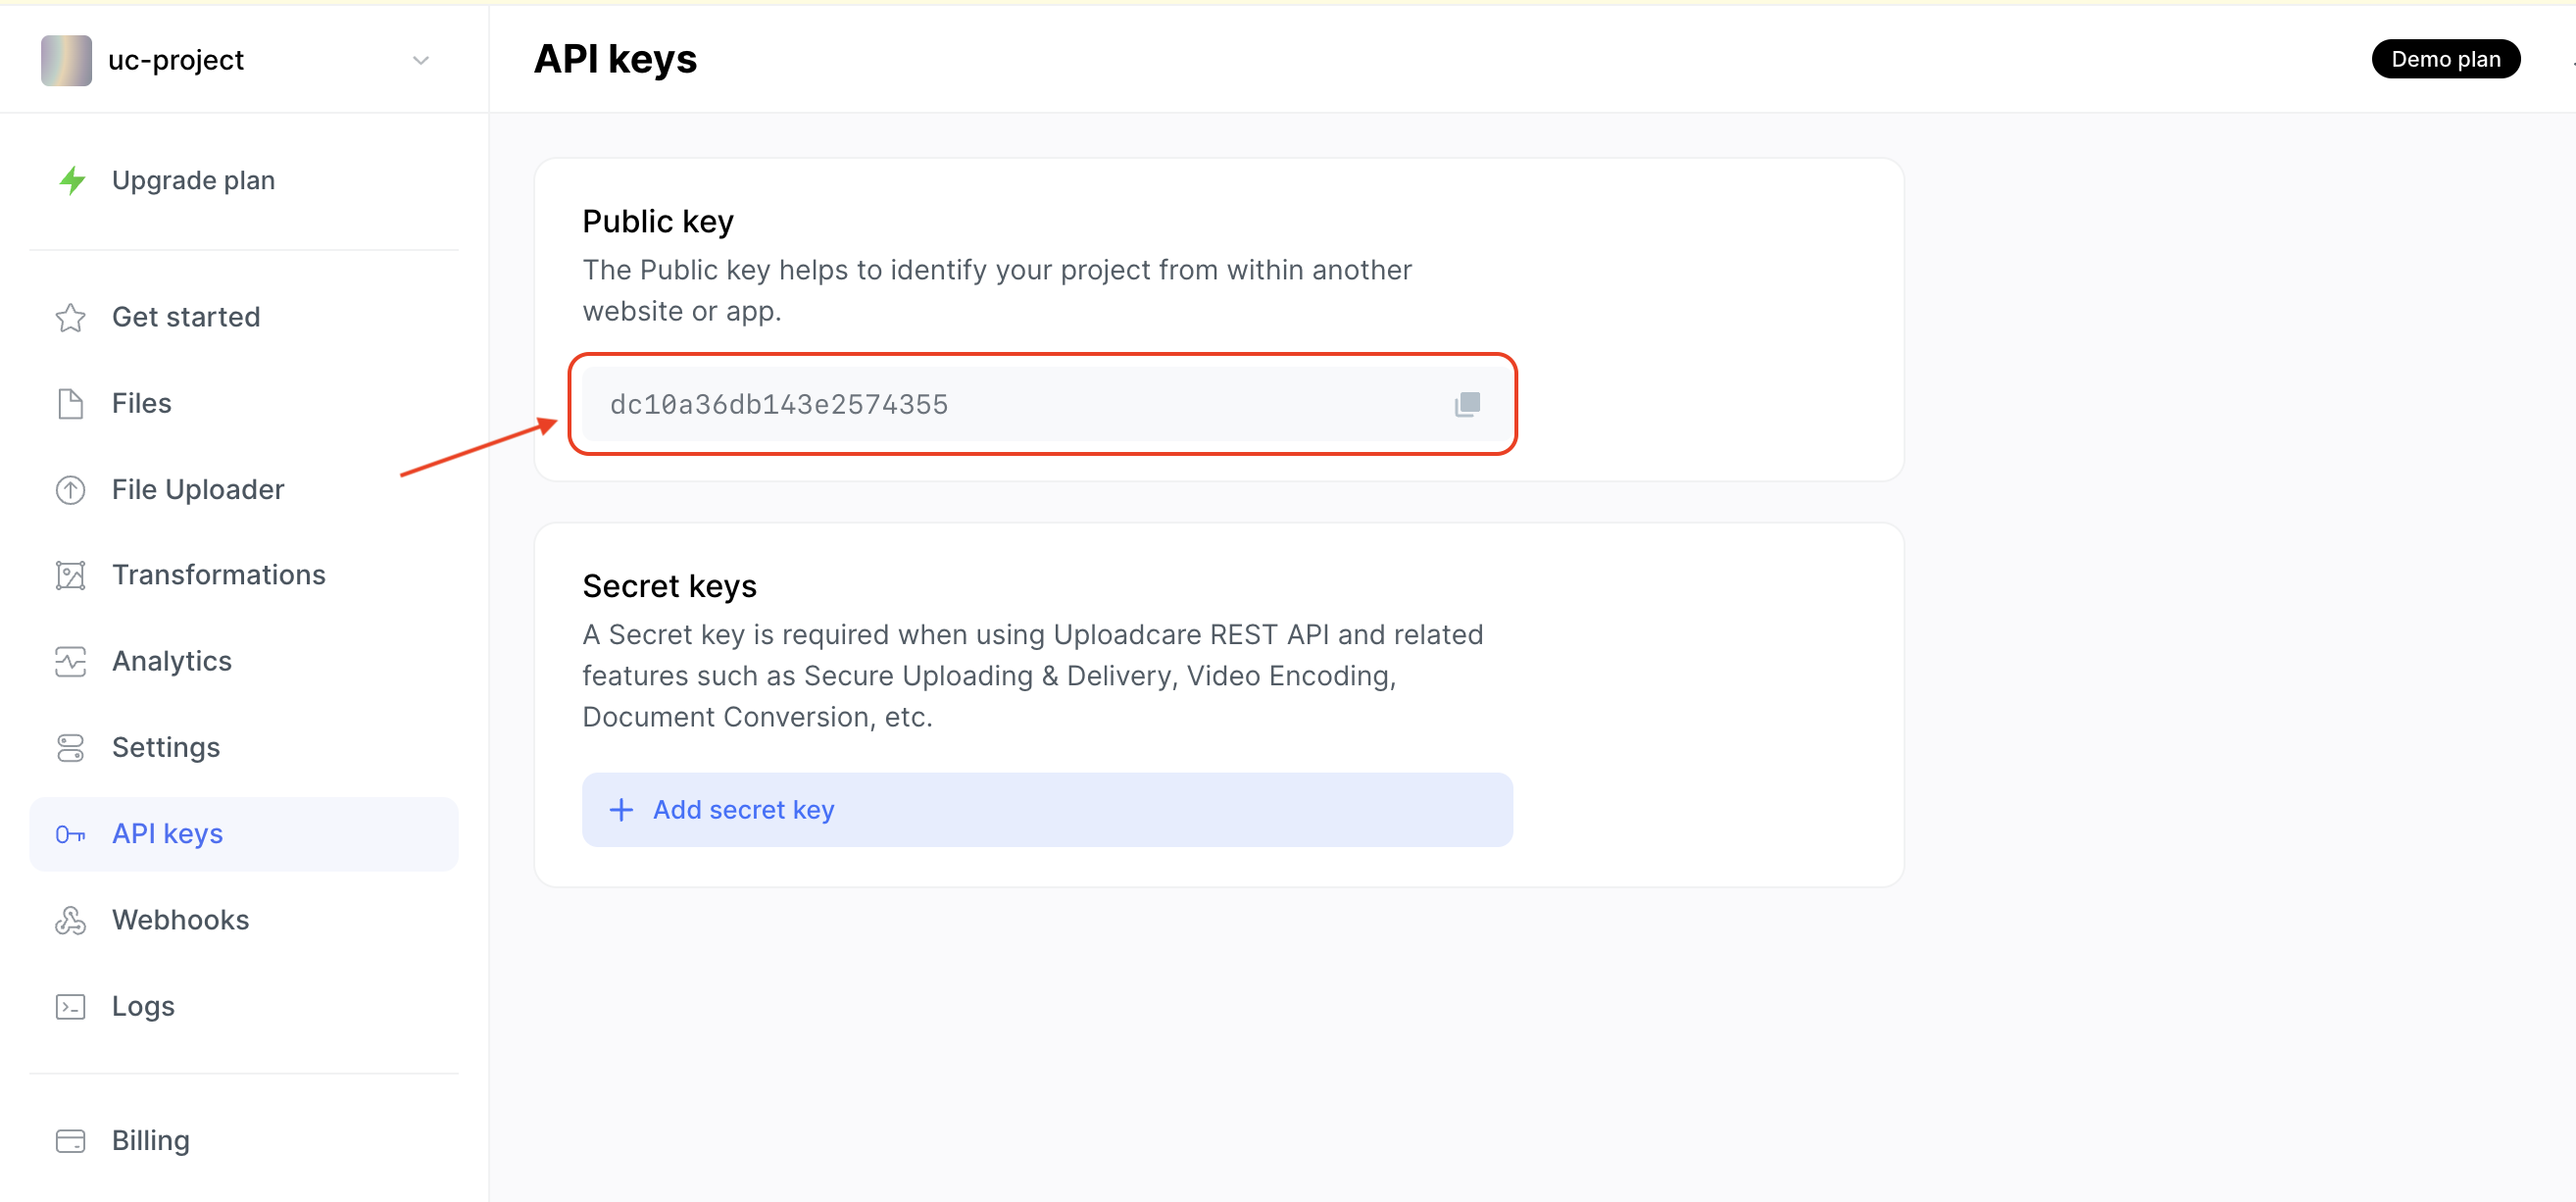 Uploadcare Public key
Create a Vue.js application
To create a new Vue.js application, run the following command in your terminal to install Vue.js:
npm create vue@latestDuring installation, when prompted, choose the following configurations:
During installation, when prompted, choose the following configurations:
✔ Project name: ... uc-vue
✔ Add TypeScript? ... No
✔ Add JSX Support? ... No
✔ Add Vue Router for Single Page Application development? ... No
✔ Add Pinia for state management? ... No
✔ Add Vitest for Unit Testing? ... No
✔ Add an End-to-End Testing Solution? > No
✔ Add ESLint for code quality? ... Yes
✔ Add Prettier for code formatting? ... Yes
✔ Add Vue DevTools 7 extension for debugging? (experimental) ... No
Next, navigate to the project directory and install all the required packages:
cd uc-vue
npm install
Install the File Uploader:
npm install @uploadcare/file-uploaderIn the root of the project, create a .env file and add the following environment variable:
VITE_UPLOADCARE_PUBLIC_KEY=YOUR_PUBLIC_KEYReplace YOUR_PUBLIC_KEY with your Public key from the Uploadcare dashboard.
Update the vite.config.js file to use Uploadcare’s custom uc tags in Vue.js components:
import { fileURLToPath, URL } from 'node:url';

import { defineConfig } from 'vite';
import vue from '@vitejs/plugin-vue';

export default defineConfig({
  plugins: [
    vue({
      template: {
        compilerOptions: {
          isCustomElement: (tag) => tag.startsWith('uc-'),
        },
      },
    }),
  ],
  resolve: {
    alias: {
      '@': fileURLToPath(new URL('./src', import.meta.url)),
    },
  },
});
To run the application, use the NPM command: npm run dev, and you should have the application running on http://localhost:5173/
Create a file uploader component
In the src/assets directory, remove the base.css and main.css files, as you do not need these styles for this tutorial, and update main.js imports:
import { createApp } from 'vue';
import App from './App.vue';

createApp(App).mount('#app');
Next, replace the content on the App.vue with the content:
<script setup>
import { ref } from 'vue';
import * as UC from '@uploadcare/file-uploader';
import '@uploadcare/file-uploader/web/uc-file-uploader-regular.min.css';

UC.defineComponents(UC);

const files = ref([]);
const ctxProviderRef = ref(null);

const handleChangeEvent = (e) => {
  if (e.detail) {
    files.value = e.detail.allEntries.filter(
      (file) => file.status === 'success',
    );
  }
};
const publicKey = import.meta.env.VITE_UPLOADCARE_PUBLIC_KEY;
</script>

<template>
  <h1>Hello from UC-Vue File Uploader</h1>
  <uc-config ctx-name="my-uploader" :pubkey="publicKey" />
  <uc-file-uploader-regular ctx-name="my-uploader" />
  <uc-upload-ctx-provider
    ctx-name="my-uploader"
    ref="ctxProviderRef"
    @change="handleChangeEvent"
  />
  <div>
    <div v-for="file in files" :key="file.cdnUrl">
      <img
        :src="file.cdnUrl"
        :alt="file.fileInfo.originalFilename"
        width="500"
      />
    </div>
  </div>
</template>
Let’s break down the code into bits for better understanding:
- First, import
UCfrom the@uploadcare/file-uploaderlibrary and it’s CSS. - Register the
UCcomponents withUC.defineComponents(UC). - Creates a reactive
filesstate using theref()function to store the uploaded data. - Creates a
handleChangeEventfunction to handle a@changeevent triggered when a file is uploaded, and its status issuccess. - Retrieve the Public key from the .env file and configure the file uploader using the
uc-configblock andpubkeywith a variable value. - Renders the file uploader with the
uc-file-uploader-regularblock and configures its actions using theuc-upload-ctx-providerblock. - Loops through the
filesstate and displays the files uploaded via thecdnUrlfield.
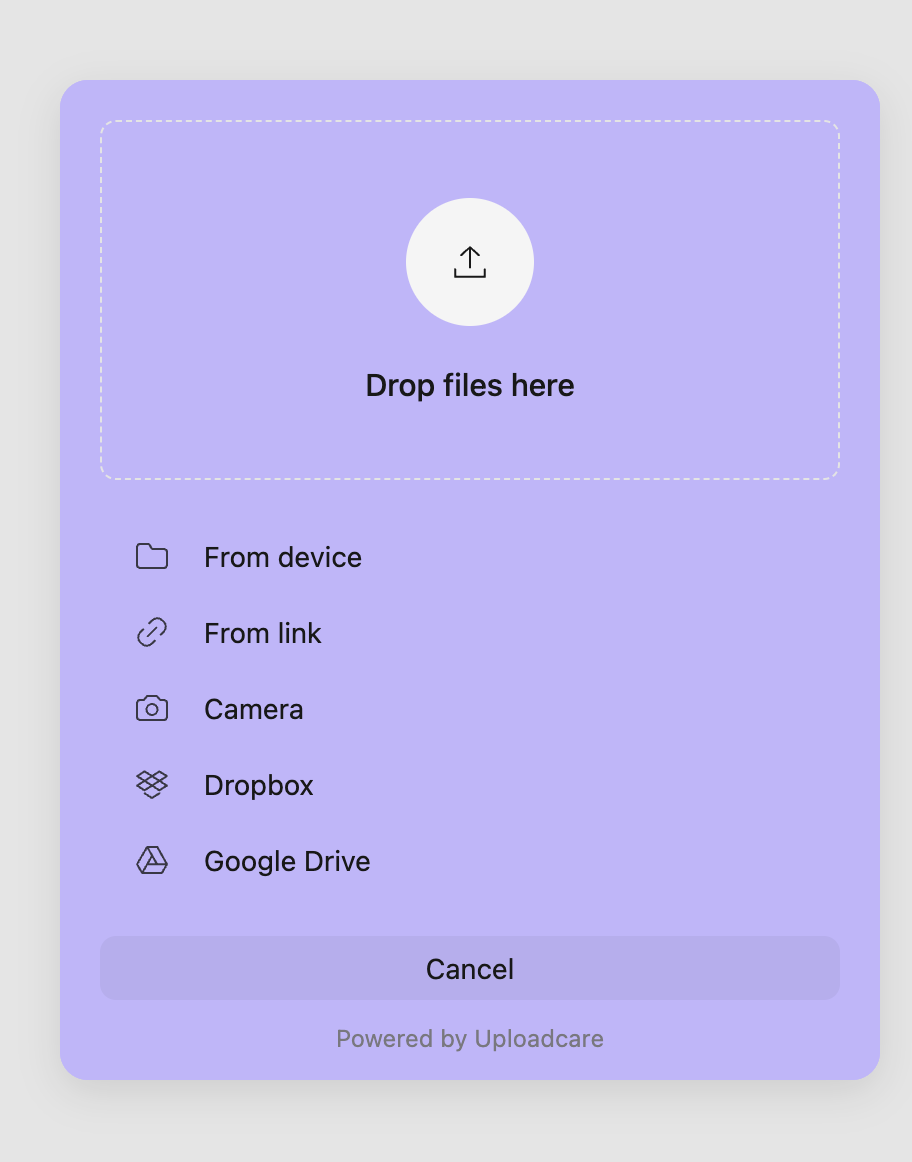
The File Uploader, by default, has a drag-and-drop feature and supports multiple file uploads.
Try uploading an image, and you should have the image uploaded and rendered in the browser.
 File Uploader component in Vue.js 3 application
Error handling
When a file upload error occurs, the File Uploader component emits a file-upload-failed event.
Let’s set the maximum file size a user can upload to the file uploader component using
the max-local-file-size-byte property to be 2 MB.
If a user tries to upload a file larger than 2 MB, the file upload will fail,
and the file-upload-failed event will be emitted.
In the component’s <template>, modify <uc-config> to set a file-upload-failed event handler:
<uc-config
  ctx-name="my-uploader"
  :pubkey="publicKey"
  max-local-file-size-bytes="2000000"
  @file-upload-failed={handleUploadFailed}
/>
Then create a handleUploadFailed function in the <script> of the component:
const handleUploadFailed = (e) => {
  console.log(e.detail.errors[0]);
};
Try uploading a file larger than 2 MB; you should see the error message in the browser console.
 File size exceeds the limit of 2 MB error
Transforming images on the fly
Uploadcare offers powerful transformation capabilities that allow you to optimize and manipulate images on the fly, such as smart resizing, cropping effects, and more. These transformations can help improve your application’s performance and visual appeal.
Transforming images in Uploadcare is done by appending transformation properties to the image URL. The general format for transforming images in Uploadcare is as follows:
https://{unique-subdomain}/.ucarecd.net//{fileUUID}/-/{transformProperty}/{value}/Where:
{unique-subdomain}is the unique subdomain for your Uploadcare project found in your Delivery settings.{fileUUID}is the unique identifier of the file.{transformProperty}is the transformation you want to apply to the image.{value}is the value of the transform property you want.
Let’s apply some transformations to the images uploaded in the previous steps of this tutorial.
In your App.vue file, update the files rendered to include the transformation properties:
<img
  :src="`${file.cdnUrl}-/preview/-/crop/face/200px200p/-/border_radius/50p/`"
  :alt="file.fileInfo.originalFilename"
  width="500"
/>
This applies a face crop value of 200p (percentage) by 200p and a border radius 50p to the image. For a list of all the possible transformations you can apply to images in Uploadcare, check out the Uploadcare transformation documentation.
 Transformed image using Uploadcare transformation
Customizing File Uploader component
The File Uploader component can be customized to match your design and requirements.
To customize it, apply a class to the uc-file-uploader-regular component and style using CSS.
<uc-file-uploader-regular ctx-name="my-uploader" class="file-uploader" />For example, to change the background color of the File Uploader in light mode, you can use Oklch color space value.
Inside the component, create a <style> section with the CSS code:
<style scoped>
.file-uploader {
  --uc-background-light: oklch(81% 0.1 291);
}
</style>
This will change the background color of the File Uploader component in light mode.
 Custom CSS applied to the File Uploader using oklch color space
For a list of all the possible customizations you can apply to the File Uploader component, check out the File Uploader styling documentation.
Conclusion
Using this tutorial, you have successfully implemented file upload functionality in a Vue.js application using the Uploadcare library. You’ve learned how to set up Uploadcare, create a file uploader component, handle file uploads, handle errors, and transform images on the fly.
Check out some more examples of how to use the Uploadcare File Uploader in Vue.js.
Uploadcare also provides more advanced features, such as image transformation, face-detection-based transformation, and smart cropping. These features can enhance the user experience by providing more dynamic and responsive image-handling capabilities.
To learn more about Uploadcare File Uploader in Vue.js, check out this step-by-step tutorial that explains how to build an image gallery using Uploadcare, JS Client SDK, and Nuxt.js.