How to optimize images in Astro: A step-by-step guide
Last edited:
Astro is an excellent JavaScript framework for building content-heavy websites. It can be used as a Static Site Generator (SSG) and for rendering server-side web pages. Optimizing images is important when building a content-heavy website, as it can help improve web performance and SEO and create a buttery-smooth user experience.
In this article, you’ll learn various ways to optimize images in your Astro applications, using Astro’s built-in components and third-party solutions like Uploadcare.
Why should you optimize your images at all?
In short, optimizing your images can help improve the following on your website:
-
Performance: When images are optimized, they load faster on webpages and improve your Core Web Vitals metrics. Faster image loading = faster page loads.
-
SEO: Google and other search engines prioritize speed and mobile-friendliness of websites when crawling for content. Optimizing your images means better search engine performance.
-
Better user experience: Optimized images can give users a smooth, snappy experience, increasing engagement and satisfaction. By serving images in the best format and size for their device, you can ensure they load quickly and look great.
Understanding image optimization in Astro
There are two primary image types in Astro: static and dynamic. Each requires a slightly different optimization approach.
Static images
These images are located locally in your project as part of your codebase. When working with images in Astro, placing them in the src directory enables Astro to optimize them during the build. If you have static images that you do not want Astro to optimize, place them anywhere inside the public directory of your project.
Dynamic images in Astro
As the name implies, dynamic images are loaded dynamically or programmatically using the APIs provided by Astro.
Various ways to optimize images in Astro
Astro, by default, provides components and APIs that you can use to optimize your images and ensure that your websites load faster. Let’s look at some of these components.
Using the Image component provided by Astro
Astro provides an Image component that can optimize images on your websites quickly.
The Image component, by default, accepts all standard HTML <img> attributes and some custom properties added by Astro.
To use the Image component in your Astro project, import it into your page using the code below:
---
// import the Image component and the image
import { Image } from 'astro:assets';
import image from '../images/testimage.jpg';
---

<!-- `alt` is required on the Image component -->
<Image src={image} alt="A description of my image." />
This would render an image like this:
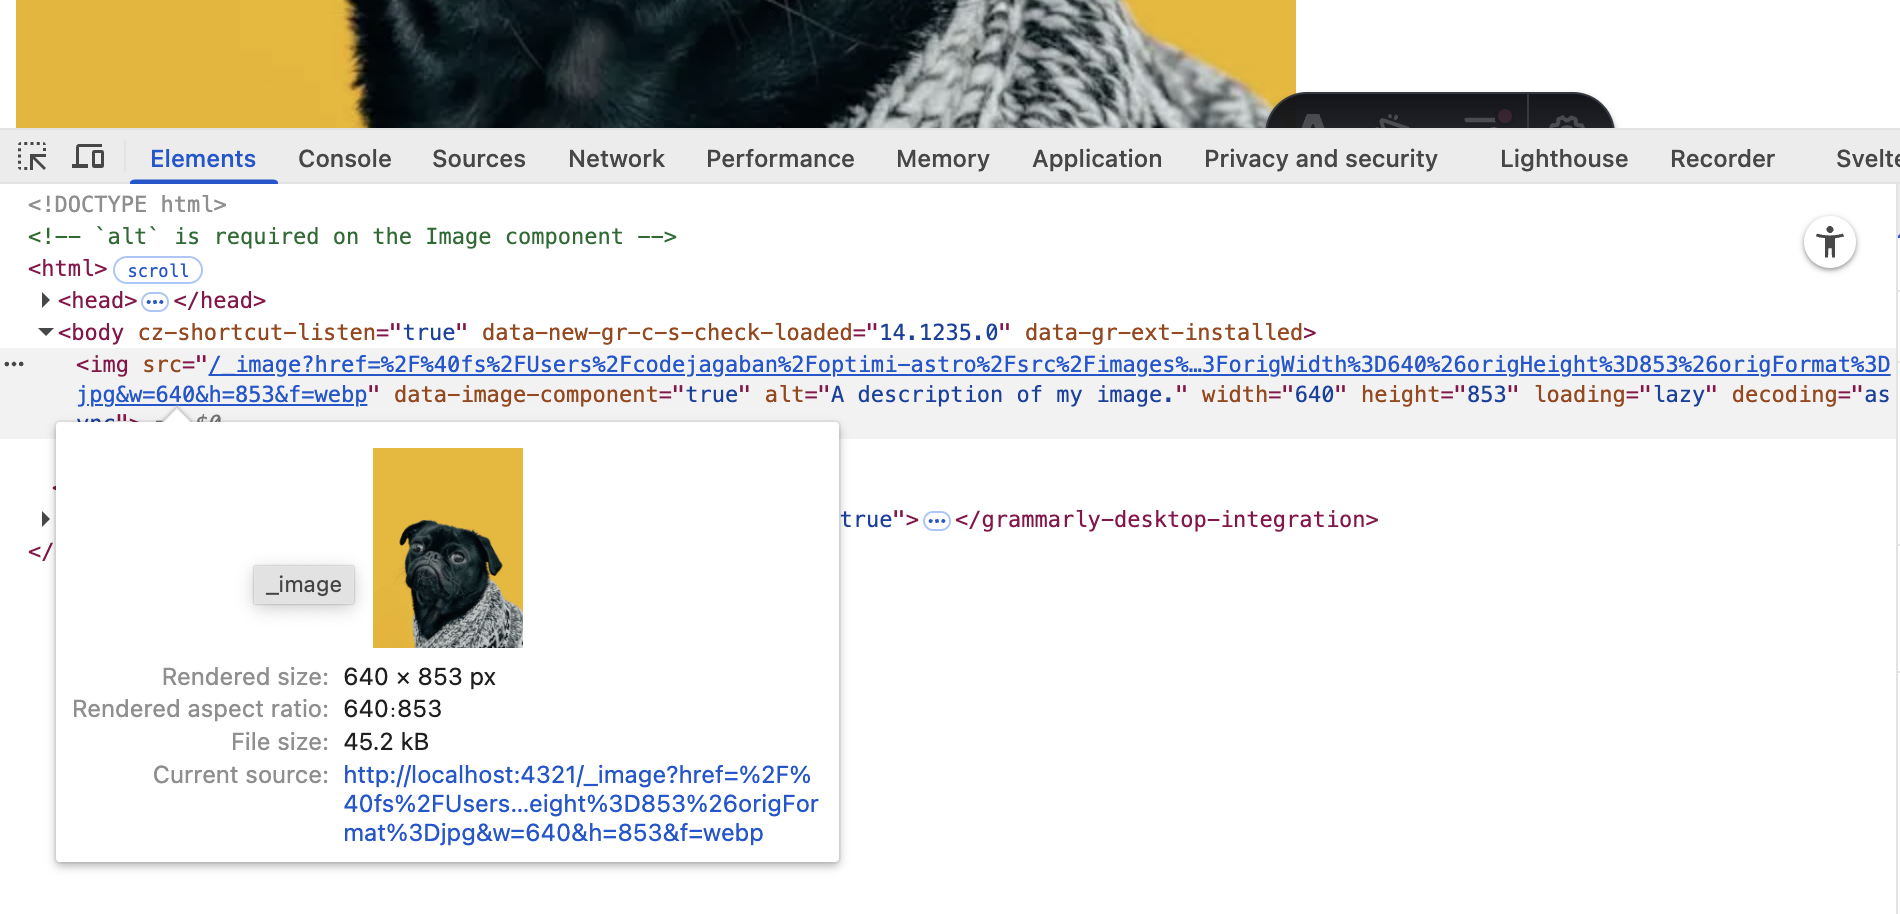 Astro image component
Before rendering the image, Astro will check the image for details such as width, height, and image type.
You can also customize the Image component using the custom properties provided by Astro, like:
-
format: Specify the image output from the component. The<Image />component will produce a WebP file by default. -
widths: A list of possible image widths for Astro to generate the images into. Using this property, Astro will output an image with thesrcsetattribute that matches the width you specified. -
inferSize: This property fetches the height and width when loading remote images. This is ideal when you do not know the width and height of the image. -
quality: This property defines the image quality you want Astro to output. It could either be a preset value (low,mid,high,max) or a number from 0 to 100 (interpreted differently between formats).
The image documentation on Astro lists all the customization options for the image component.
Using the Picture component for responsive images
Astro also provides a Picture component that works similarly to the Image component.
It accepts all the properties of the Image component and a few more customizations to load multiple image formats.
You can also provide a fallback image if your user’s devices do not accept any of those image formats.
Behind the scenes, the Picture component uses the <picture> HTML element to load images
and the srcset attribute to load images of different sizes.
Read this article on how to create responsive images with srcset.
To use the Picture component in your Astro applications, import it into your page using the code below:
---
import { Picture } from 'astro:assets';
import image from '../assets/testimage.jpg';
---

<!-- `alt` is required on the Picture component -->
<Picture
  src={image}
  formats={['avif', 'webp']}
  alt="A description of my image."
/>
Some properties the Picture component accepts include
-
formats: This is an array of image formats you want Astro to generate for the image provided. This can be any of the two image formats[’avif’, ’webp’]and is usually prioritized by the most modern image format first, meaning Astro would first try to render the AVIF image and then fall back to WebP. -
fallbackFormat: If the user’s browser does not supports any of the formats provided, you can use this attribute to specify a fallback format you want to display, e.g., PNG. If the image is, by default, a JPG image, Astro will display the JPG image as it is.
Visit the Astro documentation for more on customizing responsive images.
Note: If you’re looking to upload images in Astro, here’s a step-by-step guide to help you.
Use a third-party optimization tool like Uploadcare for image optimization in Astro
While Astro provides various ways to optimize images, there are situations where you might need more than just the basic image optimization it provides. For example, if you’re building a media heavy website or e-commerce site where users can upload their own images — like product photos or profile pictures — you’ll need a way to dynamically transform, compress, and serve those images in real time.
This is where a third-party solution like Uploadcare comes in.
Uploadcare offers:
- Advanced URL-based image transformation for image processing
- A responsive
<uc-img />component - Global CDN delivery
These tools help manage and deliver optimized Astro images to your users no matter where they’re located.
Using Uploadcare, you can transform and serve the best optimized images in Astro in various ways. Let’s consider some ways you can use Uploadcare with Astro.
By default, Astro only allows local images to be loaded into your project. To load images from other sources like an image CDN, update your astro.config.mjs file to allow images from a remote source domain:
// @ts-check
import { defineConfig } from 'astro/config';

// https://astro.build/config
export default defineConfig({
  image: {
    domains: ['6ca2u7ybx5.ucarecd.net'],
  },
});
6ca2u7ybx5 is your Uploadcare project’s unique subdomain and can be found in your project’s delivery settings.
Read more about remote image configurations for more customization on allowing remote images.
Using the URL-based API
Uploadcare provides a URL-based API that can be used to optimize images uploaded to its CDN.
You can apply optimizations and transformations to images as you see fit using this approach.
The URL-based API for optimization can be used like this:
<img src="
  https://6ca2u7ybx5.ucarecd.net/338acbb2-fa76-4f0a-b1b2-488300ea42ff/
  -/preview/1600x400/
"/>
Where:
https://6ca2u7ybx5.ucarecd.netis the base CDN URL images uploaded to your project. The subdomain6ca2u7ybx5is unique to your project and can be found in your project’s delivery settings.338acbb2-fa76-4f0a-b1b2-488300ea42ffis the UUID of the image you want to optimize-/preview/1600×400/is the resolution of the image you want to use
 Image optimization with Uploadcare uc-img component
If adaptive image delivery is enabled in your Uploadcare project, Uploadcare will automatically determine the best image quality and format to serve to the user, starting with AVIF. If AVIF is not supported, it falls back to WebP and JPEG, depending on the user’s device.
Learn about AVIF image format and how it can help improve your website performance.
By chaining the transformation parameters, you can specify the format and quality of the image you want to serve to your users.
For example:
<img src="
  https://6ca2u7ybx5.ucarecd.net/338acbb2-fa76-4f0a-b1b2-488300ea42ff/
  -/preview/1600x400/
  -/crop/face/1:1/
  -/quality/lighter/
"/>
Tells Uploadcare CDN to load the image in a progressive manner and apply a quality value of lighter (≈80% of the original file size).
This allows you to apply multiple transformations to your images to fit your needs without altering the original image.
 Multiple image transformation with Uploadcare
Using Uploadcare adaptive image component uc-img
If you’d like to optimize images and make them responsive on the fly to suit your users’ devices, Uploadcare has an image component that can be easily integrated into Astro.
To use this component, first import it into your page using the script below:
<script src="https://cdn.jsdelivr.net/npm/@uploadcare/file-uploader@v1/web/uc-img.min.js" type="module"></script>Next, create the configuration for the uc-img component by adding a custom CSS value,
where YOUR_PUBLIC_KEY is your Uploadcare public key and --uc-img-breakpoints is a comma-separated list of the image
sizes you want to generate for various screen sizes:
<style>
  uc-img {
    --uc-img-pubkey: 'YOUR_PUBLIC_KEY';
    --uc-img-breakpoints: '480, 800, 1200';
  }
</style>
With this in place, you can use the uc-img tag in your Astro components, and Uploadcare will handle the rest,
including generating various images for the breakpoints you specified and providing the best image format to serve.
 Responsive images with uc-img
If you already have your images stored in Uploadcare, you can use the uc-img component like this:
<uc-img
  uuid="YOUR_IMAGE_UUID"
  alt="An optimized image from Uploadcare"
/>
If your images are stored elsewhere, you can optimize them with Uploadcare using the uc-img component
by adding a src attribute like this:
<uc-img
  src="https://images.unsplash.com/photo-1470770841072-f978cf4d019e"
  alt="Landscape image from Unsplash"
/>
If your images are not on Uploadcare, you need to set up a proxy for the domain where they are hosted to serve them through Uploadcare’s CDN.
For a step-by-step guide on using the uc-img component, check out our image optimization guide with uc-img.
Building your own custom Astro image component
Astro also provides an getImage API that you can use to retrieve images in your projects programmatically.
Combining this API with an image optimization tool like Uploadcare, you can create your own custom Astro image component
that serves optimized images and is reusable.
First, in the components directory of your project, create a new file called CustomImageComponent.astro and add the following code to it:
---
import type { ImageMetadata } from 'astro';
import { getImage } from 'astro:assets';

interface Props {
  imageUrl: string | ImageMetadata;
  alt: string;
}

const { imageUrl, alt } = Astro.props;

const image = await getImage({
  src: imageUrl,
});
---

<uc-img
  src={imageUrl}
  alt={alt}
/>

<style>
  uc-img {
    --uc-img-pubkey: 'YOUR_PUBLIC_KEY';
    --uc-img-breakpoints: '480, 800, 1200';
  }
</style>

<script src="https://cdn.jsdelivr.net/npm/@uploadcare/file-uploader@v1/web/uc-img.min.js" type="module"></script>
The code above fetches the image passed to the getImage function and renders the image
using Uploadcare’s uc-img component for optimization.
You can now use the custom component in any page by passing an image URL to it, and Uploadcare will optimize it:
---
import CustomImageComponent from '../components/CustomImageComponent.astro';
---

<CustomImageComponent
  imageUrl="https://images.unsplash.com/photo-1470770841072-f978cf4d019e"
  alt="User profile picture"
/>
Benefits of using a CDN like Uploadcare
-
Fast image delivery: Uploadcare automatically serves images from edge servers closest to your users, significantly reducing latency and improving load times, whether your visitor is browsing from London or Los Angeles.
By minimizing the physical distance between the user and the content, images reach the browser faster, which is especially important for users on mobile devices or slower internet connections. And the best part for developers? There’s no extra setup required. Once you upload an image, it’s instantly available on the CDN-ready to be delivered efficiently anywhere in the world.
-
Compression without significant quality loss: Uploadcare balances reducing file size and preserving visual quality through adaptive delivery techniques. Parameters like
-/quality/lightest/are applied during image transformations, ensuring that your images are as lightweight as possible without looking degraded.This approach helps maintain a polished visual experience. It reduces the overall page payload, leading to faster load times, improved Core Web Vitals scores, and better performance across all devices, especially on mobile.
-
Dynamic file format: Uploadcare makes dynamic file format delivery effortless by automatically serving each image in the most efficient format based on the user’s browser.
When adaptive delivery is turned on, Uploadcare determines whether to deliver WebP, AVIF, JPEG, or another supported format — no manual intervention required. It’s smart enough to fall back to traditional formats like JPEG or PNG for older browsers, while modern ones receive optimized formats like WebP or AVIF for better performance and compression.
Best practices for image optimization in Astro
Some tips to consider when optimizing images in Astro include:
-
Serve modern formats (WebP, AVIF): Modern formats are smaller and higher-quality than JPEG/PNG, so consider using them in your Astro projects. They would save more bandwidth and improve user performance. Additionally, they are supported by all modern browsers.
-
Set responsive widths: Avoid using fixed-width images and load images at appropriate sizes for each screen using srcset, sizes, or Astro’s responsive image features. Using a tool like Uploadcare’s
uc-imgcomponent, you can set the responsive breakpoint for your images, and Uploadcare will handle the rest. -
Consider lazy loading images: The Astro component comes with a lazy-loading attribute that loads images only when the user is in the current viewport. Consider using this technique to improve page load times, especially if your website is image-heavy.
-
Always set width and height for images: Focus on minimizing Cumulative Layout Shift (CLS) by using the width and height attributes on your img tags.
-
Use a CDN: Using a CDN like Uploadcare can help you deliver images faster to your users, regardless of their location. It also helps reduce the load on your server and improve performance.
Read this article for best practices to follow when optimizing images for the web in general.
FAQ
How do I optimize images in an Astro app?
To optimize images in an Astro application, use Astro’s built-in <Image /> and <Picture /> components for local static images.
For remote images, better optimization and fast delivery, use third-party services like Uploadcare
that provide on-the-fly image transformation, adaptive delivery, and CDN support.
Ensure to configure Astro to allow remote domains and use responsive techniques to optimize for different screen sizes.
What is the best way to optimize images for performance in Astro?
The best way entirely depends on your use case.
If you’re using static images, the <Image /> and <Picture /> components provided by Astro are great for optimizing images.
For dynamic images or when you need more control over image formats and sizes,
consider using Uploadcare’s URL-based API or the uc-img component for responsive images.
Can Uploadcare help with dynamic image delivery in Astro?
Absolutely. Uploadcare excels at delivering dynamic images in Astro applications.
Whether you’re working with CMS content or user-uploaded images, Uploadcare allows you to transform images via URL,
apply responsive breakpoints using the <uc-img /> component,
and serve them globally through its CDN — all without impacting your build times or bloating your frontend.
Conclusion
Image optimization isn’t just a nice-to-have — it’s a critical part of building fast, user-friendly, and SEO-optimized web experiences. With Astro, you’re already using a performance-first framework. But by combining Astro’s built-in image components with tools like Uploadcare, you can go even further.
Whether you’re working with local assets, handling dynamic content from a CMS, or delivering responsive images to a global audience, you’ve got the flexibility to choose the right approach for every use case. Astro gives you speed and simplicity out of the box. Uploadcare adds advanced transformation, adaptive delivery, and an image CDN — without complicating your workflow.