Image CDN can speed up your website by 900%
Last edited:
The reason to use image CDN for image optimization
In the rapidly evolving digital landscape, many mobile websites still struggle with website load time. Take, for instance, the ToolTester data from August 2023: the average load time for mobile websites stood at 8.6 seconds. Compare it with 50 milliseconds that people need to form an opinion about the web page!
And here’s an interesting revelation: a significant chunk of this delay is due to slow image loading — it is usually about backgrounds, detailed logos, and vibrant product shots.
Now, with Google advocating for a swift 1-2 second page load time, it’s evident that we need to speed up images and produce fast websites. This is where Image CDNs come into play.
Improve PageSpeed Insights
Everybody appreciates a fast website. Each millisecond improvement increases the revenue. This phenomenon, captured mainly by the bounce rate metric, indicates the urgency of lowering load times. The simple correlation? The slower the page, the more people leave the website without any interaction. A heavy website will definitely get less love from the users.
Given that images contribute a lot to this delay, optimizing them isn’t just a good idea, it’s essential. With tools like Uploadcare CDN, you’re looking at the potential to reduce image load times by up to 9x, a game-changer in website performance.
SEO friendly images: influence rankings
Speed is a multifaceted asset. As far as user retention impacts SEO, faster loading images not only offer a superior user experience but also curry favor with search engines. When visuals bog down your website’s speed, it also affects your position on the search results page. By optimizing images, you’re essentially giving your website an SEO advantage.
Measure page load time
Before we begin, let’s discuss a couple of tools to measure image load times.
- For measuring site load speed locally, we’d recommend using Chrome DevTools.
- Tools like Pingdom are a great fit for in-depth load speed analysis.
- To see which pages our traffic goes to, we use Google Analytics. It’s also helpful when you need to figure out your bounce rates.
You can also use a tool we built to analyze and optimize image performance called PageDetox. It will also give you image optimization tips as any pages out there suffer from un- or under-optimized images. Usually, the very first step you can take to optimize images for web is processing them with a CDN.
CDN configuration
A CDN, or Content Delivery Network, is a large group of servers deployed in many locations across the world. It’s built in such a way that each file can be delivered via any data center on the network. Based on your clients’ locations, the CDN picks servers and uses them to deliver content. Simply put, the closer the server, the better.
 An outer-space view of the Earth showing electronic communications networks
Uploadcare partners with three CDN providers for superior coverage. With its 288K servers, images are delivered at optimal speeds, anywhere. Basically, CDN for images is a concept where an image processing center is paired with a delivery network. All the examples we give in this article work via our CDN that also gives you an option to compress images and reduce overall bandwidth.
How do they work? Let’s get our hands dirty. Take an image:
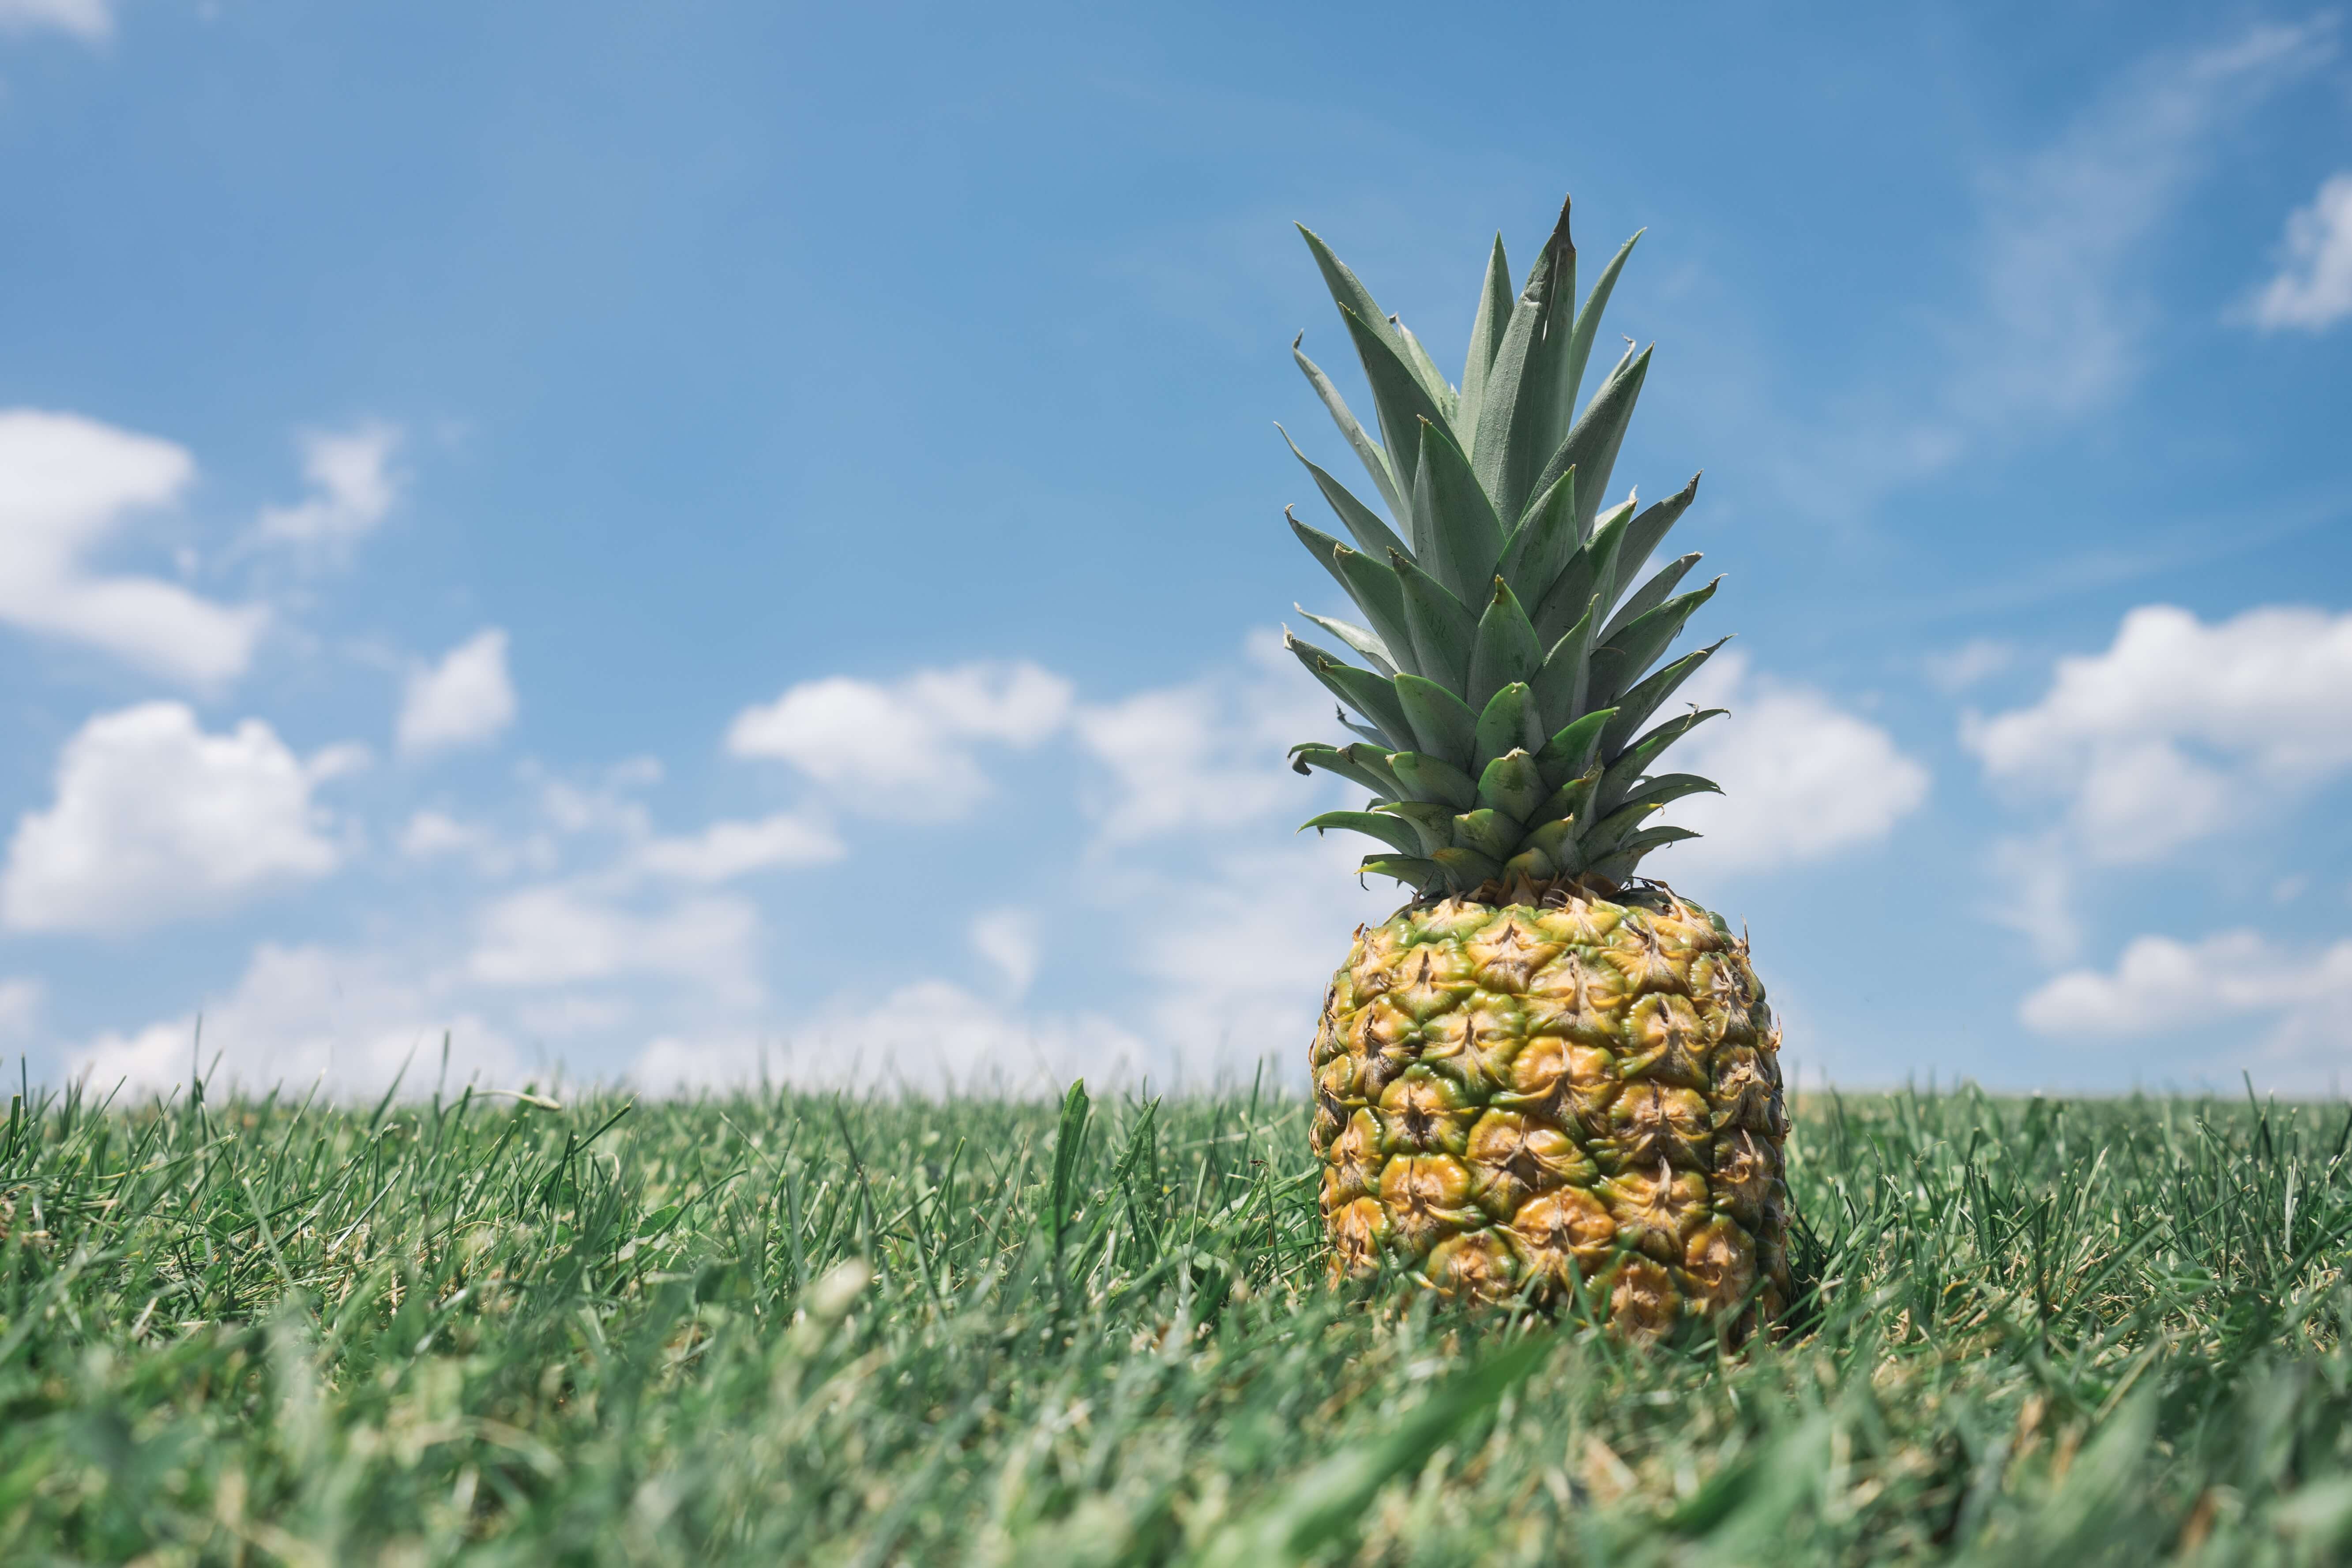 A pineapple in a field
Sized at 3.4 MB, this 5330×3553px JPEG image loads in 1.74 seconds on an LTE-enabled connection. The pic is already delivered via CDN. If you take a look at its URL, you’ll notice there’s a UUID (universally unique identifier):
34838e3b-b733-413c-8f10-b23aac30e96d
We use those to address unique files on our CDN:
https://6ca2u7ybx5.ucarecd.net/34838e3b-b733-413c-8f10-b23aac30e96d/
Control image size
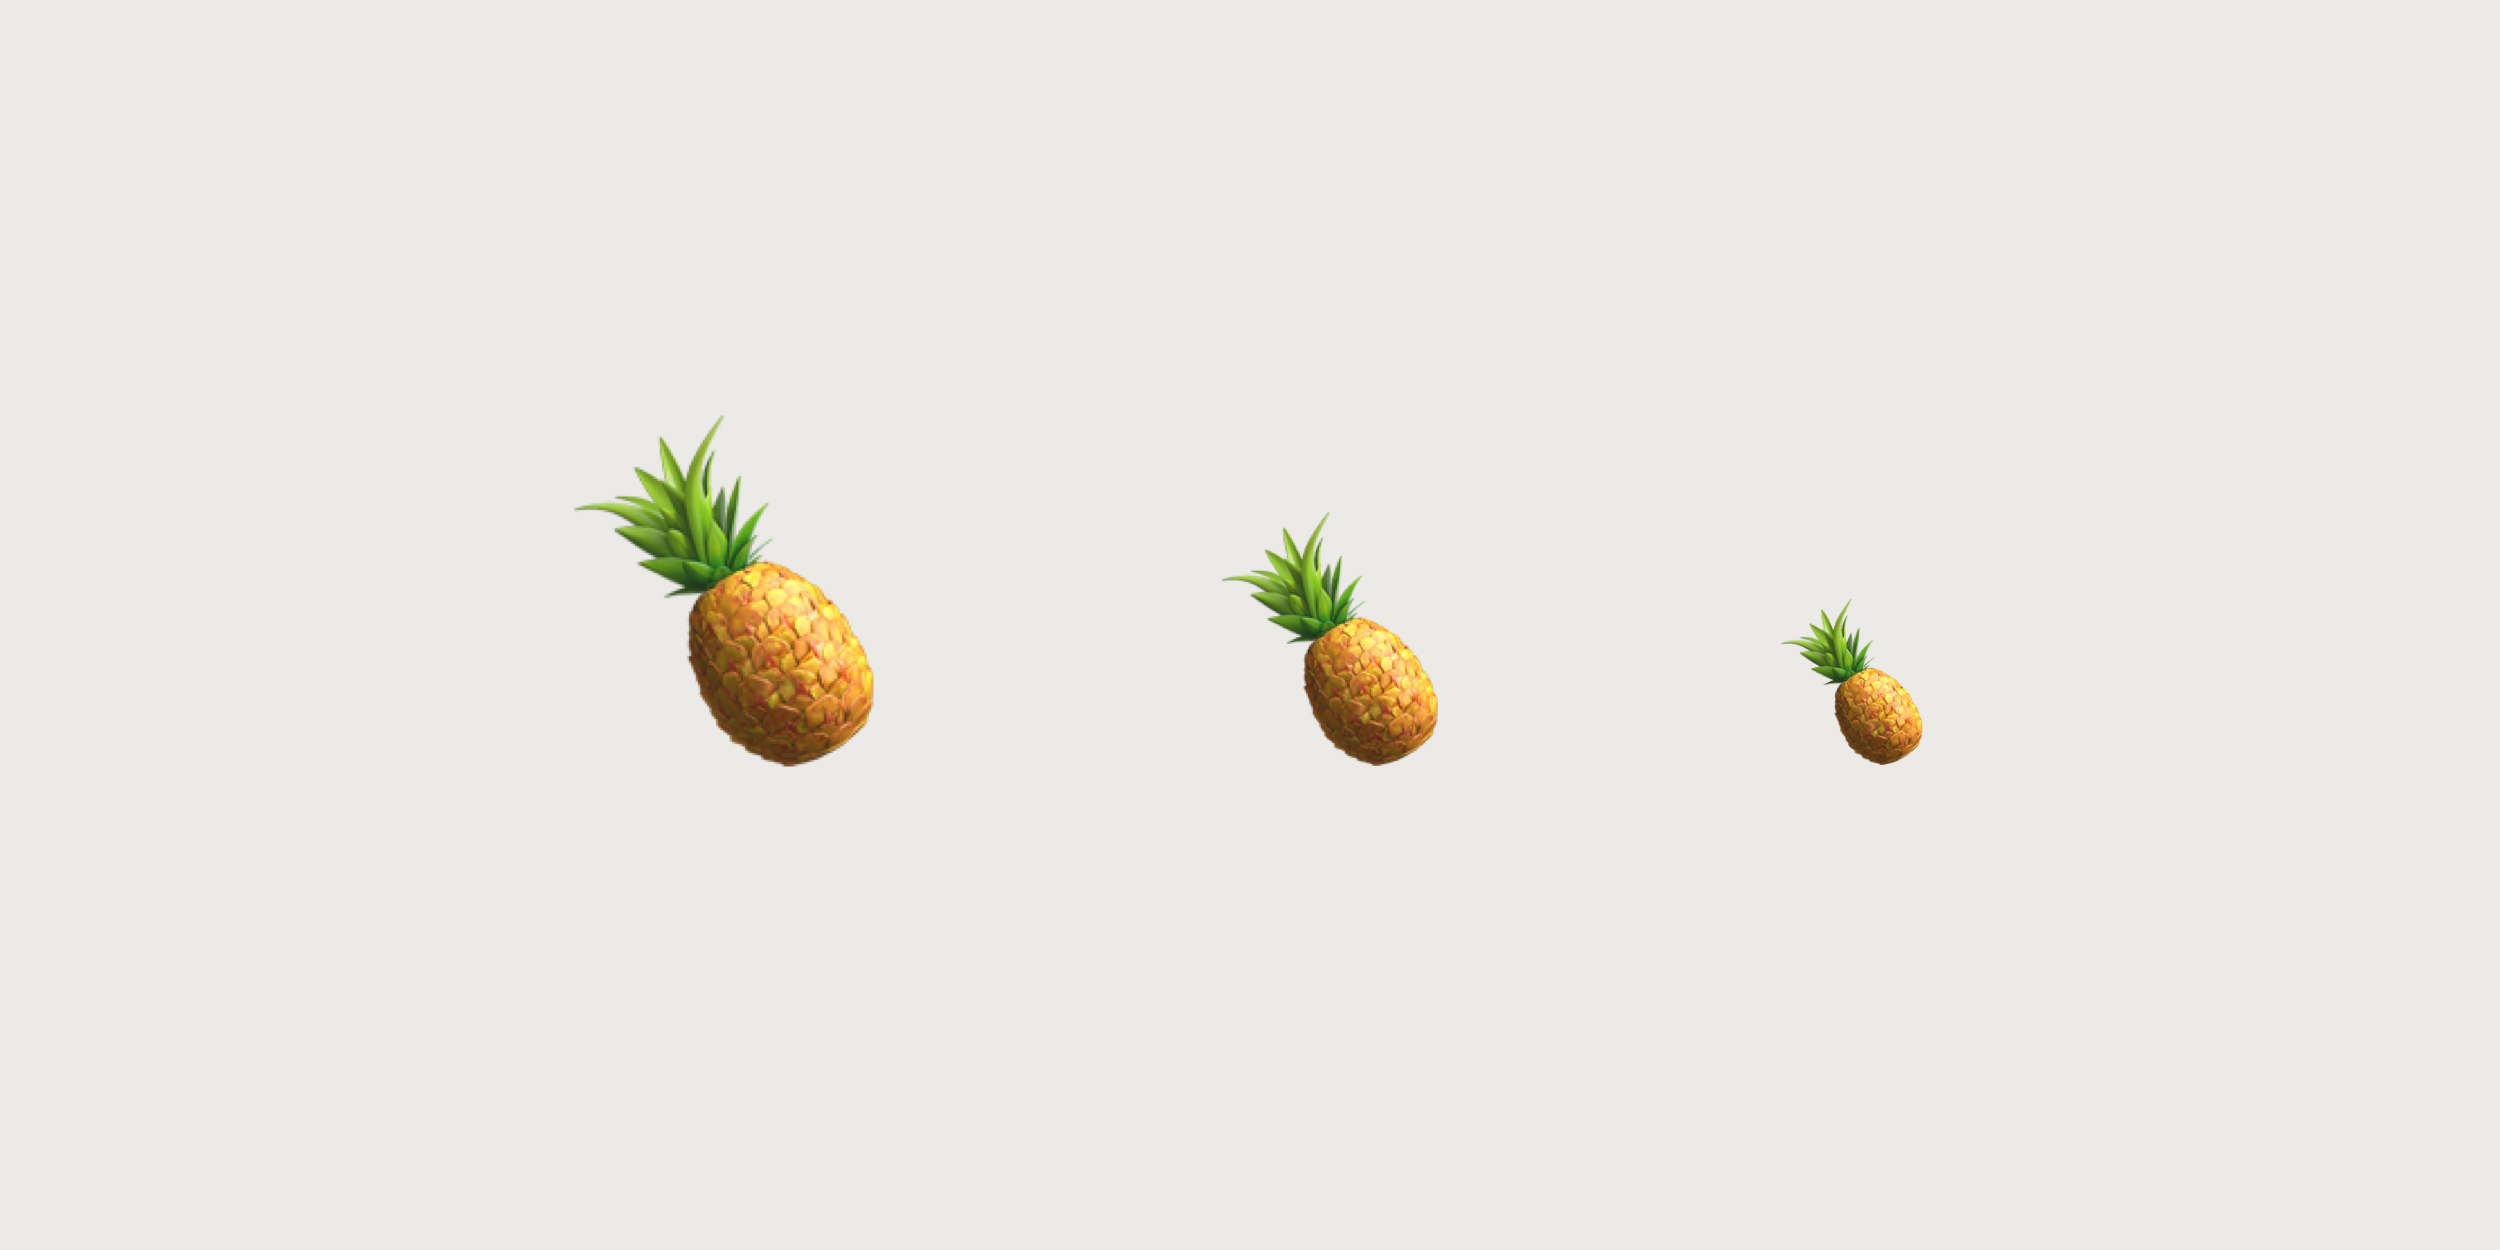 Three pineapple images of varying size
Taking control over output image dimensions also means managing image sizes. Uploadcare supports a variety of image processing operations with which you can implement a number of diverse transformations. Starting with image compression to changing image geometry and pixel manipulations.
The operations are applied to images by simply modifying their URLs. For instance, to put the image in a predesigned layout where its width should not exceed 960 px, simply change the pineapple image URL as follows:
https://6ca2u7ybx5.ucarecd.net/34838e3b-b733-413c-8f10-b23aac30e96d/-/resize/960x/pineapple.jpg
We’ve adjusted the width of our pineapple image, thus making its file size drop to 88.5 KB.
It now takes about 318 ms to load the image with reduced size when measuring locally. That’s almost a 5.5x load time improvement so you might want to your resize images, right?
Manage image formats
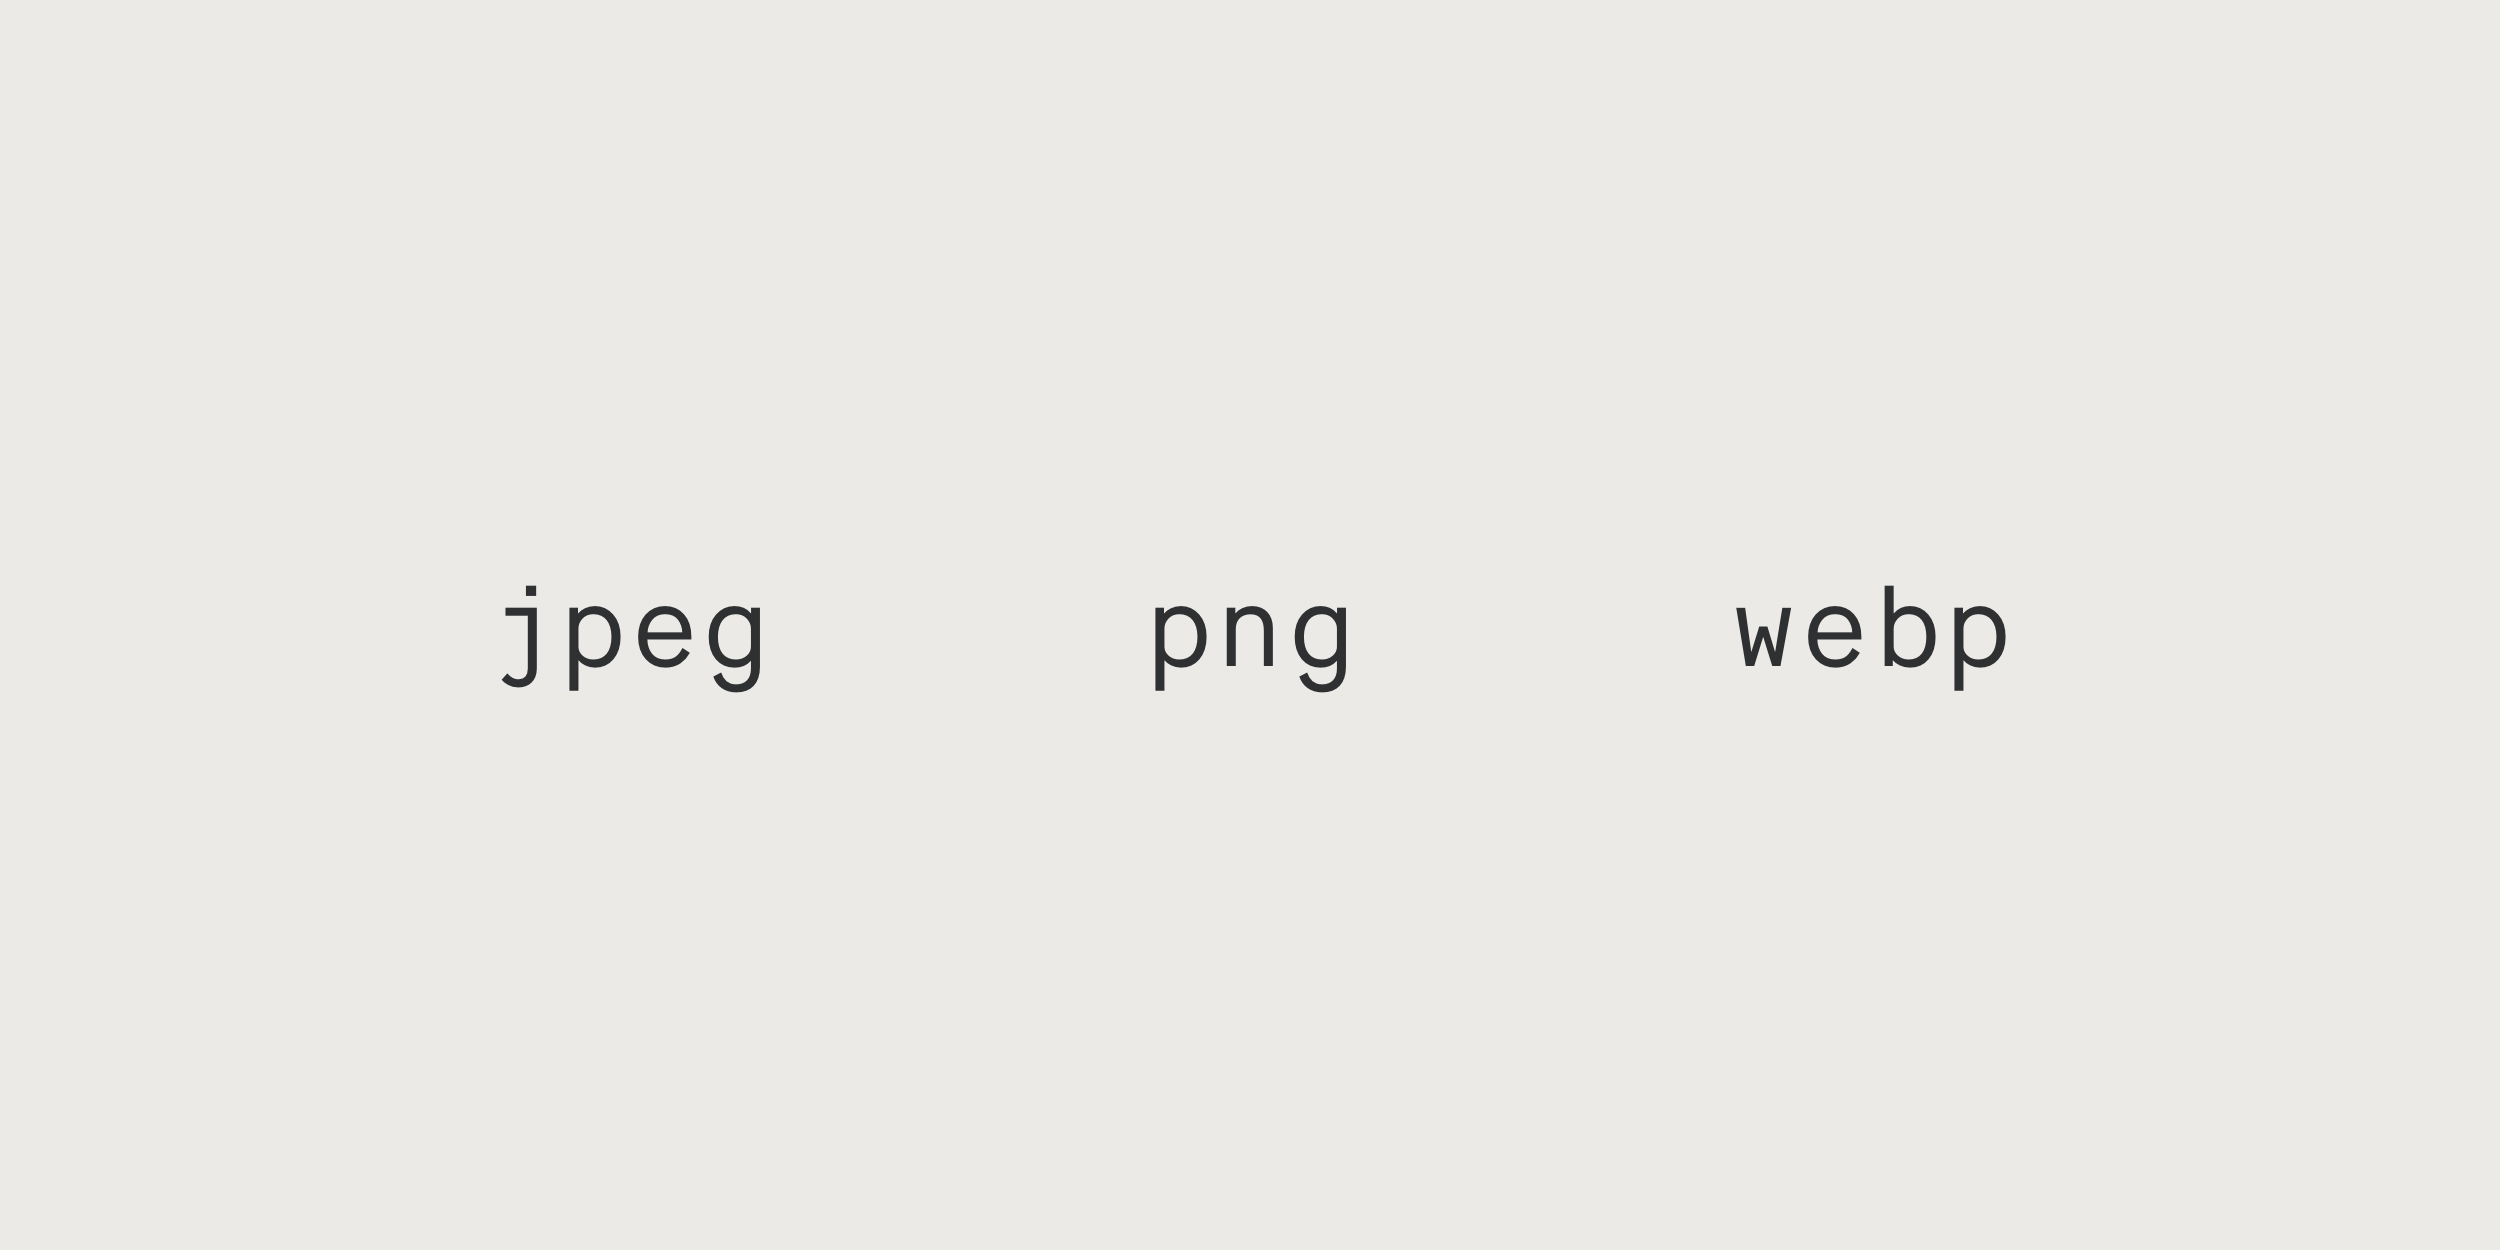 Three image formats
To optimize images for the web with our best-in-class image optimizer, consider using the format and quality CDN API operations. You can also select proper output formats automatically, including WebP.
This also works by modifying the image URL. Let’s get back to our pineapple example:
https://6ca2u7ybx5.ucarecd.net/34838e3b-b733-413c-8f10-b23aac30e96d/-/format/auto/-/resize/960x/
After the format manipulations, the image size has decreased to 67.7 KB and the loading time has now dropped to 211 ms, showing an 8.3x improvement and overall bandwidth usage drop.
But let’s double check: Google Chrome console reports Resource interpreted as Document but transferred with MIME type image/WebP: it worked.
The next step would be improving the image quality:
https://6ca2u7ybx5.ucarecd.net/34838e3b-b733-413c-8f10-b23aac30e96d/-/format/auto/-/quality/lightest/-/resize/960x/
The size and page load time went down to 36.8 KB in 196 ms. That’s about 8.9x faster than loading the original pineapple. It’s useful to know that when using WebP, visual quality degrades to a lesser extent than image size. Quality hacks can be applied when you aren’t just adjusting to viewing environments, but also accounting for network performance.
Get responsive
 Three devices with different screen and viewport sizes
An 8.9x improvement is not the end of the story though. Usually, we design for a whole set of resolutions, screens, and devices, not just laptops. That means you want your layout to adjust to users’ viewing conditions. Nowadays, this is a pretty common expectation: for instance, the RICG community is helping developers do it.
We’ve already discussed the step-by-step process of building better responsive images in our recent post. Long story short, here’s what you want to get:
<picture>
  <source
    media="(max-width: 500px) and (orientation: portrait)"
    srcset="https://6ca2u7ybx5.ucarecd.net/34838e3b-b733-413c-8f10-b23aac30e96d/-/format/auto/-/crop/3000x3000/2000,200/-/resize/250x/ 1x,
            https://6ca2u7ybx5.ucarecd.net/34838e3b-b733-413c-8f10-b23aac30e96d/-/format/auto/-/crop/3000x3000/2000,200/-/resize/500x/-/quality/lightest/ 2x">

  <source
    media="(max-width: 1024px)"
    srcset="https://6ca2u7ybx5.ucarecd.net/34838e3b-b733-413c-8f10-b23aac30e96d/-/format/auto/-/resize/400x/ 1x,
            https://6ca2u7ybx5.ucarecd.net/34838e3b-b733-413c-8f10-b23aac30e96d/-/format/auto/-/resize/800x/-/quality/lightest/ 2x">

  <img src="https://6ca2u7ybx5.ucarecd.net/34838e3b-b733-413c-8f10-b23aac30e96d/-/format/auto/-/resize/960x/"
       srcset="https://6ca2u7ybx5.ucarecd.net/34838e3b-b733-413c-8f10-b23aac30e96d/-/format/auto/-/resize/1920x/-/quality/lightest/ 2x"
       alt="Pineapple">
</picture>
You can find the complete interactive example on Codepen.
The code ensures every client gets proper images based on their screen size and orientation.
Also, for srcset, you might want to use images resized via CDN: that way you can upload just a single large image and downscale and even crop it as needed.
DNS prefetch
 Abstract graphics
There’s also another useful hack, even though it’s not about direct image manipulations. Before starting to download resources from a website, your browser needs to translate its domain name to an IP address. Only then will the browser be able to download any content. Of course, this takes time.
You can explicitly tell your browser an address to get all the resources from, thus helping resolve the domain name issue as quickly as possible.
Simply add this to the <head> section of your page:
<link rel="dns-prefetch" href="//ucarecdn.com">Then, when your browser requests a file from our CDN, it will no longer have to wait for the DNS lookup. See DNS prefetch browser support for more details.
Conclusion
 A race car drifting
We’ve just achieved an impressive ~9x website speed improvement by using our CDN API for images alone. Forget about worries coming from a slow website. While the exact numbers will vary depending on your location, it’ll still be a massive improvement.
What to do next? You can always check out our extensive CDN API documentation to learn more about optimization options, and experiment with your existing images e.g. by adding a lazy loading option to your page. If you don’t have an account yet, you can create a free one, where you can upload some images directly via your dashboard, widget or API, and run some tests. This will give you a good understanding of the extent to which your image content can be optimized.
If you’re just curious about processing this or that image, visit this quick start page for simple testing. Once your images are hacked to the max, you’ll have about two-thirds of your load time problems solved.