Build an image gallery with Uploadcare and Nuxt.js
Last edited:
In this tutorial, you will create a Nuxt.js image gallery. You’ll use Uploadcare’s File Uploader to upload files and JS client SDK to retrieve and delete images.
Prerequisites
Before you begin, you need:
- A free Uploadcare account
- Node.js installed on your machine
- Basic knowledge of JavaScript and Nuxt.js
Obtain a Public and a Secret API keys
Head over to your Uploadcare dashboard and create a new Secret key. Copy the Secret key and store it somewhere safe, as you can only view it once upon creation.
The Public and Secret keys of a project are located in your Uploadcare Project Dashboard -> API keys.
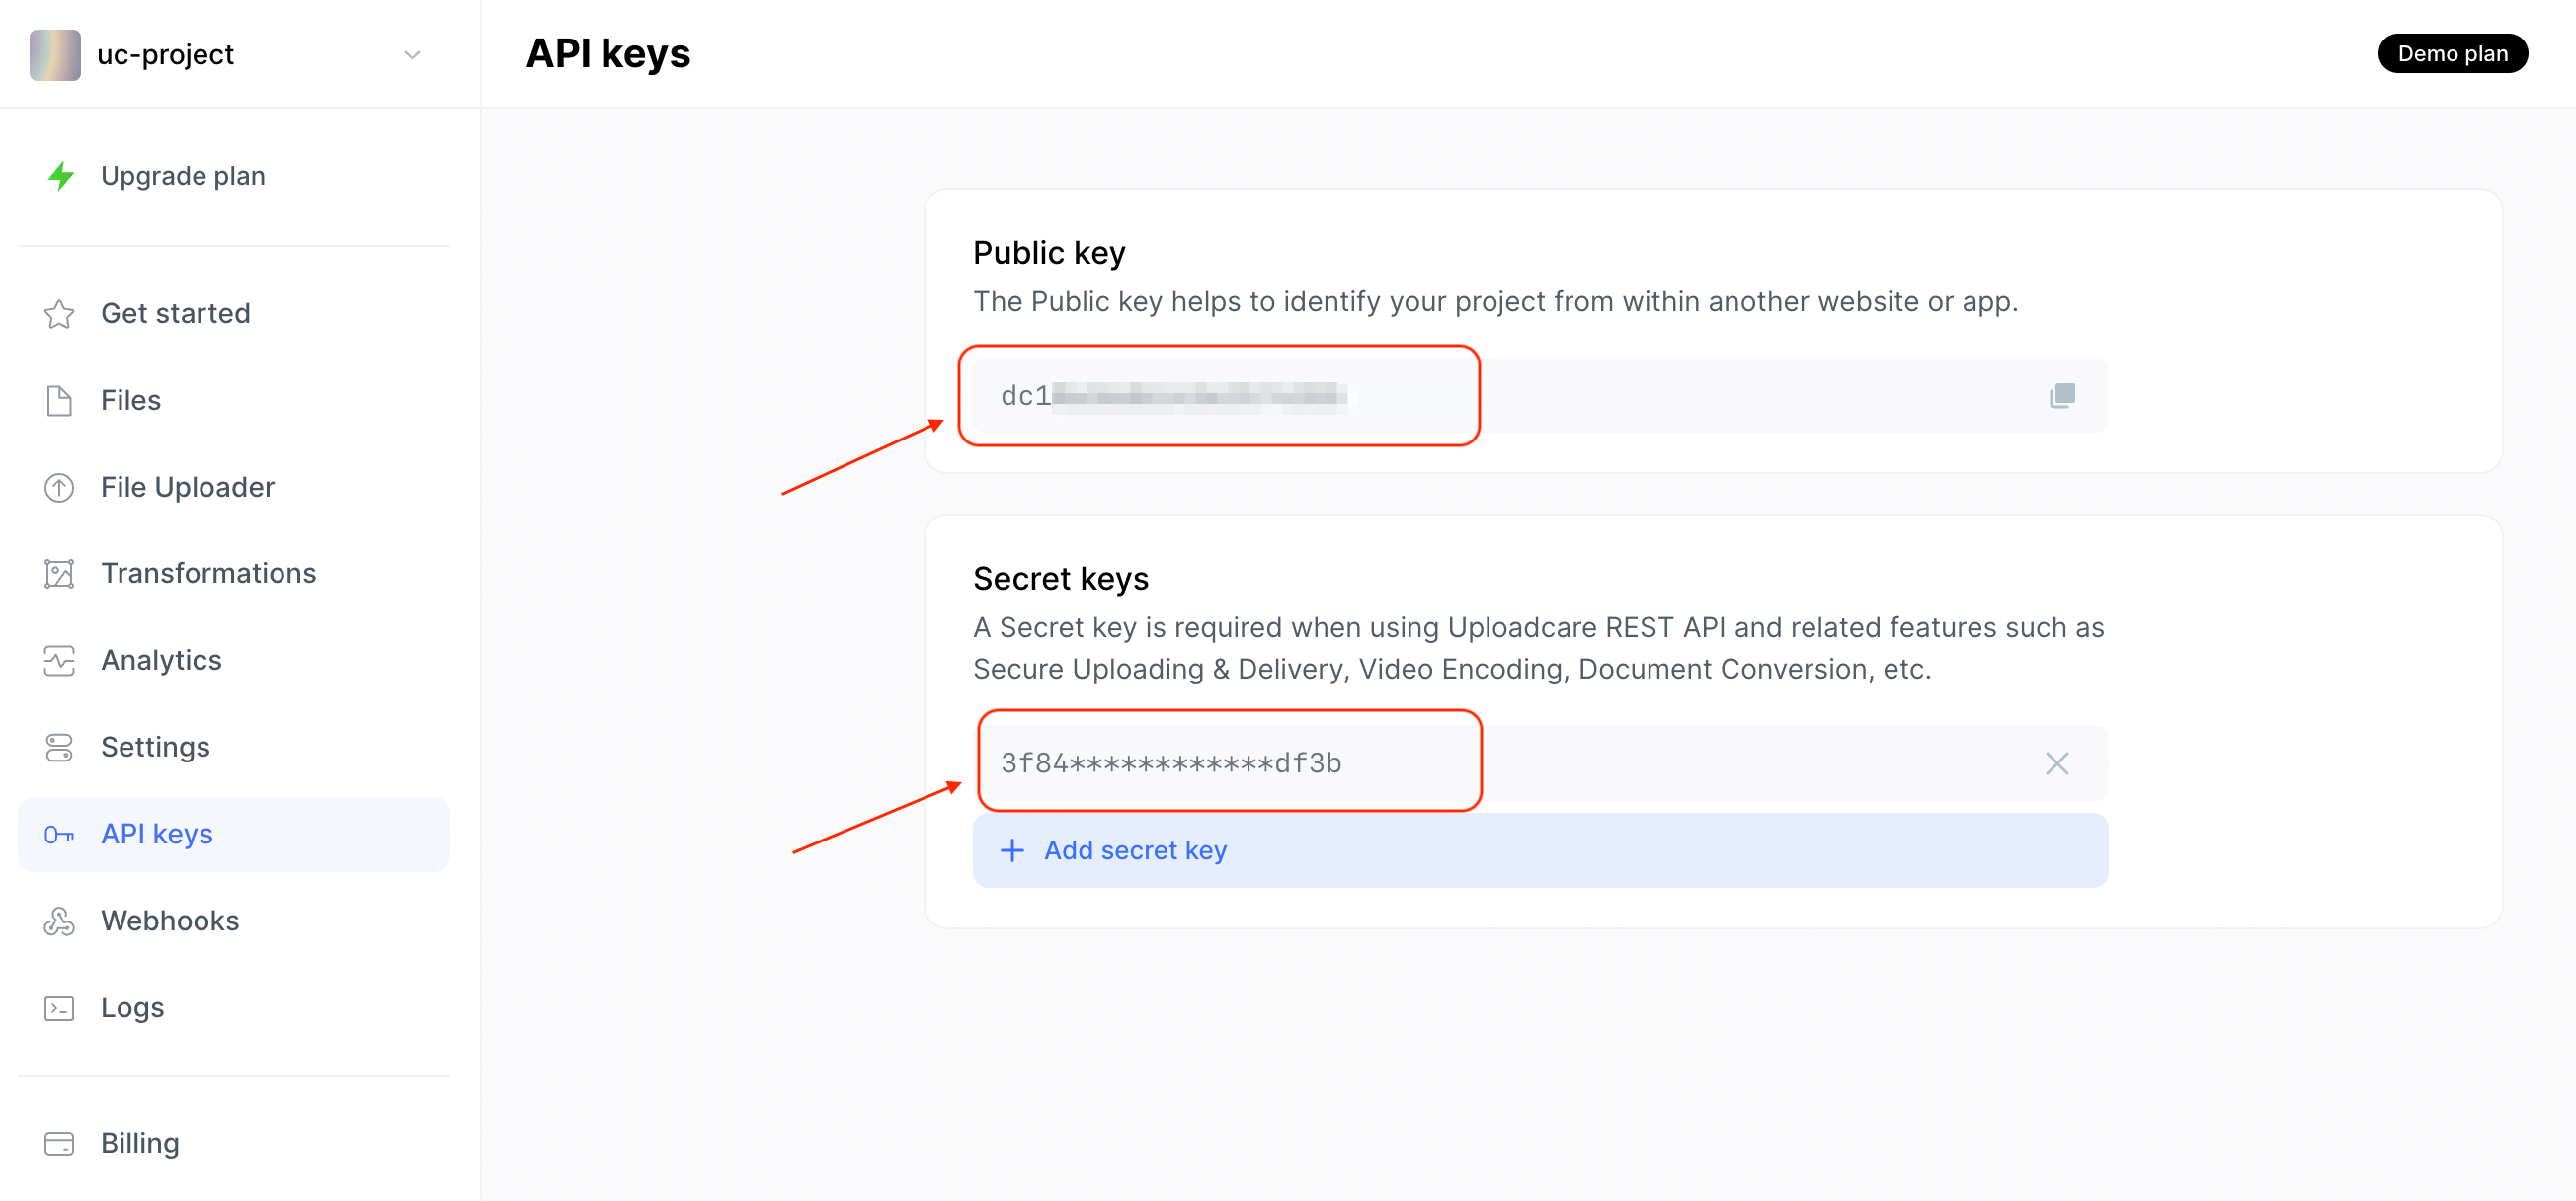 Uploadcare Public and Secret API key in the Uploadcare dashboard
You will use the keys in the next steps of this tutorial.
Create Nuxt.js application
To create a new Nuxt.js application, run the following command in your terminal:
npx nuxi@latest init uc-nuxtSelect the package manager of your choice during installation and install the required dependencies.
In your terminal go to uc-nuxt folder and install the Uploadcare File Uploader and JS SDK:
npm install @uploadcare/file-uploader @uploadcare/rest-clientIn the root of the project, create a .env. file and add the following environment variable:
UPLOADCARE_PUBLIC_KEY=YOUR_PUBLIC_KEY
UPLOADCARE_SECRET_KEY=YOUR_SECRET_KEY
Replace YOUR_PUBLIC_KEY and YOUR_SECRET_KEY with the public and secret keys from the Uploadcare dashboard.
Update the nuxt.config.ts file to use Uploadcare’s custom tags in Vue components and import Uploadcare’s API Keys into Nuxt.js runtime:
export default defineNuxtConfig({
  devtools: { enabled: true },
  vue: {
    compilerOptions: {
      isCustomElement: (tag) => tag.startsWith('uc-'),
    },
  },
  runtimeConfig: {
    uploadcareSecretKey: process.env.UPLOADCARE_SECRET_KEY,
    public: {
      uploadcarePublicKey: process.env.UPLOADCARE_PUBLIC_KEY,
    },
  },
});
Create a composable state for storing files
In the root of the project, create a composables directory, and inside of it, create a useFiles.ts with the content:
export const useFiles = () => {
  return useState('files', () => []);
};
The code above creates a useFiles state variable to store uploaded files and share them across different Vue components.
Create a file uploader component
Create a components directory and file named file-uploader.vue with the content:
<script setup>
import * as UC from '@uploadcare/file-uploader';
import '@uploadcare/file-uploader/web/uc-file-uploader-regular.min.css';

UC.defineComponents(UC);

const ctxProviderRef = ref(null);
const files = useFiles();

const handleFileUpload = (event) => {
  if (event.detail) {
    files.value = [event.detail, ...files.value];

    console.log(files.value);
  }
};
const runtimeConfig = useRuntimeConfig();
const pubkey = runtimeConfig.public.uploadcarePublicKey;
</script>

<template>
  <main>
    <uc-config ctx-name="my-uploader" :pubkey="pubkey" img-only="true" />
    <uc-file-uploader-regular ctx-name="my-uploader" />
    <uc-upload-ctx-provider
      ctx-name="my-uploader"
      ref="ctxProviderRef"
      @file-upload-success="handleFileUpload"
    />
  </main>
</template>
The code above does the following:
- Imports the File Uploader and registers its components.
- Imports the CSS styles for the File Uploader block.
- Calls the
useFilesstate variable to store files that will be uploaded into the file uploader. - Creates a
handleFileUploadfunction that handles an@file-upload-successevent triggered when a file is successfully uploaded to the file uploader. - Uses the
useRuntimeConfigcomposable to strive theuploadcarePublicKeyyou added in the previous step of this tutorial - Configures the file uploader using the
uc-configblock, renders the uploader with theuc-file-uploader-regularblock, and configures actions for the uploader using theuc-upload-ctx-providerblock. - Logs the files stored in the
useFilesstate variable to the console.
Update the app.vue content to render the file uploader component:
<template>
  <div>
    <h1>Image Gallery with Uploadcare and Nuxt.js</h1>
    <FileUploader />
  </div>
</template>
In your terminal, run the command npm run dev to start the Nuxt.js server,
and you should have a page that looks like this in http://localhost:3000:
 Landing page with File Uploader component
Display images from Uploadcare using the JS SDK
Try uploading a file and in the console, you can see the files uploaded to Uploadcare.
When you refresh the application in your browser, it loses all the files stored in the useFiles state.
To fix that, let’s create a functionality to fetch all files uploaded to Uploadcare using the JS Client SDK.
Create an API route to fetch files
In the server directory, create sub-directory named api and inside of it create a list-files.ts file with the content:
import { UploadcareAuthSchema, listOfFiles } from '@uploadcare/rest-client';

export default defineEventHandler(async () => {
  const runtimeConfig = useRuntimeConfig();
  const UCAuth = new UploadcareAuthSchema({
    publicKey: runtimeConfig.public.uploadcarePublicKey,
    secretKey: runtimeConfig.uploadcareSecretKey,
  });
  try {
    const data = await listOfFiles(
      { ordering: '-datetime_uploaded' },
      { authSchema: UCAuth },
    );
    return data.results;
  } catch (error) {
    return error;
  }
});
The code above:
- Using the
useRuntimeConfigcomposable, retrievespublicKeyandsecretKeyand creates aUploadcareAuthSchemaobject - Uses the
listOfFilesAPI to fetch all the files in the current project, ordering them from the latest to the oldest.
Inside of the app.vue component, add a script that uses the api/list-files created:
<script setup>
const files = useFiles();
await callOnce(async () => {
  files.value = await $fetch('/api/list-files');
});
</script>
The code above uses a callOnce composable to fetch files from the /api/list-files route
and store the request’s result into the useFiles state.
The callOnce request only happens once when the application is loaded in Nuxt.js.
Create a gallery component to display images
Let’s use the NuxtImg component to display the fetched images.
To do this, add the @nuxt/image dependency to your project:
npx nuxi@latest module add imageNext, update the nuxt.config.ts to use Uploadcare CDN as a provider in the NuxtImg component.
export default defineNuxtConfig({
  // the rest options are here

  image: {
    uploadcare: {
      cdnURL: '{unique-subdomain}.ucarecd.net',
    }
  },
});
Replace {unique-subdomain} with your Uploadcare project’s unique subdomain which can be found in your project's delivery settings.
In the components directory, create a new file named gallery.vue with the content:
<script setup>
const files = useFiles()
const processedFiles = computed(() => {
  return files.value.map(file => {
    return {
      ...file,
      cdnUrl: file.cdnUrl || `https://6ca2u7ybx5.ucarecd.net/${file.uuid}/`,
      fileName: file.name || file.originalFilename,
    };
  });
});
</script>

<template>
  <div class="grid">
    <div v-for="file in processedFiles" :key="file.uuid" class="grid-item">
      <NuxtImg
        :src="file.cdnUrl"
        :alt="file.fileName"
        provider="uploadcare"
        :modifiers="{ quality: 'smart', format: 'auto', border_radius: '20' }"
        width="500"
      />
    </div>
  </div>
</template>

<style scoped>
.grid {
  display: grid;
  grid-template-columns: repeat(auto-fill, minmax(300px, 1fr));
  grid-auto-rows: 10px;
  gap: 2rem;
  padding: 10px;
  margin: 0 auto;
}

.grid-item {
  grid-row: span 10;
  position: relative;
  overflow: hidden;
  border-radius: 5px;
  box-shadow: 0 2px 5px rgba(0, 0, 0, 0.1);
}

.grid-item img {
  display: block;
  width: 100%;
  height: 100%;
  object-fit: cover;
}

.grid-item:nth-child(2n) {
  grid-row: span 13;
}

.grid-item:nth-child(3n) {
  grid-row: span 15;
}
</style>
The gallery.vue component:
- Retrieves the files stored in the
useFilesstate and loops through the files to add acdnUrlandfileNameif there is none in the file object - Loops through the files state variable, renders the
NuxtImgcomponent using Uploadcare as a provider and adds some modifiers for Uploadcare to transform images on the fly. - Uses scoped CSS to style the layout of how the images will be displayed.
Update the app.vue file to include the Gallery component:
<template>
<div>
<h1>Image Gallery with Uploadcare and Nuxt.js</h1>
<FileUploader />
<Gallery />
</div>
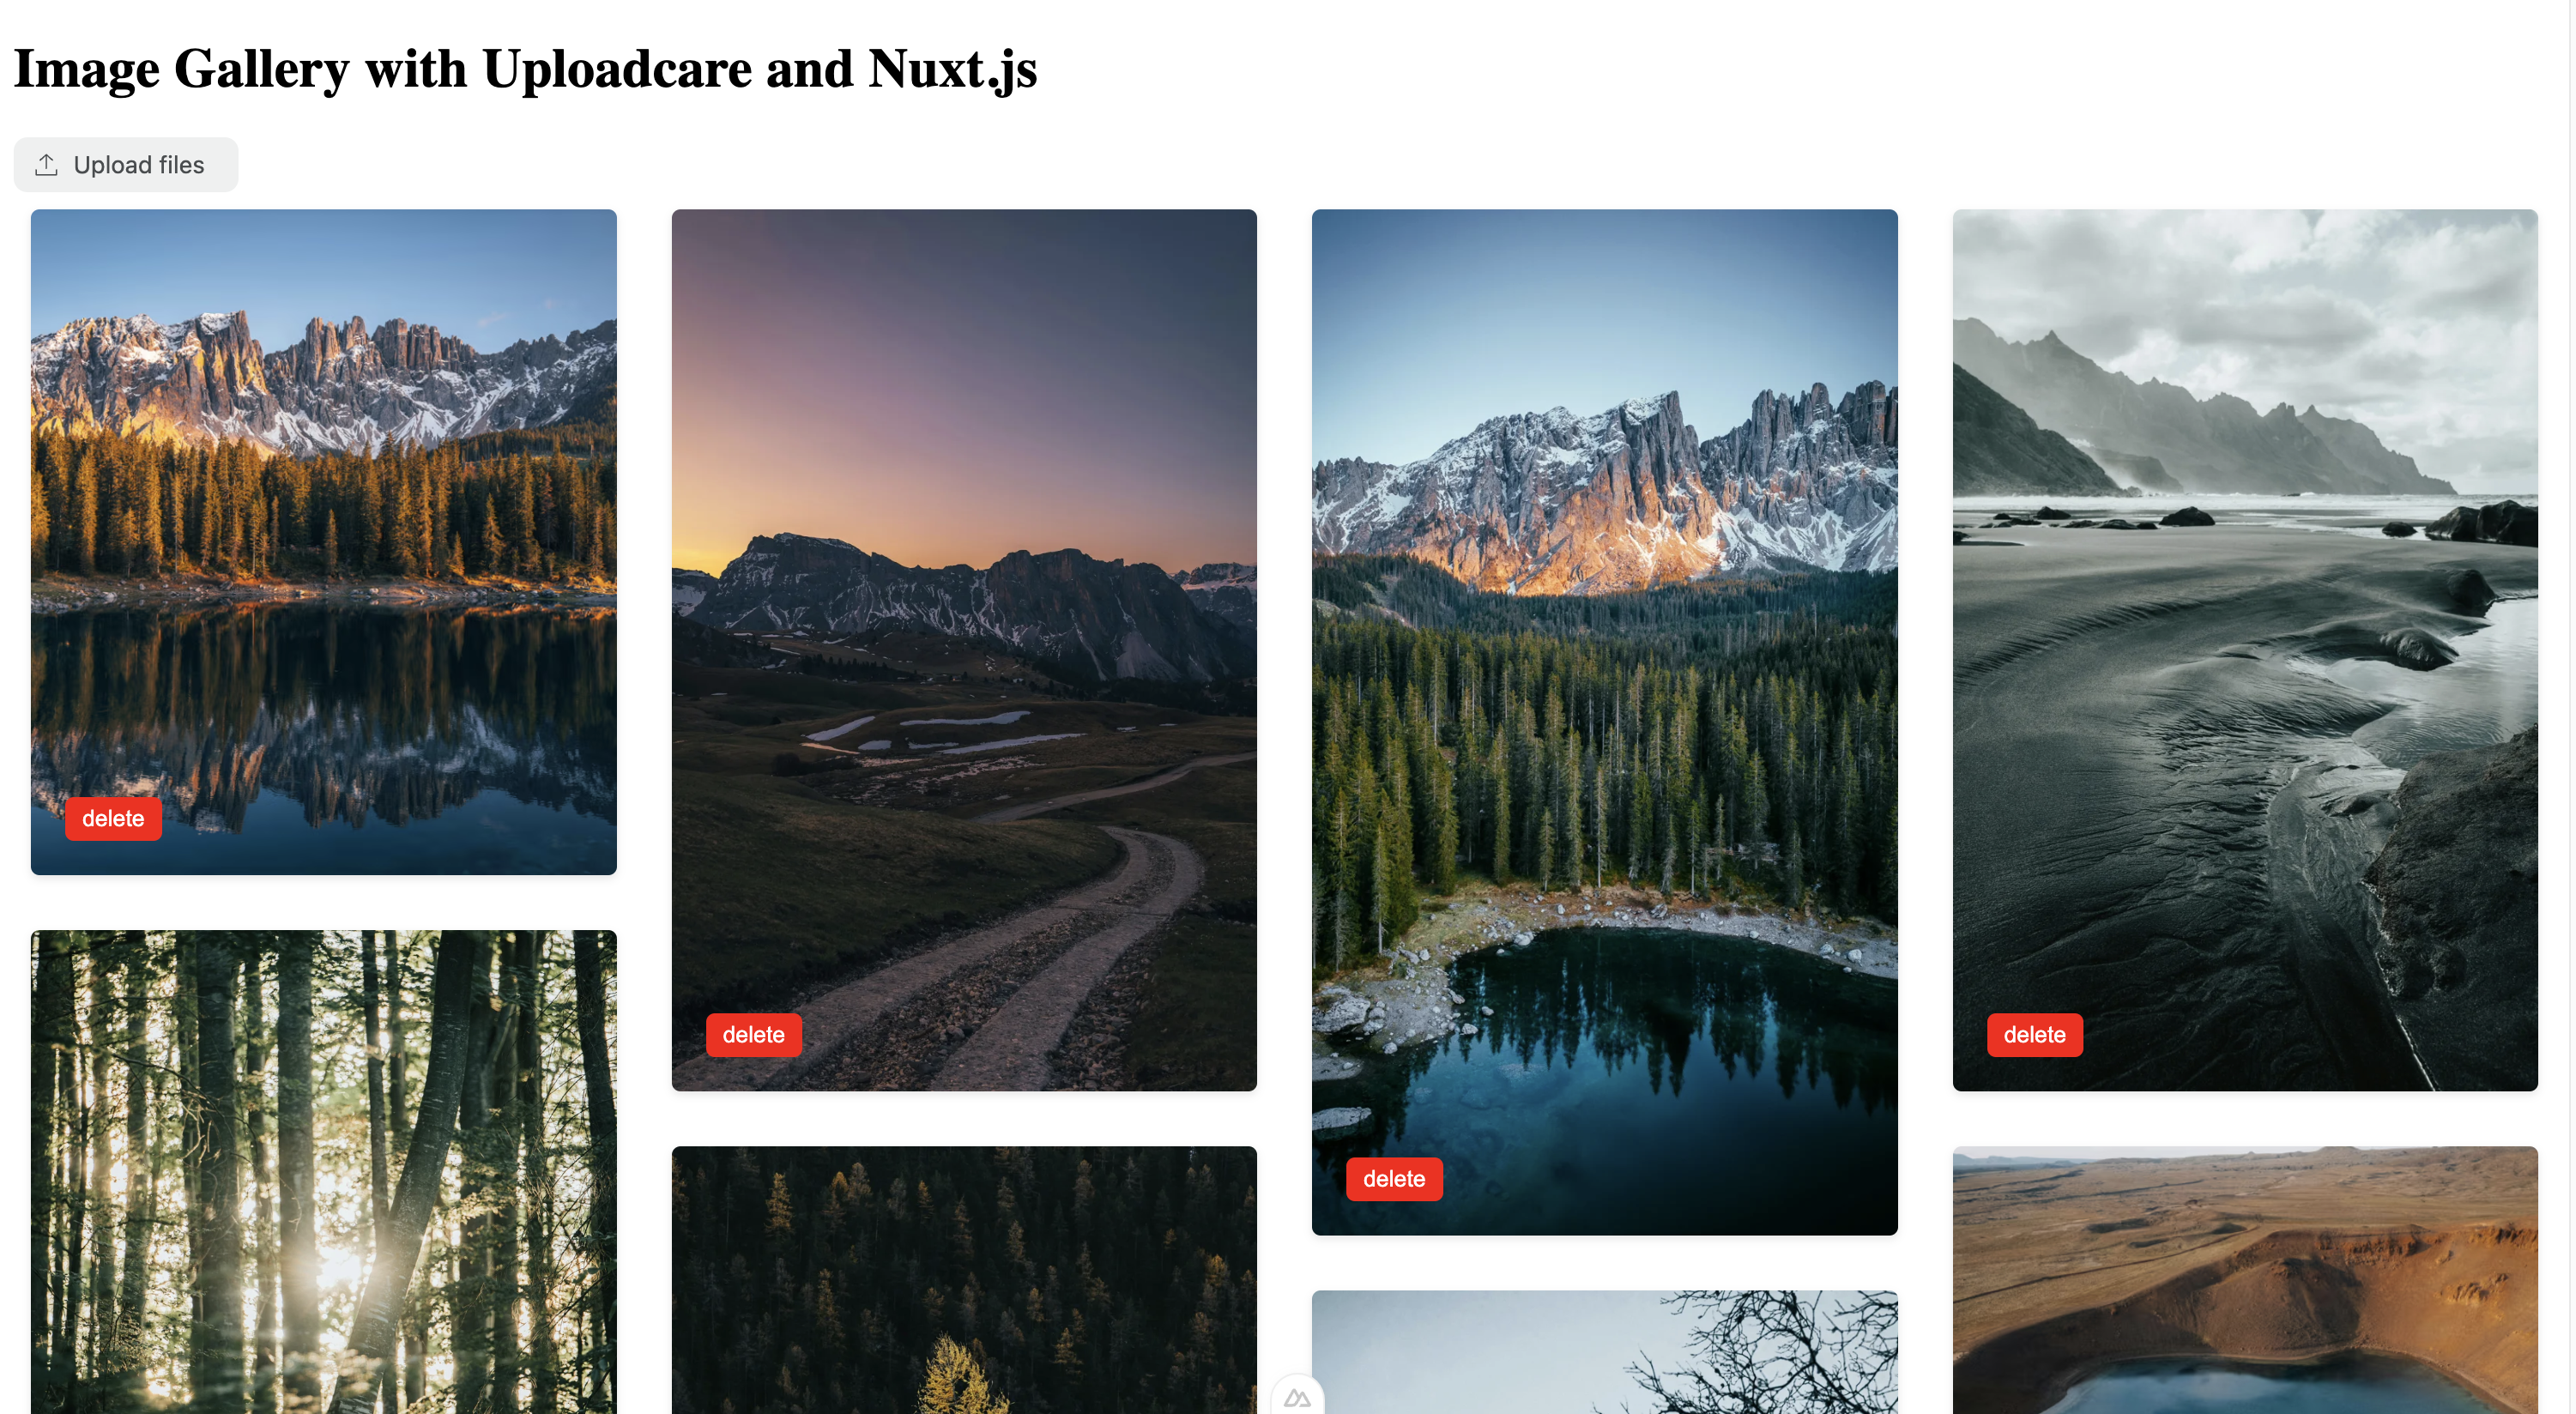
</template>Upload a couple of images to the file uploader, and you should see the images displayed in the gallery component like this:
 Images displayed in the gallery component
You’ve successfully created an image gallery that fetches data from Uploadcare servers using the JS Client SDK
and displays the images using the NuxtImg component.
Implement a delete image functionality
Ideally, you may want to delete an image from the gallery if the wrong image was uploaded.
Let’s implement a functionality to delete images from the gallery with one click.
Create a delete API route
In the server/api directory, create a delete-file.ts file with the code snippet:
import { UploadcareAuthSchema, deleteFile } from '@uploadcare/rest-client';

export default defineEventHandler(async (event) => {
  const { uuid } = await readBody(event);

  const runtimeConfig = useRuntimeConfig();
  const UCAuth = new UploadcareAuthSchema({
    publicKey: runtimeConfig.public.uploadcarePublicKey,
    secretKey: runtimeConfig.uploadcareSecretKey,
  });
  try {
    const data = await deleteFile({ uuid }, { authSchema: UCAuth });
    console.log({ data });
    return {
      statusCode: 200,
      statusMessage: 'File deleted successfully',
    };
  } catch (error) {
    return error;
  }
});
The code above:
- Gets the
uuidof the file that needs to be deleted from theeventpassed. - Uses the
deleteFilemethod from the SDK to send a delete request to Uploadcare’s server. - When successful, it returns a
statusCodeandstatusMessageor an error if the request fails.
Next, let’s create a button that will use this API to delete images from the gallery.
Create a delete button
In the gallery.vue component, add a handleDeleteFile function:
const handleDeleteFile = async (uuid) => {
  const response = await $fetch(`/api/delete-file/`, {
    method: 'DELETE',
    body: JSON.stringify({ uuid }),
  });
  console.log(response);
  if (response.statusCode === 200) {
    files.value = files.value.filter((f) => f.uuid !== uuid);
  }
};
The handleDeleteFile function sends a request to /api/delete-file/ in order to delete the file from Uploadcare servers
by using the uuid. When the request is successful, it also removes the file from the file state variable.
Within the template section of the gallery.vue component,
add a button that triggers the handleDeleteFile function immediately after the NuxtImg component.
<template>
  ...
  <button class="delete-button" @click="handleDeleteFile(file.uuid)">
    delete
  </button>
  ...
</template>
Next, add the following CSS code to style the button:
.delete-button {
  position: absolute;
  bottom: 20px;
  left: 20px;
  padding: 5px 10px;
  border: none;
  border-radius: 5px;
  background-color: red;
  color: white;
  cursor: pointer;
}
This will add a delete button that will appear like this in the browser:
 Delete button in the gallery component
Clicking the delete button will remove the image from the gallery and also delete the image from Uploadcare servers.
Conclusion
In this tutorial, you’ve successfully built an image gallery, that can upload, delete
and display files in Nuxt.js using the Uploadcare File Uploader and JS Client SDK.
You were also able to set up Uploadcare as a provider for NuxtImg to transform images on the fly.
To learn more about Uploadcare File Uploader and JS Client SDK, check out the File Uploader docs and JS Client SDK docs.