How to upload files in Webflow using Uploadcare
Last edited:
Webflow is a no-code tool that enables you to design and build responsive websites visually.
In this tutorial, you’ll learn how to integrate the Uploadcare File Uploader into your Webflow websites using the Uploadcare Webflow app.
Prerequisites
To follow along with this tutorial, you will need:
- A free Uploadcare account
- A free Webflow account
- (Optional) A paid Webflow plan for customizing the File Uploader, as Webflow only allows the use of custom code on paid plans.
Obtain a Public API key
Head over to your Uploadcare dashboard and copy your Public API key. The Public key for a project is located in your Uploadcare Project Dashboard -> API keys.
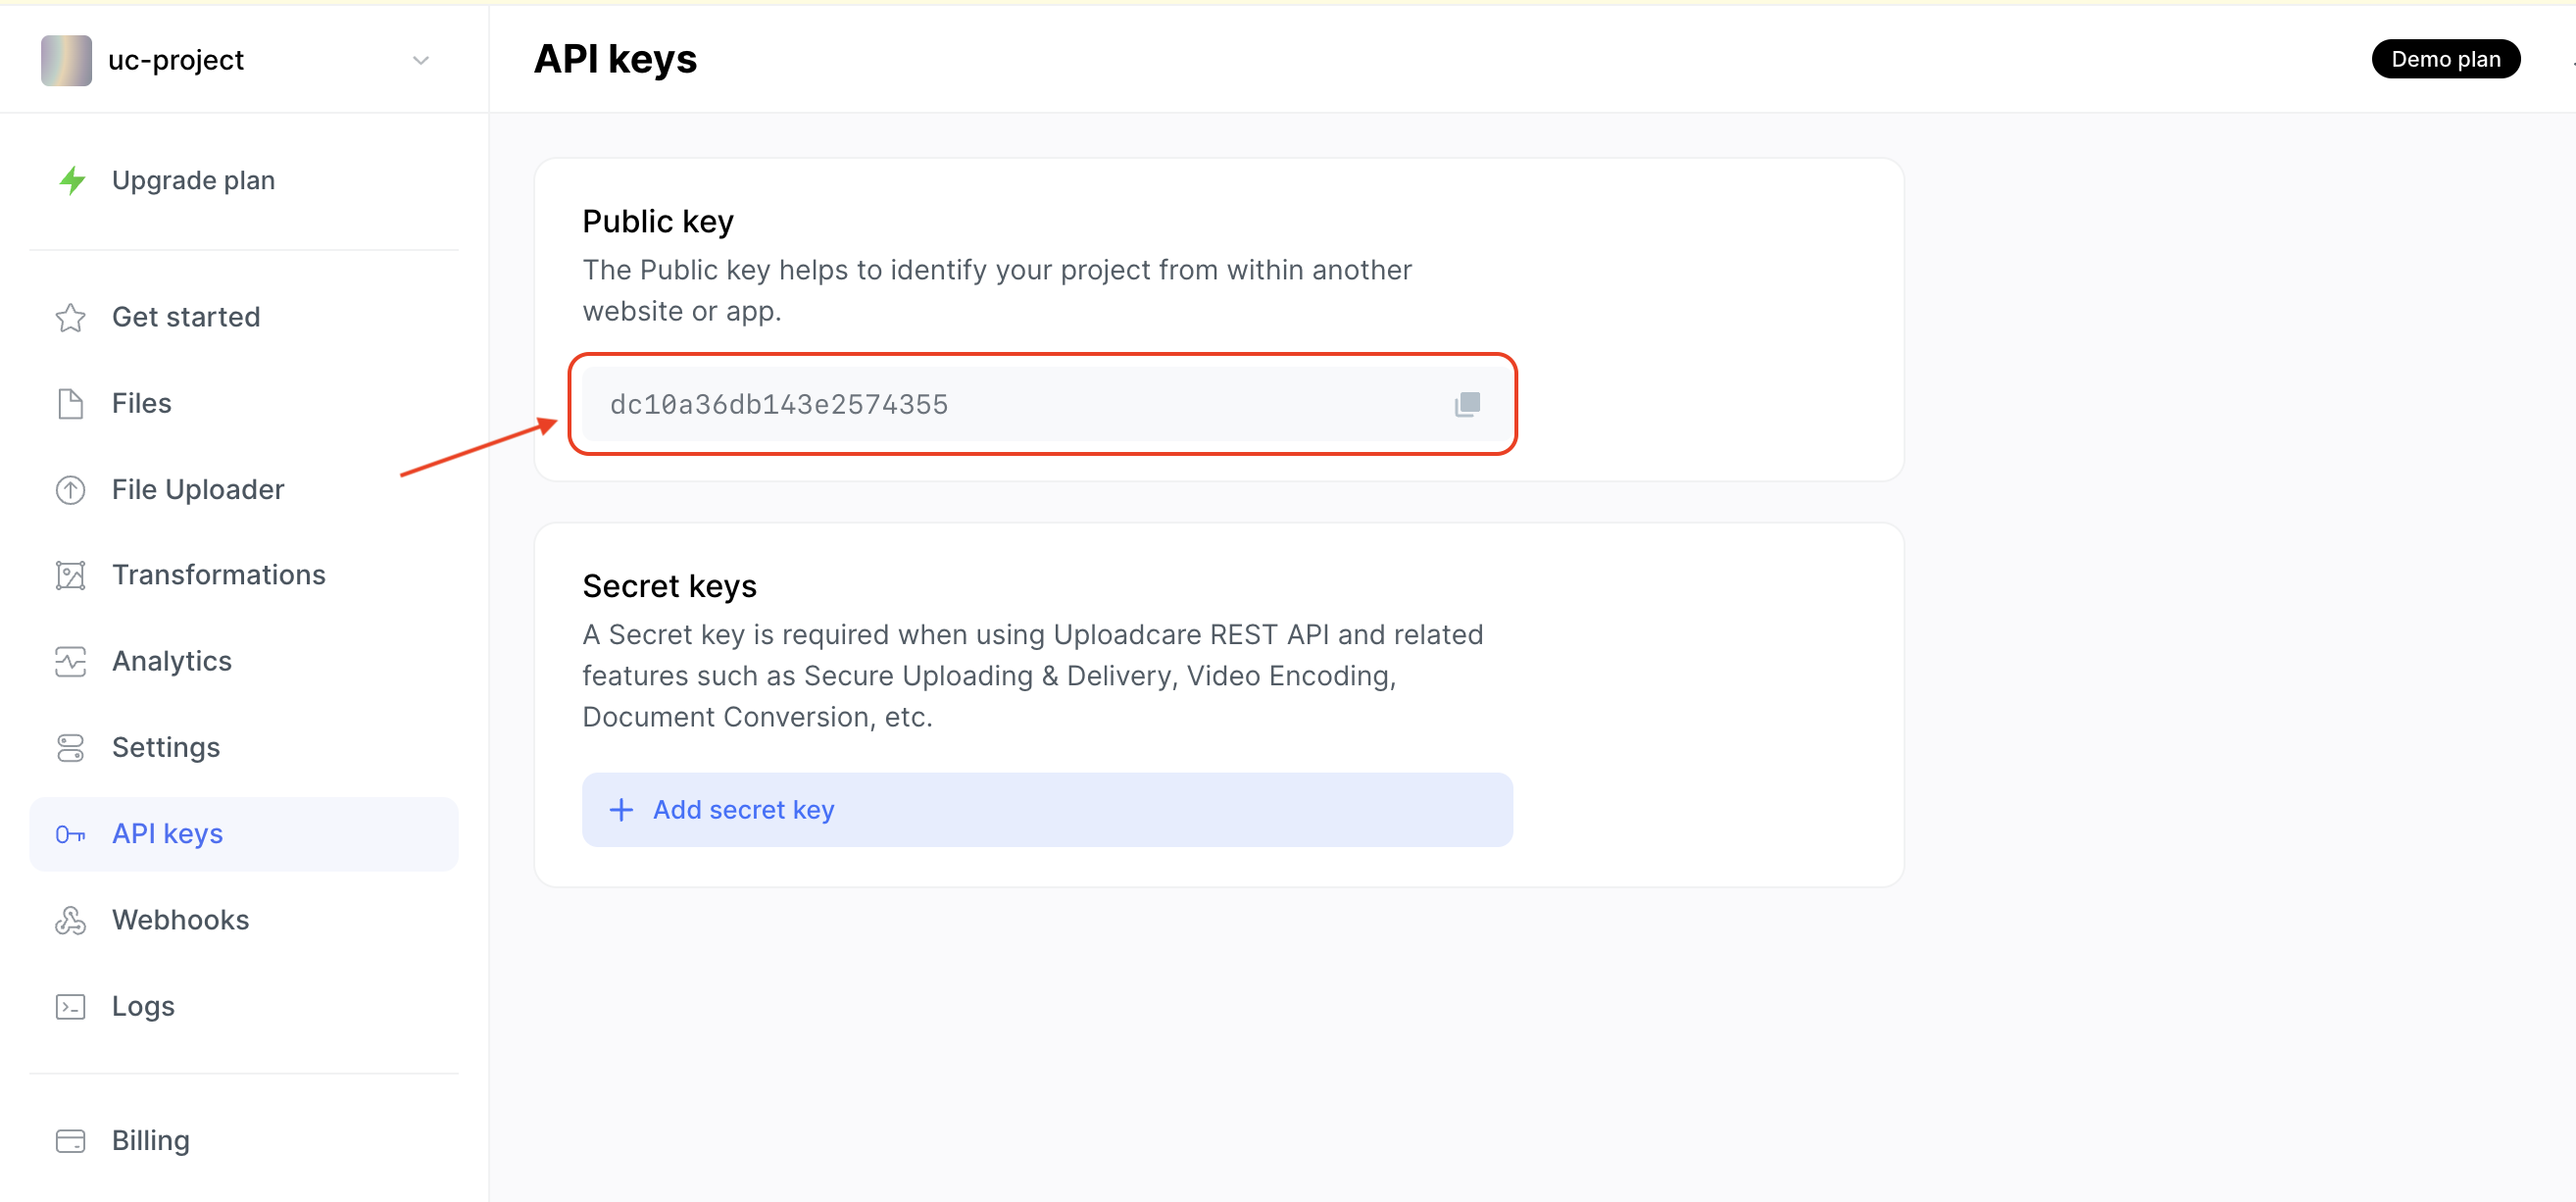 Uploadcare Public API key in the Uploadcare dashboard
You will use the Public key in the next steps of this tutorial.
Create a form block in Webflow
From your Webflow dashboard, create a new Webflow project or open an existing one using the Webflow designer tool.
Inside your Webflow project, add a form block to the page where you want to integrate the File Uploader. To do this:
- Click on Add Elements (plus sign button).
- Drag a Form Block onto the page.
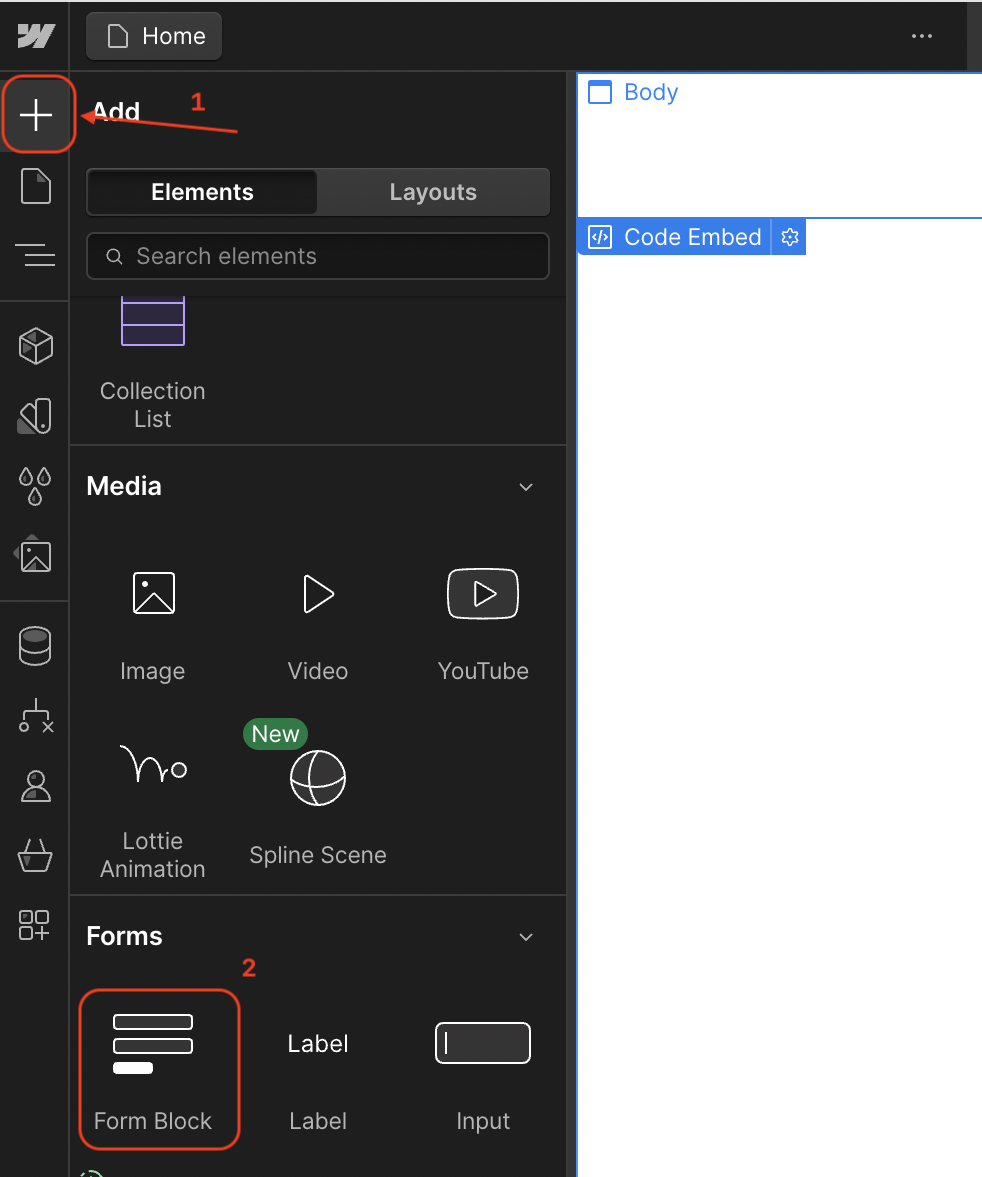 Adding a form block in Webflow Designer
Install the Uploadcare Webflow app
Install the File Uploader app using the following steps:
- Click on the Apps icon to install a new app.
- Search for Uploadcare File Uploader or File Uploader in the search bar.
- Click install on the Uploadcare File Uploader app to install it.
 Uploadcare file uploader app installation in Webflow
This will also launch the File Uploader settings panel.
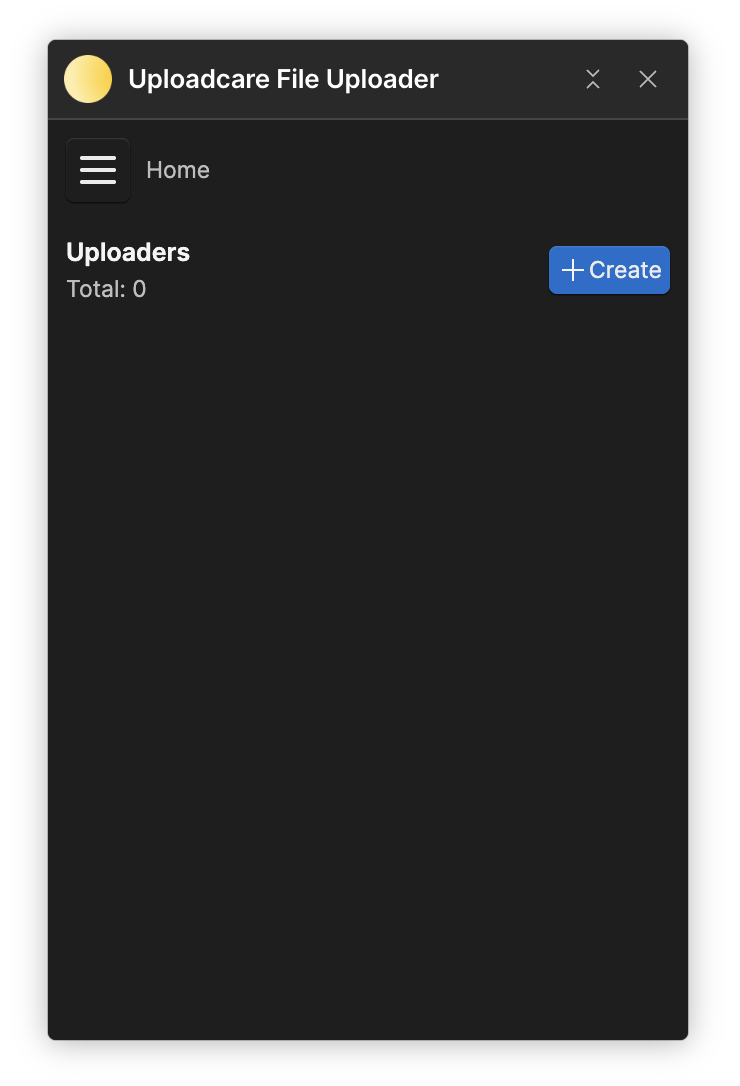 File Uploader settings panel in Webflow
Add the File Uploader component to the form
Inside the form block, click on the Form element to select it. Then, click on the + Create button in the File Uploader settings panel to add the File Uploader component to the form.
This will open a modal where you can configure the File Uploader settings and choose your desired options.
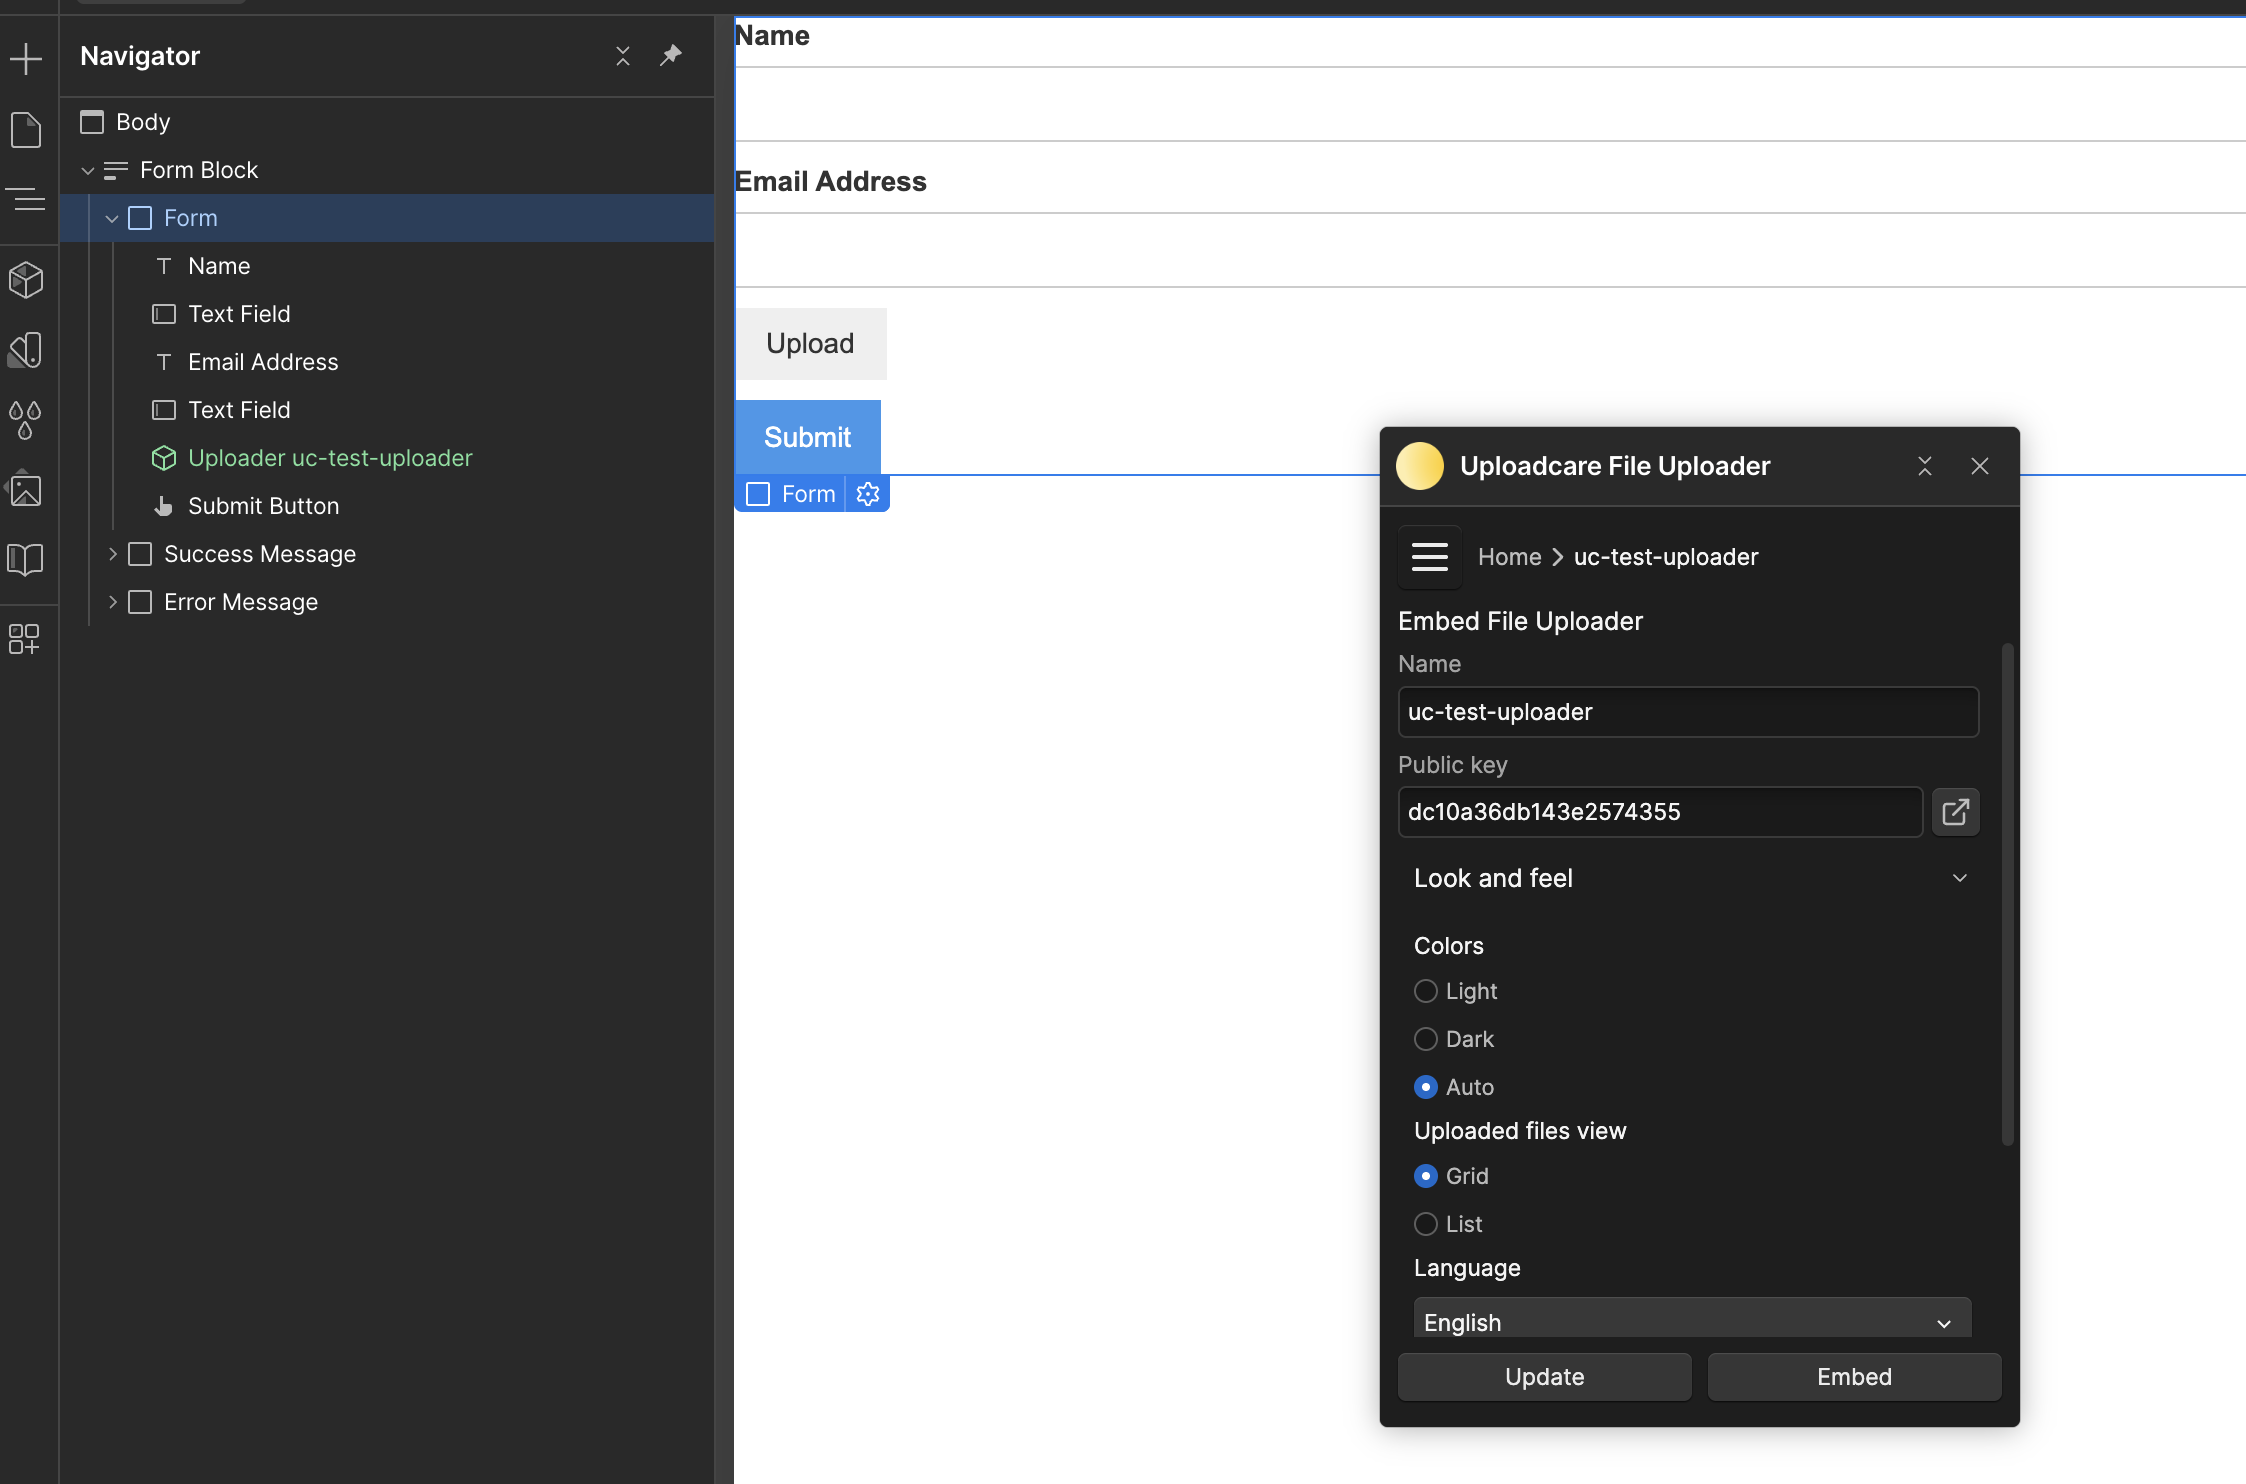 File Uploader settings modal in Webflow
Inside the modal, you can configure options such as:
- Name: Set a name for the File Uploader component (e.g.,
my-uploader). - Public Key: Paste your Uploadcare Public API key that you copied earlier.
- File types: Specify the types of files that can be uploaded (e.g., images, documents).
- Max file size: Set a limit on the size of files that can be uploaded.
- Multiple files: Allow users to upload multiple files at once.
When done, click on the Embed button to save your changes and insert the File Uploader component into the form.
If you want to add multiple file uploaders, repeat the process by clicking on the + Create button in the File Uploader settings panel for each additional uploader and specifying the uploader’s name and public key.
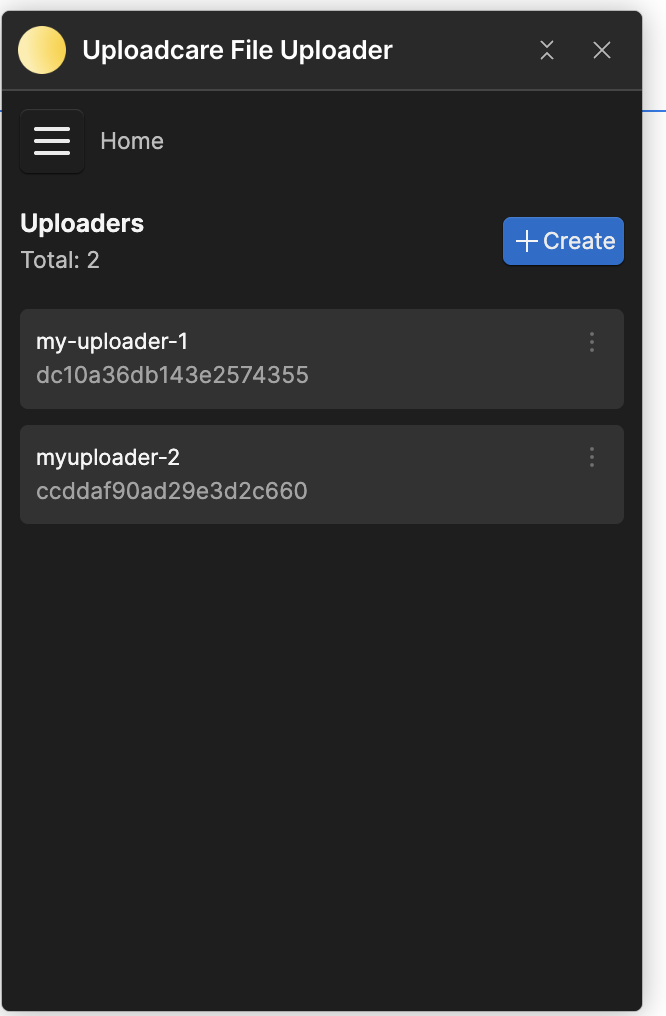 Multiple File Uploaders in Webflow
Publish your Webflow site
To see the results, you need to publish the page. To do this:
- Click on the Publish button.
- Select the domain to which you want to publish your page.
- Click on the Publish to selected domains button.
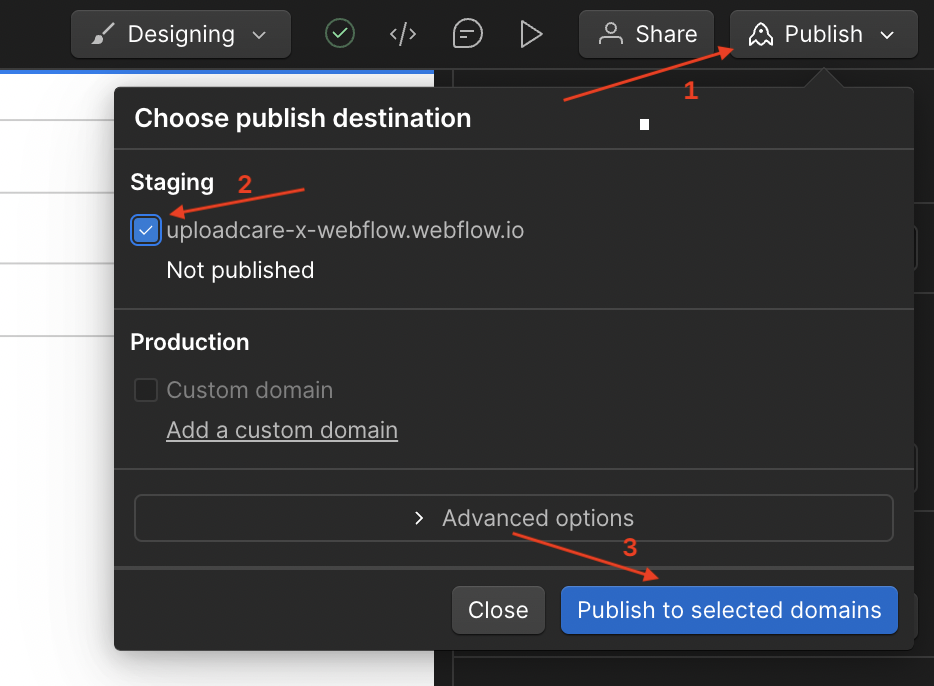 Publishing a Webflow site with the File Uploader integrated
To view the results, click the link icon next to the domain name to open the page in a new tab.
You should have a form with a file uploader that looks like this:
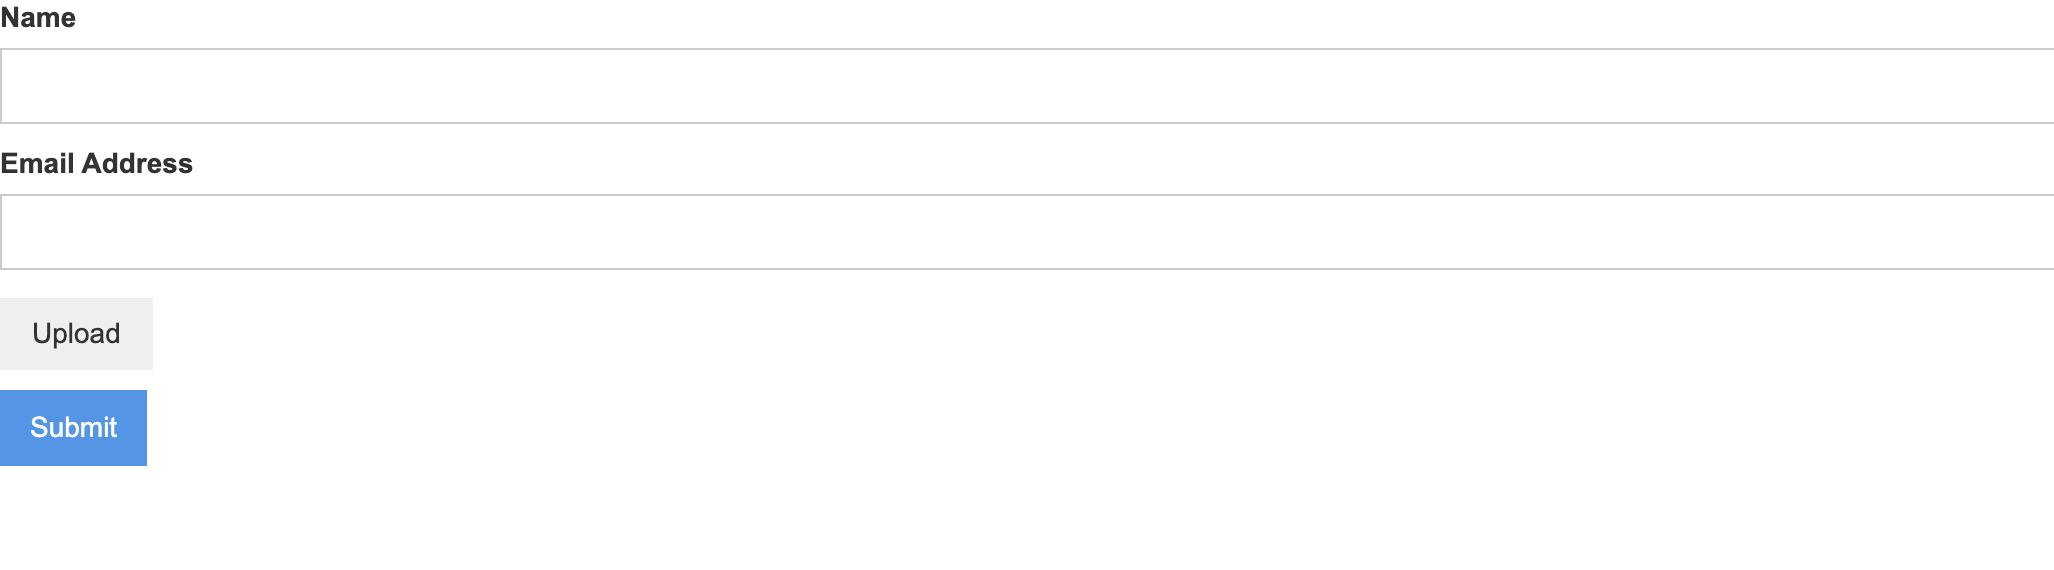 Webflow form with File Uploader integrated
Clicking on the “Upload” button will open the File Uploader modal to upload files.
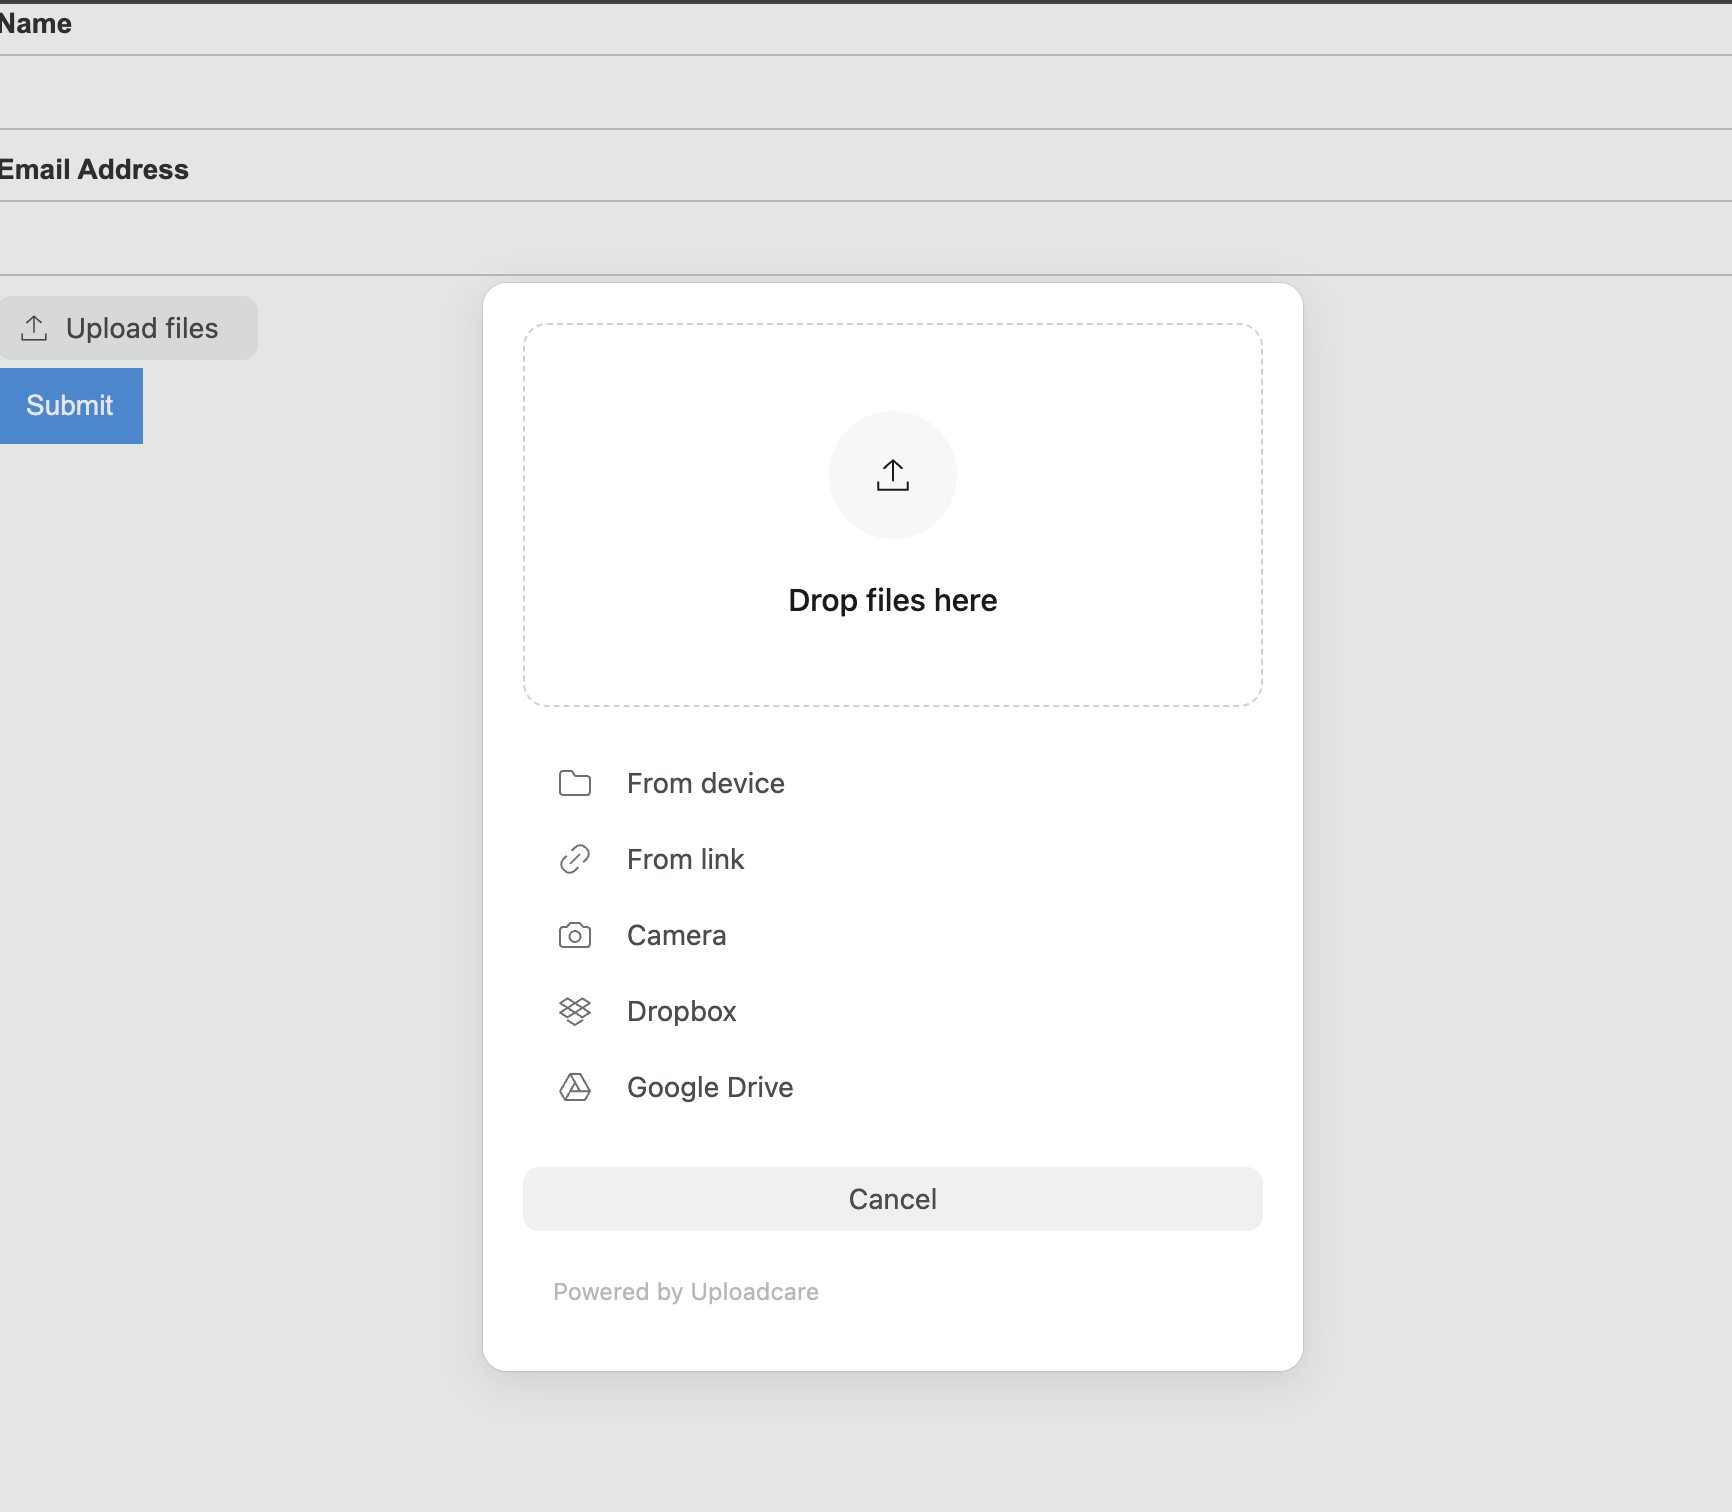 File Uploader modal for uploading files
Customizing the File Uploader
Go to your Webflow Dashboard → Project → Site Settings → Custom Code. In the Custom Code tab, you can add custom CSS code to style the File Uploader and customize it to fit your design.
The code below can be used to customize the File Uploader color accent for light and dark mode:
<style>
  uc-file-uploader-regular {
    --uc-primary-oklch-dark: 69% 0.1768 258.4;
    --uc-primary-oklch-light: 59% 0.22 264;
 }
</style>
Styling individual components
You can also customize the individual components of the File Uploader by targeting the component’s block name with CSS.
uc-simple-btn button {
  width: 500px;
  padding: 20px;
  background-color: #000;
  color: #fff;
}
The code above changes the button’s background color in the File Uploader to black, sets the width to 500px, and changes the text color to white.
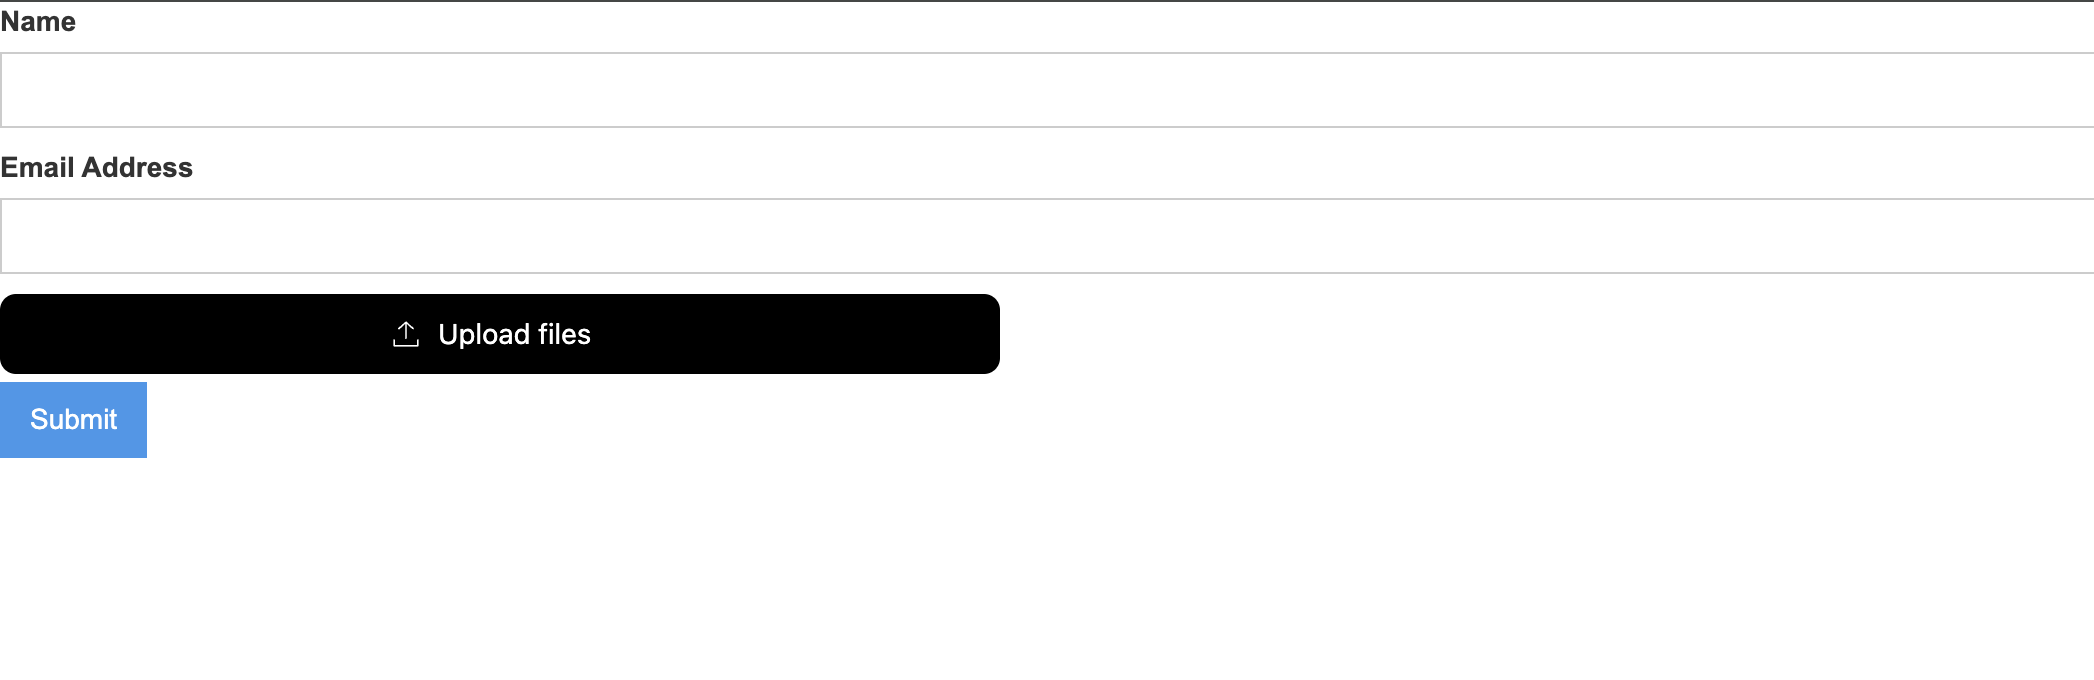 Customized button in File Uploader
For more details on customizing the File Uploader, check out the styling page.
Conclusion
In this tutorial, you’ve successfully integrated Uploadcare File Uploader into your Webflow websites with the Uploadcare Webflow app. You also customized the File Uploader to fit your design.
Uploadcare also provides more advanced features, such as image editing, file conversion, and more. To learn more about these features, check out the Uploadcare documentation.