- learning
- guides
- #watermarks
Watermarks, build cover for your images
Quite often we see that some image on the web is protected with watermarks (i.e. logos or symbols applied over an image). A watermark is created as a separate layer that is then merged with the original image.
One way to watermark an image is to use an image processing software in manual or automatic mode. Another way is a near-real time on-demand image processing — a concept we cultivate within our CDN.
In the latter case, a watermark is applied to an image through the overlay operation. In short, the operation allows users to layer images.
Now, to the hands-on examples
If you’d like to experiment with your own examples, make sure that,
- You’re already registered with Uploadcare. In case you aren’t, sign up.
- You've already uploaded some images that you want to add watermarks to your Uploadcare project.
- You've prepared and uploaded images you'd like to become watermarks into the same Uploadcare project (those you want to overlay on top of other images).
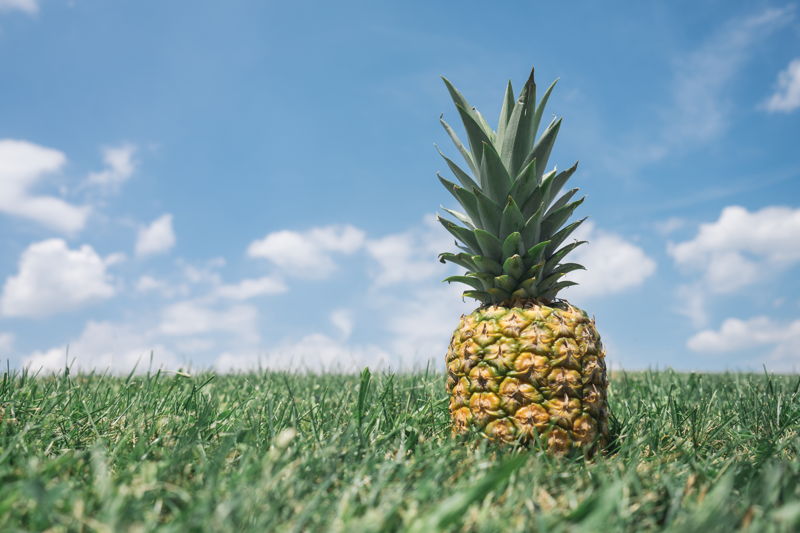
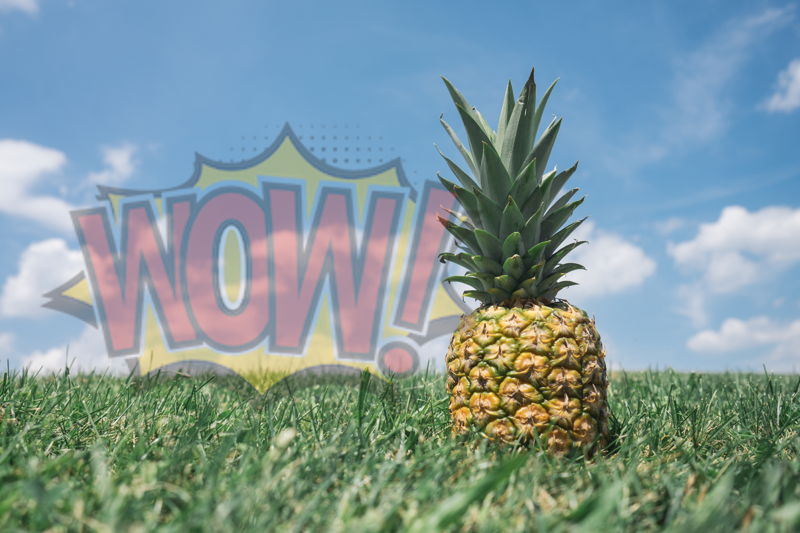
Okay, the images are at hand — let’s go. Basically, in order to apply a watermark to an image, you only need to construct a proper URL. Since we’re only going to be working with URLs, this can be a truly fun and interactive tutorial. The image we will be applying a watermark to is this one (let’s refer to it as just 'pineapple'),
/22240276-2f06-41f8-9411-755c8ce926ed/-/preview/640x480/
Full-sized images from the CDN can be accessed via a direct link, while their processed versions contain operations in the URLs. Please, refer to our image processing references for more.
Basic syntax
All the cool things with our CDN are made using operations,
and overlay is an operation too. Its syntax goes like this,
-/overlay/:uuid/:relative_dimensions/:position/:opacity/Look at the code string above and mind the two separators used within
Uploadcare CDN operations: a forward slash / is used to divide parameters of operations,
while a dash in between the two forward slashes /-/ is used to split off image UUIDs and/or operations.
We’re going to use the leading -/ to tell operations from parameters.
The parameters of the overlay operation are marked with a :colon.
The sequence of the parameters is important, every parameter is optional and can be omitted.
Now, let’s talk about what the parameters do.
:uuid
A UUID is used to specify an image within our CDN.
Please note, that in order to be recognized by its :uuid,
a watermark image should be related to the same account as the original image.
Here, let’s unveil the overlay we’d like to be put over the pineapple,
-/overlay/b18b5179-b9f6-4fdc-9920-5539f938fc44/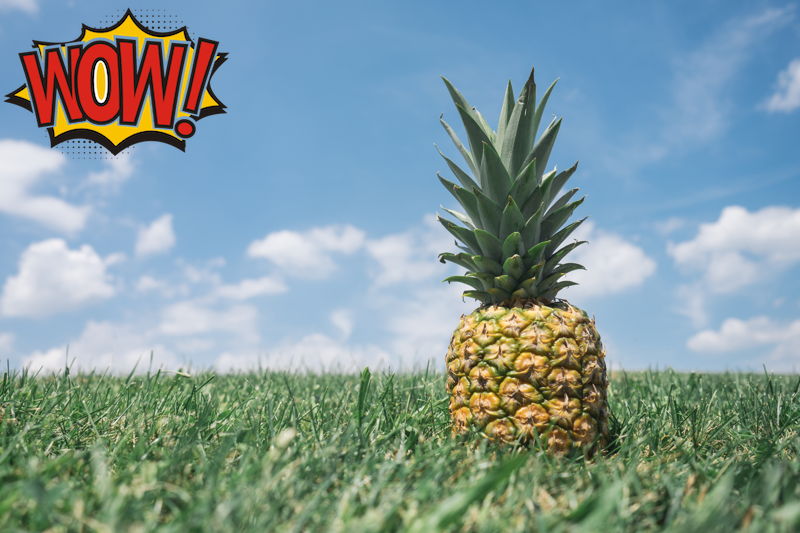
As you see, the overlay image is presented in its original size, is opaque, and positioned in the top-left corner of the underlying image. We can change all of those using the following parameters.
:relative_dimensions
As the name implies, this parameter enables users to scale an overlay. The two supported scaling modes can be defined as static and dynamic. The first stands for setting the overlay size in pixels (aspect ratio is always preserved, so you define the maximum size along one of its axes). It works like this,
-/overlay/b18b5179-b9f6-4fdc-9920-5539f938fc44/800x800/

Yup, we see that the size is affected. Another option would be to use dynamic scaling, where the size of an overlay is derived from the dimensions of an underlying image. This mode is enabled simply by using percent format in the expression:
-/overlay/b18b5179-b9f6-4fdc-9920-5539f938fc44/70%x80%/

In URLs, % is an escape character; it can’t be used as-is.
Use a %25 escape sequence or a p shortcut for percent.
:position
This parameter controls the positioning of an overlay on top of the original image. Again, either pixel (as an offset from the top-left corner) or percent format can be used. The coordinates within the parameter are separated by a coma. See the examples,
Pixel format: -/overlay/b18b5179-b9f6-4fdc-9920-5539f938fc44/128,128/

Percent format: -/overlay/b18b5179-b9f6-4fdc-9920-5539f938fc44/70p,80p/
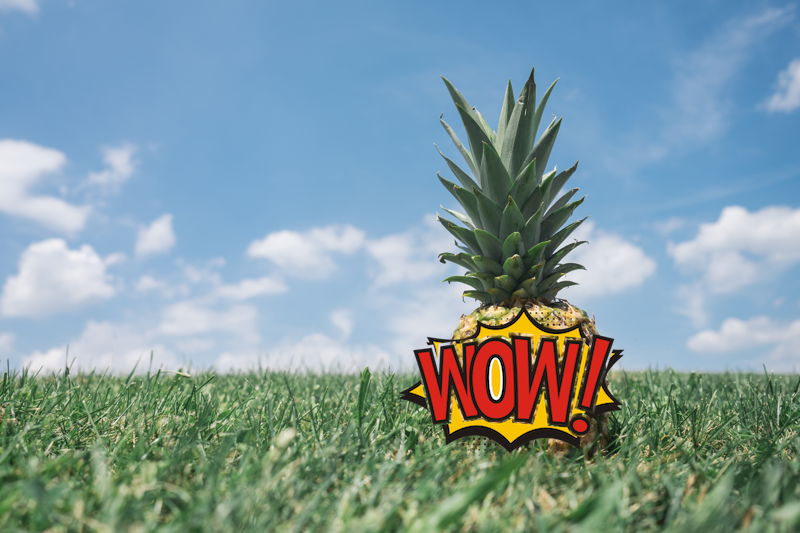
Please note, that when using the percent format you define coordinates within the difference between maximum dimensions of an overlay and an underlying image.
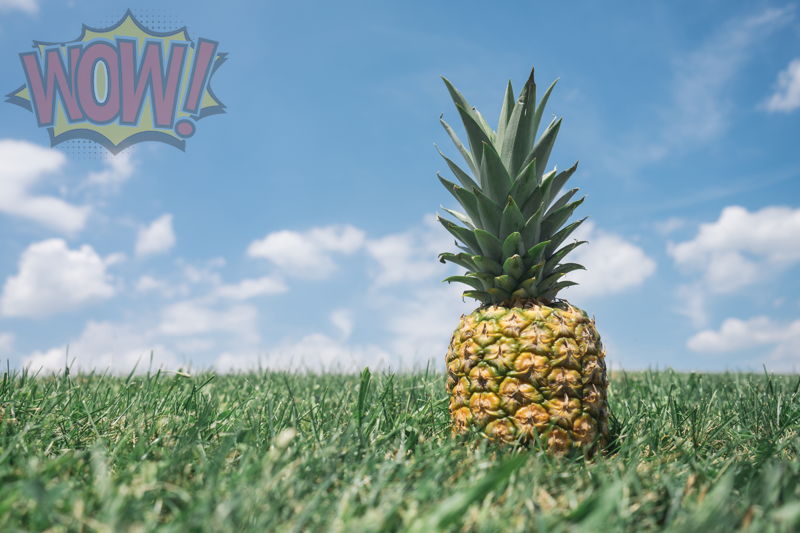
:opacity
This parameter lets you adjust how transparent an overlay is. That’s especially useful for watermarks.
What you control with the parameter is a percentage-based degree of image opacity. The syntax is straight-forward (the example shows a 30% watermark over our pineapple),
-/overlay/b18b5179-b9f6-4fdc-9920-5539f938fc44/30p/
Mixed use
Now that we’ve learned how to use the listed techniques effectively,
it’s quite obvious that all of the :overlay parameters can be used together.
This means a watermark of our preference can be moved, resized, and made transparent.
Let’s make a great URL for that,
-/overlay/b18b5179-b9f6-4fdc-9920-5539f938fc44/60px60p/10p,50p/30p/
Withal, we aren’t placing any restrictions on the overall number of overlays per request — this means you can layer as many watermarks over an image as you like. In this example, we use different coordinates and opacity settings for each of the four overlays,
-/overlay/efd02791-7511-42e9-850d-3b3d07f110ae/35px35p/10p,10p/40p/
  -/overlay/b18b5179-b9f6-4fdc-9920-5539f938fc44/35px35p/70p,5p/35p/
  -/overlay/b18b5179-b9f6-4fdc-9920-5539f938fc44/35px35p/15p,70p/55p/
  -/overlay/efd02791-7511-42e9-850d-3b3d07f110ae/35px35p/80p,90p/50p/
  -/preview/640x480/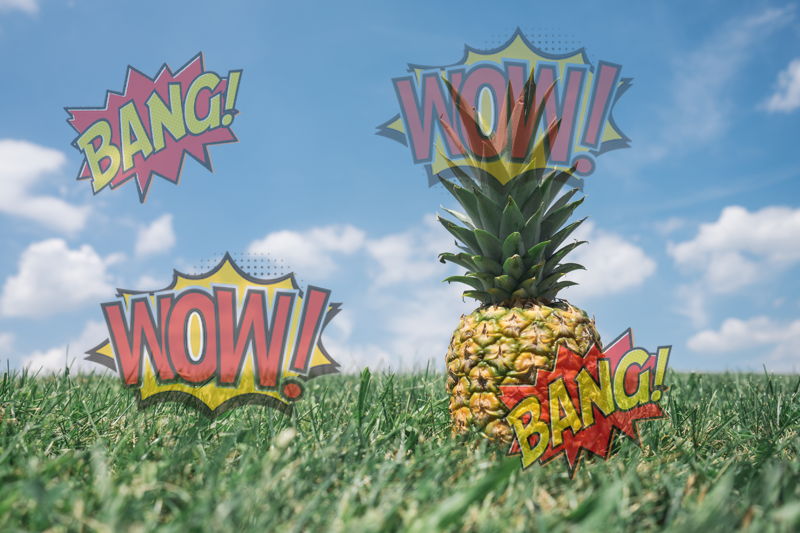
Overlay magic
Another ace-high point which you might find useful is
that the overlay operation is always performed last. Here’s what we mean,
-/overlay/:uuid/60px60p/20p,80p/80p/-/blur/70/
Yes, even though the overlay operation comes first in the URL, it will be performed last. Swoopy — an overlay would still be placed over an image even if it got cropped or otherwise processed.
Conclusion and a bit of a benchmark
Tests have shown that it only took about 20 ms to add an overlay to a small (0.2 MP) image and only about 90 ms to a mid-sized one (3 MP) — a swell result, but there will be a further boost in loading time once the images will be cached by our CDN.
Actually, watermarks are one of the most obvious overlay usages.
There’s more to it, and we’d like you to explore the technical
and artistic capabilities of the feature. We hope you are enjoying your
Uploadcare experience. If you happen to have any questions — feel free
to contact our support.
Further reading
Watermarks can help you safeguard image content. The thing is, applying watermarks is as simple as typing in a proper URL. Thus, by just looking at a URL you made, another person may guess how to edit it to get rid of watermarks. Below we present the solution that will help you keep watermarks in place. Leaping ahead, we’ll make use of the REST API for that.
If we were using image processing software, we’d need to merge the two layers: an image and a watermark. To get this done in our case, we’ll need to make a copy of a processed image using our REST API. A new UUID is assigned to an image copy. So, you will then be able to operate with the two image versions: the original and the processed one. Hence, you can show your clients a full-sized version with watermarks and generate thumbnails from the original. Again, don’t forget to create copies of the thumbnail image versions because resizing is also performed on-the-fly and can be canceled by altering the URL.
The task is completed in four steps.
Step 1. Pick an image
Please note that we’re working with images already been uploaded to Uploadcare.
We will use the pineapple image, which is well-known after the watermarks tutorial.
The URL we constructed to show you the image looks like this,
https://ucarecdn.com/117a213f-94f5-453c-8533-ebde3c700d3b/-/preview/640x640/
Step 2. Add a watermark
We add a watermark to the pineapple image by using the overlay CDN operation.
The syntax used is as follows,
-/overlay/46d27658-220b-41e5-bf35-b71cc05ebcab/30p,50p/-/preview/640x640/.
As you can see, the operation syntax is straightforward. That is why security measures matter. The resulting image is shown below.
Step 3. Copy the processed image
Copy operations are generally performed using an Uploadcare library
for your preferred language. But we’d like to uncover the basics of how copying
is done using the raw REST API. This will help you understand what those
libraries do. So, in order to copy the processed image we need to make a request
to https://api.uploadcare.com/files/.
We’ve used this example for our image,
bash $ curl -X POST \
-H "Authorization: Uploadcare.Simple public_key:private_key" \
-d "source=117a213f-94f5-453c-8533-ebde3c700d3b/-/overlay/4f9e7225-9917-4ad2-960c-0d0809430211/20p,60p/-/preview/640x640/" \
-d "store=true" \
"https://api.uploadcare.com/files/"
As you can see, both public and secret keys are needed to make the copy request. The keys are required to make any request for authentication purposes. You should be using a key pair assigned to one of your Uploadcare projects. It’s important to notice that we’ve used the image UUID and all the operations applied as a source. This means that the image copy will have the watermark and be resized to fit 640 pixels along its largest dimension.
Step 4. Load the processed copy
Once the request is made, a new file appears in your project.
In our case, that’s a file where the underlying image is merged with the overlay,
this one, https://ucarecdn.com/72659dd2-19d8-460d-961a-329424f2ba8a/.
The URL has changed; it only contains a newly assigned UUID; no operations are present. As the watermark has become static, we may no longer worry about someone easily expelling it from the image. It’s worth pointing out that fixing overlays is not the only use of the copy procedure. Even in this example, it is also used to provide a smaller image.
Should you have any questions, feel free to post those around our community area.