In this article, you will learn how to crop an image using jQuery.
There are various jQuery libraries available for image cropping.
In this tutorial, however, you will use the jQuery cropper plugin,
which is a simple and effective way to do this on the client side using Cropper.js and jQuery.
Step 1: Install the required libraries
To start cropping images with jQuery, you need to include the necessary libraries in your HTML file.
You can use a CDN to include the jQuery and jQuery cropper libraries or install them via npm.
Here’s how to do it using a CDN:
Next, set up the HTML structure for the image cropper.
Inside of the HTML body, you will create an input field for selecting the image,
a div to display the image preview, and a button to trigger the cropping action.
Here’s an example of how your HTML structure should look:
The jQuery cropper library also requires the image being cropped to have a max-width of 100%,
so add some CSS to ensure the image fits well within the preview area:
<style>.container{max-width: 800px;margin: 20px auto;padding: 20px;}#imagePreview img{/* This rule is very important, do not ignore this! */max-width: 100%;}.cropped-result{margin-top: 20px;padding: 10px;}</style>
Step 3: Initialize the jQuery cropper
Now that you have set up the HTML structure, you need to initialize the jQuery cropper.
You will use the cropper method to create a cropper instance on the image preview div when an image is selected.
The code below demonstrates how to do this:
$(document).ready(function(){let $cropImage;$('#imageInput').on('change',event=>{const files = event.target.files;if(!files?.length){return;}const reader =newFileReader();
reader.onload=e=>{// Destroy existing cropper if it existsif($cropImage?.data('cropper')){
$cropImage.cropper('destroy');}$('#imagePreview').html(`
<img id="cropImage" src="${e.target.result}" alt="Image to crop">
`);
$cropImage =$('#cropImage');// Initialize jQuery cropper
$cropImage.cropper();};
reader.readAsDataURL(files[0]);});});
This code does the following:
Listens for changes in the file input field.
Reads the selected image file using FileReader.
Displays the image in the #imagePreview div.
Initializes the jQuery cropper on the image element.
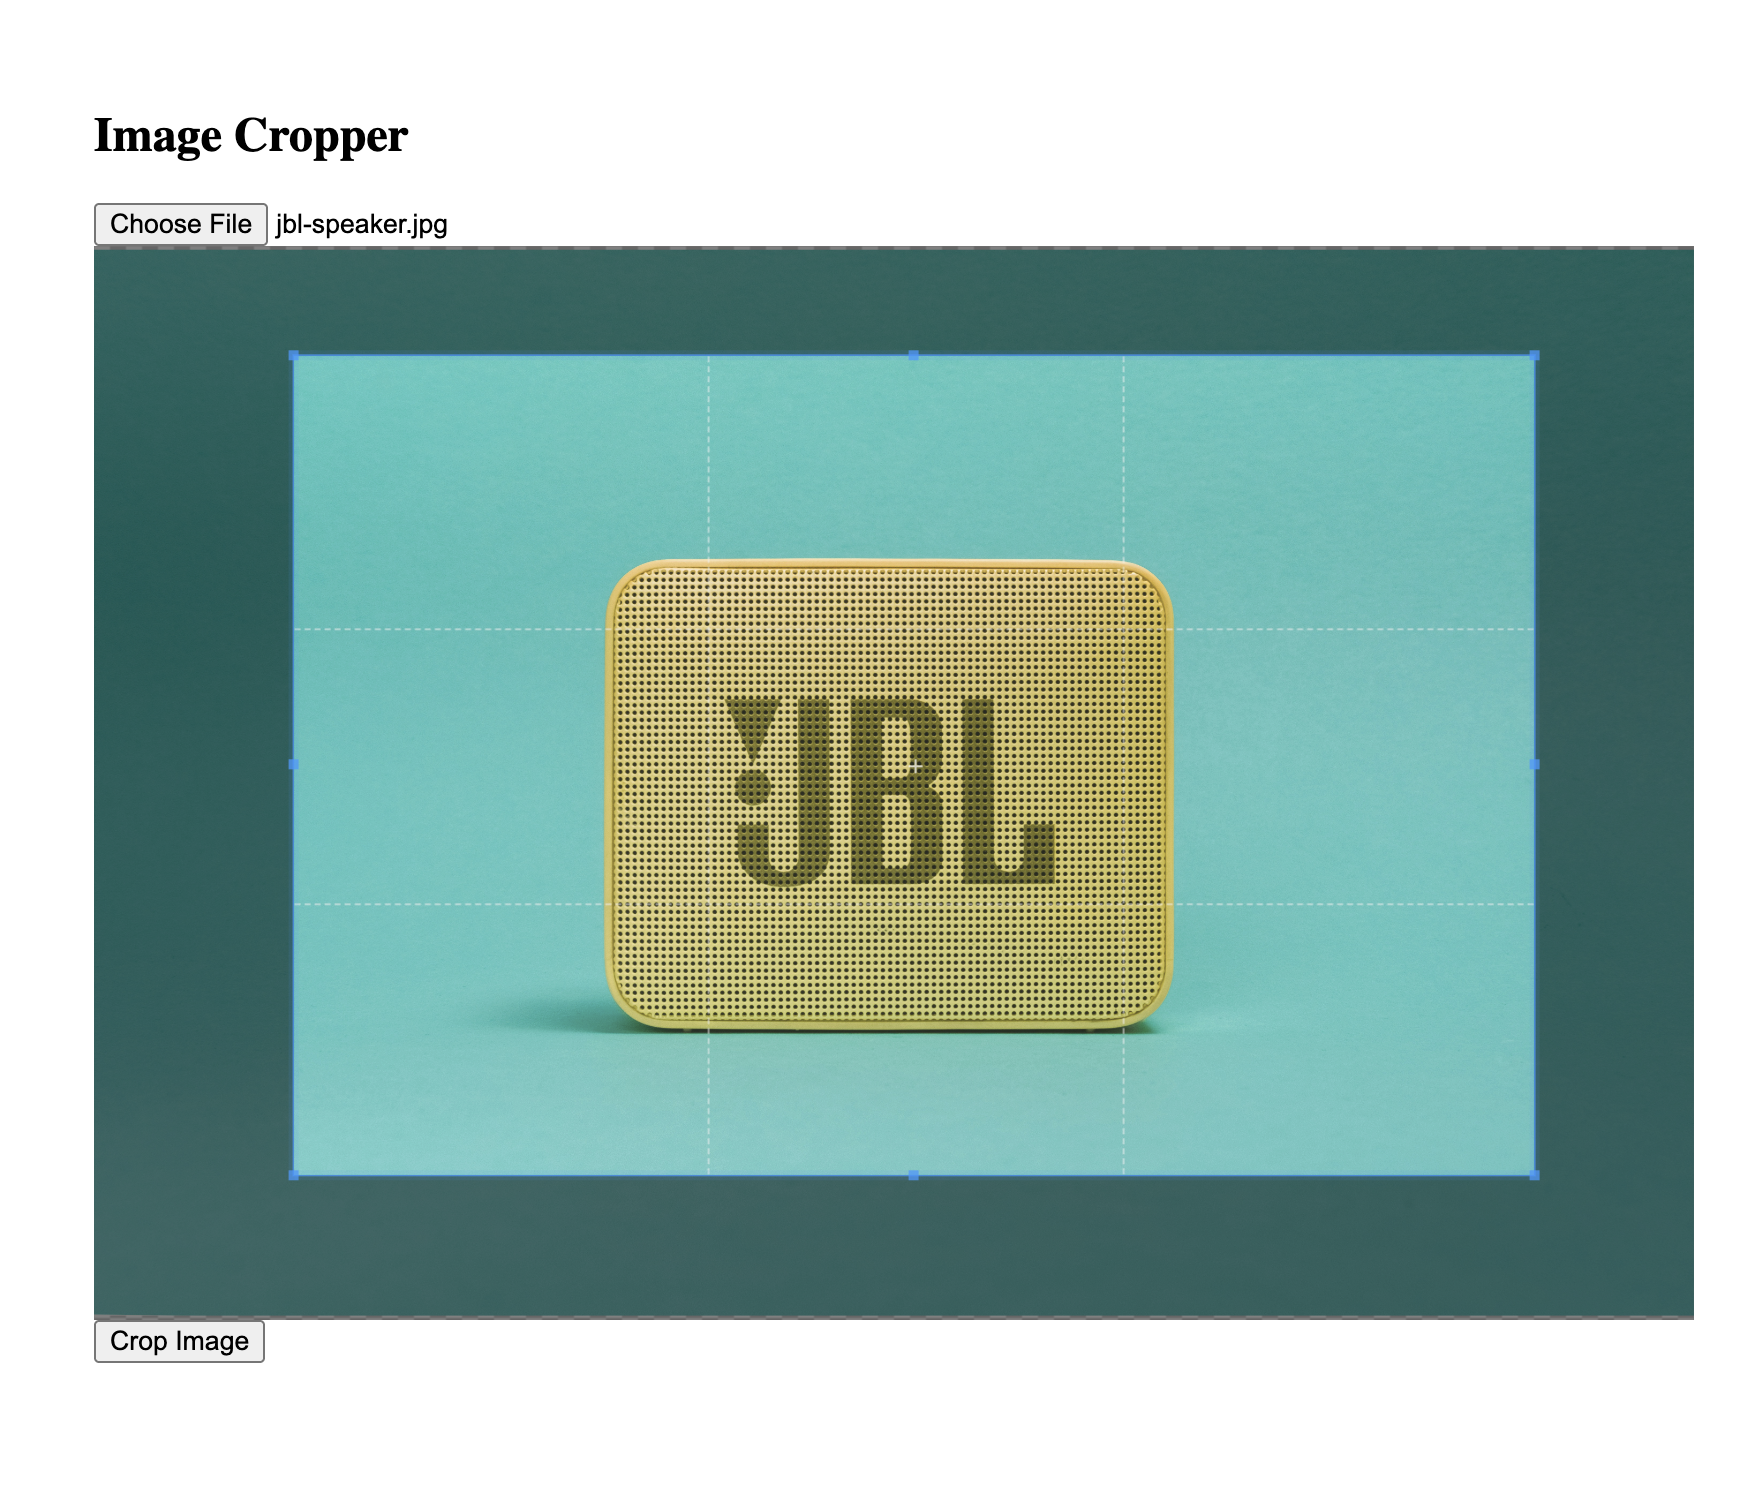
Open your page in a web browser, select an image file, and the image should be displayed in the preview area with the cropper initialized.
Image preview with cropper initialized
Step 4: Implement the cropping functionality
Now that you have initialized the jQuery cropper, you can implement the cropping functionality.
You will add a click event listener to the “Crop Image” button,
which will extract the cropped image data and display it in the #cropResults div.
Still inside of the $(document).ready() method, add the following code:
$('#cropButton').on('click',()=>{if(!$cropImage?.data('cropper')){alert('Please select an image first');return;}const canvas = $cropImage.cropper('getCroppedCanvas',{imageSmoothingQuality:'high'});
canvas.toBlob(blob=>{let $resultsContainer =$('#cropResults');// Create container if it doesn't existif(!$resultsContainer.length){
$resultsContainer =$('<div id="cropResults"></div>');$('.container').append($resultsContainer);}// Update the container content
$resultsContainer.html(`
<div class="cropped-result">
<h3>Cropped result</h3>
<img
src="${URL.createObjectURL(blob)}"
alt="Cropped image"
style="max-width: 400px;"
>
</div>
`);},'image/png',);});
In the code above:
The click event listener on the “Crop Image” button checks if the cropper is initialized.
It uses the getCroppedCanvas method to get the cropped image as a canvas.
The canvas is then converted to a Blob so that it can be displayed in the #cropResults div as an image.
If the #cropResults div does not exist, it creates one and appends it to the container.
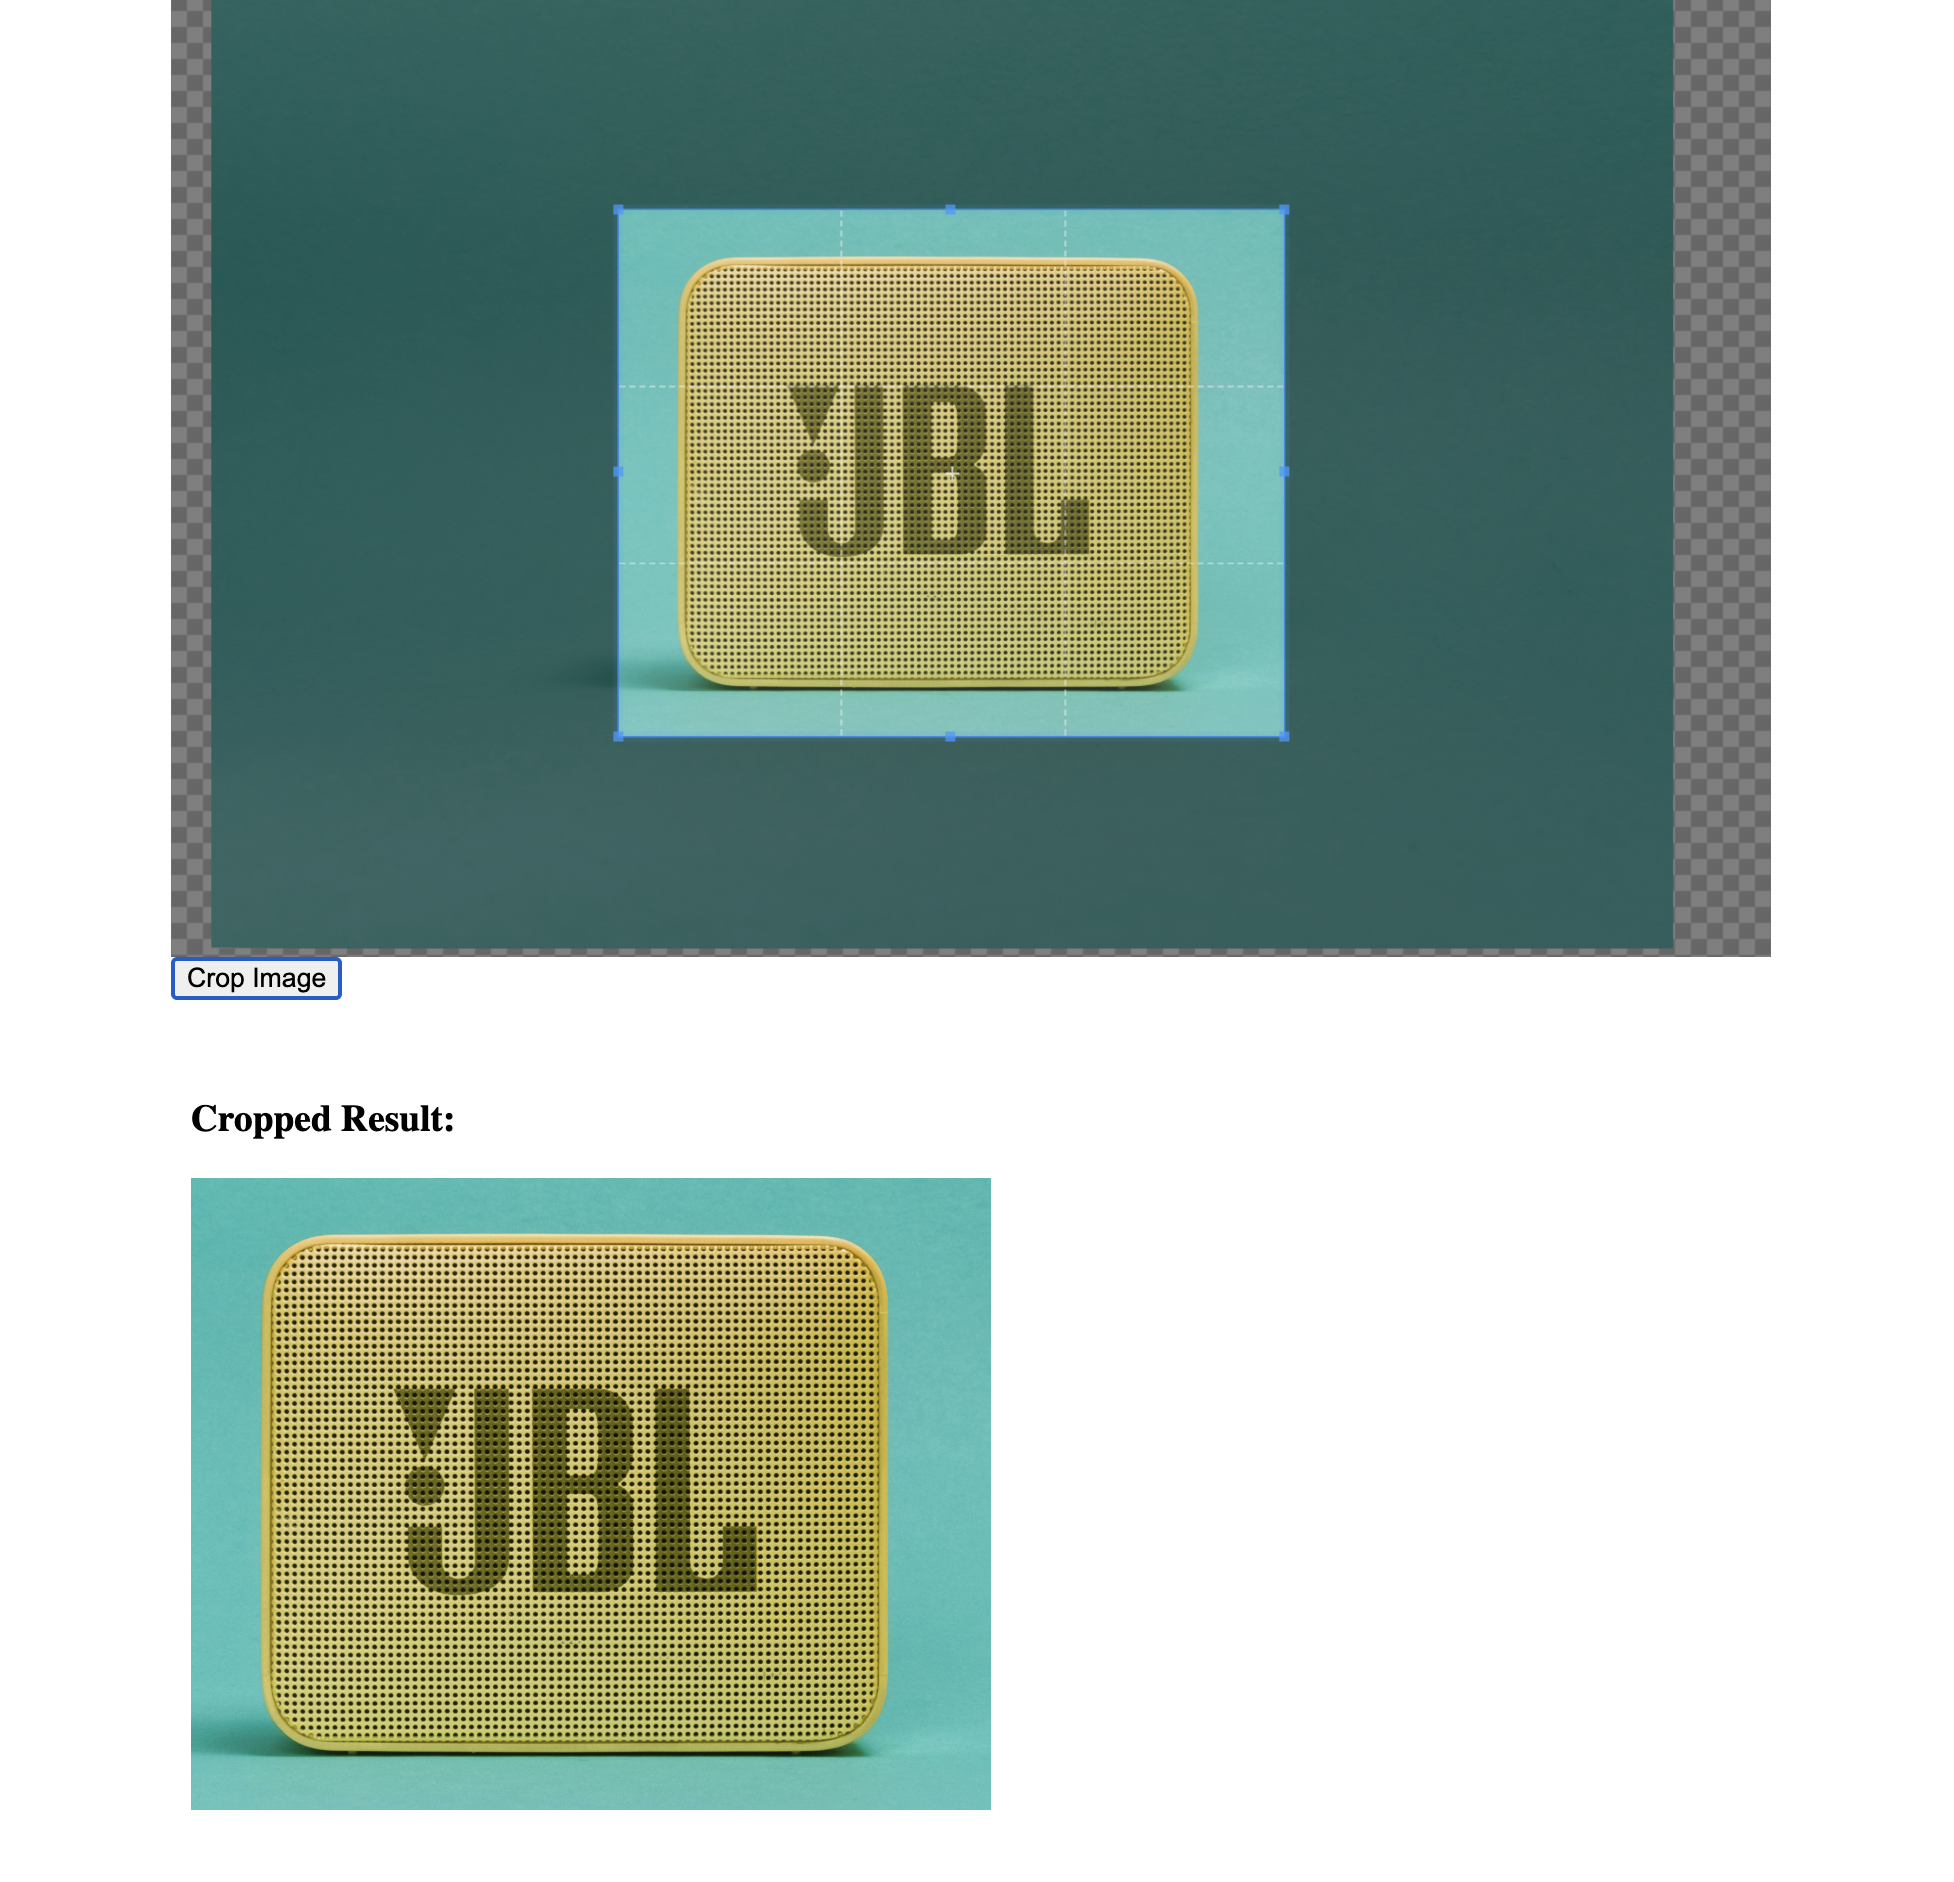
When you click the “Crop Image” button, the cropped image will be displayed below the button in the #cropResults div.
Cropped image result
Conclusion
In this tutorial, you have successfully implemented an image cropping feature using the jQuery cropper library.
You initialized the cropper, created the HTML structure, and implemented the cropping functionality.
If you want to enhance your image upload experience further, consider using Uploadcare’s File Uploader.
It provides a powerful and user-friendly interface for file uploads, including image cropping, resizing, and more.
If you want to learn more about how to crop images using CSS,
check out this guide on how to crop images using CSS.
Trust Jamin Okpukoro is a Developer Advocate and Senior Technical Writer with a strong background in software engineering, community building, video creation, and public speaking. Over the past few years, he has consistently enhanced developer experiences across various tech products by creating impactful technical content and leading strategic initiatives. His work has helped increase product awareness, drive user engagement, boost sales, and position companies as thought leaders within their industries.