How to make a Drag-and-Drop file uploader
Last edited:
This is a comprehensive guide to creating a web-based Drag-and-Drop file uploader using the common tech stack: JavaScript, HTML, and CSS. We will cover a DIY approach and then follow up with a SaaS solution — Uploadcare File Uploader.
Drag-and-Drop functionality makes the uploading process easier and more intuitive for the end user on desktops. Instead of searching for a file on the device, it is possible to drag it into the webpage area. The uploading process can be delayed, and the file previewing functionality could be beneficial in this case, allowing the user to see what will be uploaded. This is especially helpful for images.
DIY vs Libraries vs SaaS: pros and cons
There are several ways how to implement drag-and-drop functionality for files:
- From scratch with JavaScript: this approach provides full control over the process but requires more effort from a developer
- Using JS libraries: these provide ready solutions making developments easier. However, sometimes they may require additional codebase preparation.
- SaaS: services like Uploadcare offer ready-to-use solutions for uploading files, including Drag-and-Drop, storing these files, and processing the information.
So, let’s see the hard way and the easiest in practice!
If you prefer learning from videos, our YouTube tutorial offers a visual guide on implementing a drap-and-drop uploader with preview features.
Step 1: Creating a file uploader
Creating a simple HTML uploader and Drag-and-Drop boilerplate
Let’s start with creating a simple HTML element:
<input type="file">After that, let’s create a drag-and-drop container that’ll serve as a visual representation of the file-dropping area. Some styling will be required so the CSS file is needed as well.
<!DOCTYPE html>
<html lang="en">
<head>
  <meta charset="UTF-8">
  <meta name="viewport" content="width=device-width, initial-scale=1.0">
  <title>Drag-and-Drop File Uploader</title>
  <link rel="stylesheet" href="style.css">
</head>
<body>
  <h1>Drag-and-Drop File Uploader</h1>
  <div id="drop-area">
    Drag here to preview
  </div>
  <input type="file" id="file-input" multiple hidden>
  <div id="preview-container"></div>
  <script src="script.js"></script>
</body>/* style.css */
body {
margin: 0;
padding: 20px;
font-family: sans-serif;
}
h1 {
text-align: center;
}
#drop-area {
width: 400px;
height: 200px;
margin: 20px auto;
text-align: center;
line-height: 200px;
border: 2px dashed #ccc;
cursor: pointer;
}
#preview-container {
text-align: center;
}The interface looks as follows:
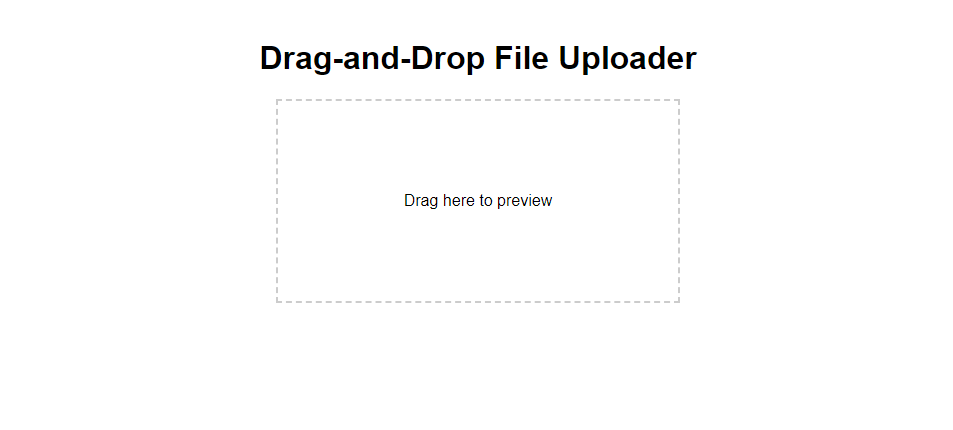 Basic drag-and-drop file uploader interface
Using Drag-and-Drop JavaScript events
Following JS events are involved in Drag-and-Drop functionality:
dragenter: fires when an element is dragged into another element.dragover: fires when an element is being continuously dragged over another elementdragleave: fires when an element is dragged outside another elementdrop: fires when an element is being dropped onto (into) another element.
Now let’s add some code to the script.js file to process the events.
We’ll be using an element with the drop-area ID as our drag-and-drop container.
In our case, we’ll use the drop event to detect when a file is released into the drag container area by releasing the mouse button.
Additionally, we’ll prevent the default browser behaviour when dragging a file over the container.
const dropArea = document.getElementById('drop-area');
const fileInput = document.getElementById('file-input');

// Utility function to prevent default browser behavior
function preventDefaults(e) {
  e.preventDefault();
  e.stopPropagation();
}

// Preventing default browser behavior when dragging a file over the container
dropArea.addEventListener('dragover', preventDefaults);
dropArea.addEventListener('dragenter', preventDefaults);
dropArea.addEventListener('dragleave', preventDefaults);

// Handling dropping files into the area
dropArea.addEventListener('drop', handleDrop);

// We’ll discuss `handleDrop` function down the road
function handleDrop(e) { /* ... */ }
Enhancing user experience with UI indication
To improve user experience, let’s change the visual properties of the drag-and-drop area based on the current dragging state. Assigning a class to the element would be an optimal solution here.
dropArea.addEventListener('dragover', () => {
  dropArea.classList.add('drag-over');
});

dropArea.addEventListener('dragleave', () => {
  dropArea.classList.remove('drag-over');
});
To reflect these changes, we also need to update the CSS:
#drop-area.drag-over {
  background-color: #eee;
}
Indicating current dragging state by changing container background
Step 2: Implementing previews
Previewing makes it easier for the user to navigate through the files before they are uploaded to the server.
Implementing previews with FileReader API
FileReader API allows accessing file contents and metadata. We will be using this functionality to create logic for our previews.
The dragover and dragenter events were managed previously, now let’s manage the actual “drop” part of our drag-and-drop uploader.
Here’s the code for the handleDrop function:
function handleDrop(e) {
  e.preventDefault();

  // Getting the list of dragged files
  const files = e.dataTransfer.files;

  // Checking if there are any files
  if (files.length) {
    // Assigning the files to the hidden input from the first step
    fileInput.files = files;

    // Processing the files for previews (next step)
    handleFiles(files);
  }
}

// We’ll discuss `handleFiles` function down the road
function handleFiles(files) { /* ... */ }
Now since we have the files list, let’s improve the function that processes them — handleFiles:
function handleFiles(files) {
  for (const file of files) {
    // Initializing the FileReader API and reading the file
    const reader = new FileReader();
    reader.readAsDataURL(file);

    // Once the file has been loaded, fire the processing
    reader.onloadend = function (e) {
      const preview = document.createElement('img');

      if (isValidFileType(file)) {
        preview.src = e.target.result;
      }

      // Apply styling
      preview.classList.add('preview-image');
      const previewContainer = document.getElementById('preview-container');
      previewContainer.appendChild(preview);
    };
  }
}

// We’ll discuss `isValidFileType` function down the road
function isValidFileType() {
  return true;
}
The piece above uses the isValidFileType function.
Its purpose is to validate the input file based on its MIME data.
Here’s the code for this function:
function isValidFileType(file) {
  const allowedTypes = ['image/jpeg', 'image/png', 'image/gif'];
  return allowedTypes.includes(file.type);
}
The code supports common image types and can be extended according to your needs.
File previews should also have minimal styling. Here’s the CSS code for the preview-image class:
.preview-image {
  object-fit: cover;
  width: 100px;
  height: 100px;
  margin: 10px;
  border: 1px solid #ddd;
}
Our simple file uploader has just learned a new skill: file previewing. Here it is:
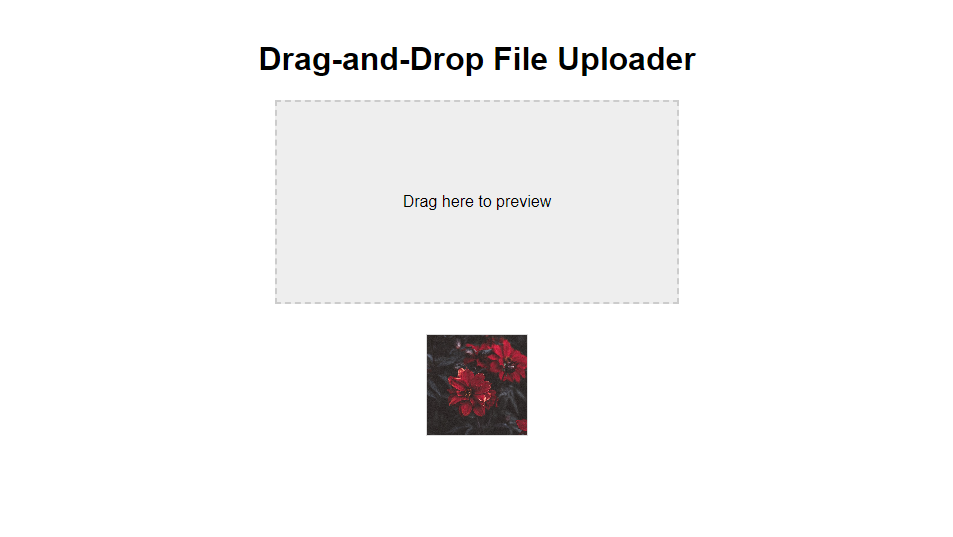 Drag-and-Drop file uploader with previewing functionality
Creating preview placeholders for unsupported file types
Our file uploader supports all file types, but not all of them can be previewed. In case if a user uploads, let’s say, a ZIP archive, we need to use a placeholder image instead of previewing raw file contents. First, let’s provide the path to the placeholder image at the top of our script:
const placeholderIcon = 'file-placeholder.jpg';Name the desired placeholder icon file-placeholder.jpg and put it into the root folder of the project.
Now we can add else branch to the handleFiles function:
function handleFiles(files) {
  for (const file of files) {
    // Initializing the FileReader API and reading the file
    const reader = new FileReader();
    reader.readAsDataURL(file);

    // Once the file has been loaded, fire the processing
    reader.onloadend = function (e) {
      const preview = document.createElement('img');

      if (isValidFileType(file)) {
        preview.src = e.target.result;
      } else {
        preview.src = placeholderIcon;
      }

      // Apply styling
      preview.classList.add('preview-image');
      const previewContainer = document.getElementById('preview-container');
      previewContainer.appendChild(preview);
    };
  }
}
Now, if the file is invalid for previewing, the path to the placeholder icon will be added as the preview source. The screenshot below demonstrates that even if the file is not previewed, it is still contained in the files list of the hidden file uploader input field.
 Drag-and-Drop file uploader with unsupported file type preview functionality
Step 3: Organizing server uploads
In this article, we focus primarily on the front-end part of the DIY uploader. The files collected in the hidden field could be sent to the server and processed differently based on your needs. Please refer to one of my previous articles to see a detailed example of possible implementation with JavaScript AJAX and PHP.
Simplifying the process with Uploadcare
How Uploadcare can simplify each of the steps
Uploadcare offers a cloud solution for processing files that include:
- File Uploader widget with drag-and-drop area: Uploadcare offers a production-ready component that could be easily integrated onto a web page.
- Previews: supports automatic preview generation and file type filtering.
- On-the-fly operations: Uploadcare provides a range of image optimization and transformation features, including compression, resizing, cropping, rotation, scaling, overlays, face detection, and other file types processing.
- CDN: A distributed network makes it possible for your files to be delivered fast across the globe.
Integrating Uploadcare File Uploader and CDN into the existing project
To start, let’s sign up for Uploadcare’s free plan and create a sample project.
 Uploadcare Project Dashboard
Uploadcare’s File Uploader comes in the form of a pre-configurable web-component. Follow the File Uploader link in the Dashboard menu to access the configuration wizard.
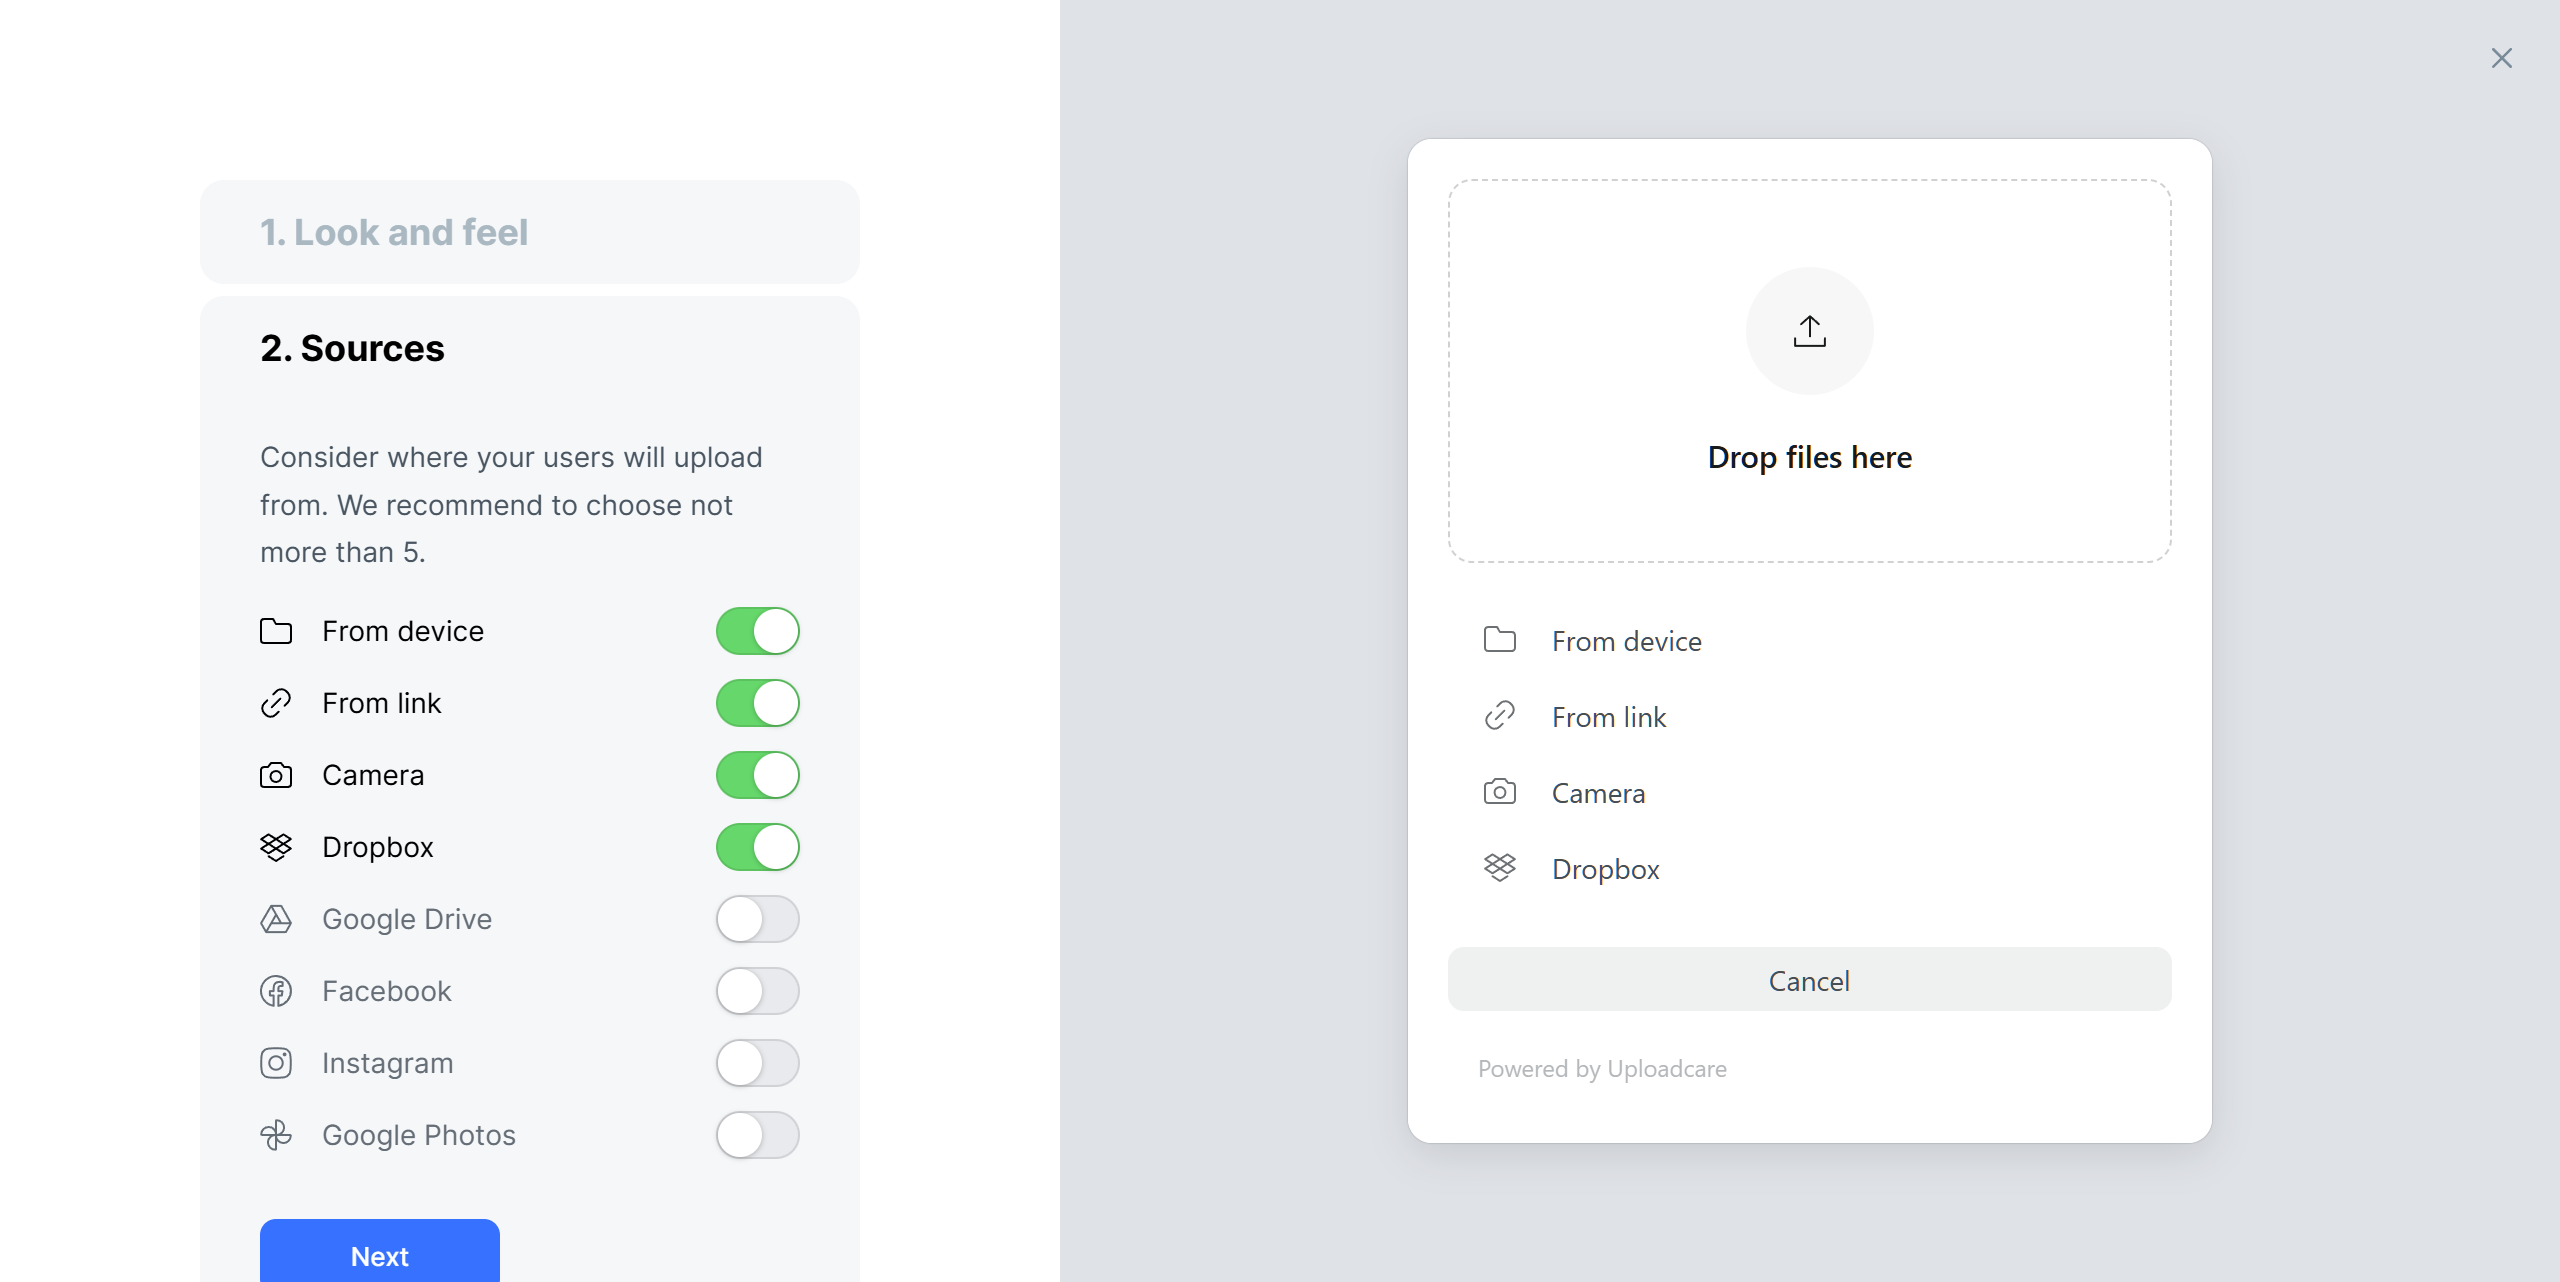 Uploadcare’s File Uploader Configurator
Step 4 of the configurator contains code snippets that we need to put on the page.
This JS code imports the module:
<script type="module">
  import * as UC from 'https://cdn.jsdelivr.net/npm/@uploadcare/file-uploader@v1/web/file-uploader.min.js';
  UC.defineComponents(UC);
</script>
<link
  rel="stylesheet"
  href="https://cdn.jsdelivr.net/npm/@uploadcare/file-uploader@v1/web/uc-file-uploader-regular.min.css"
/>
Here’s the styling for the widget, put it into the CSS file:
.my-uploader {
  /* setting accent color and the of the uploader */
  --uc-primary-oklch-dark: 69% 0.1768 258.4;
  --uc-primary-oklch-light: 59% 0.22 264;

  /* positioning the uploader button on the page */
  display: inline-flex;
  position: relative;
  left: 50%;
  transform: translateX(-50%);
}
Add these configuration values into the HTML file (you have your own API key placed instead of YOURPUBKEY):
<uc-config
  ctx-name="my-uploader"
  pubkey="YOURPUBKEY"
  max-local-file-size-bytes="10000000"
  img-only="true"
  source-list="local, url, camera, dropbox"
></uc-config>
Lastly, this is the HTML code for the uploader itself:
<uc-file-uploader-regular
ctx-name="my-uploader"
class="my-uploader"
>
</uc-file-uploader-regular>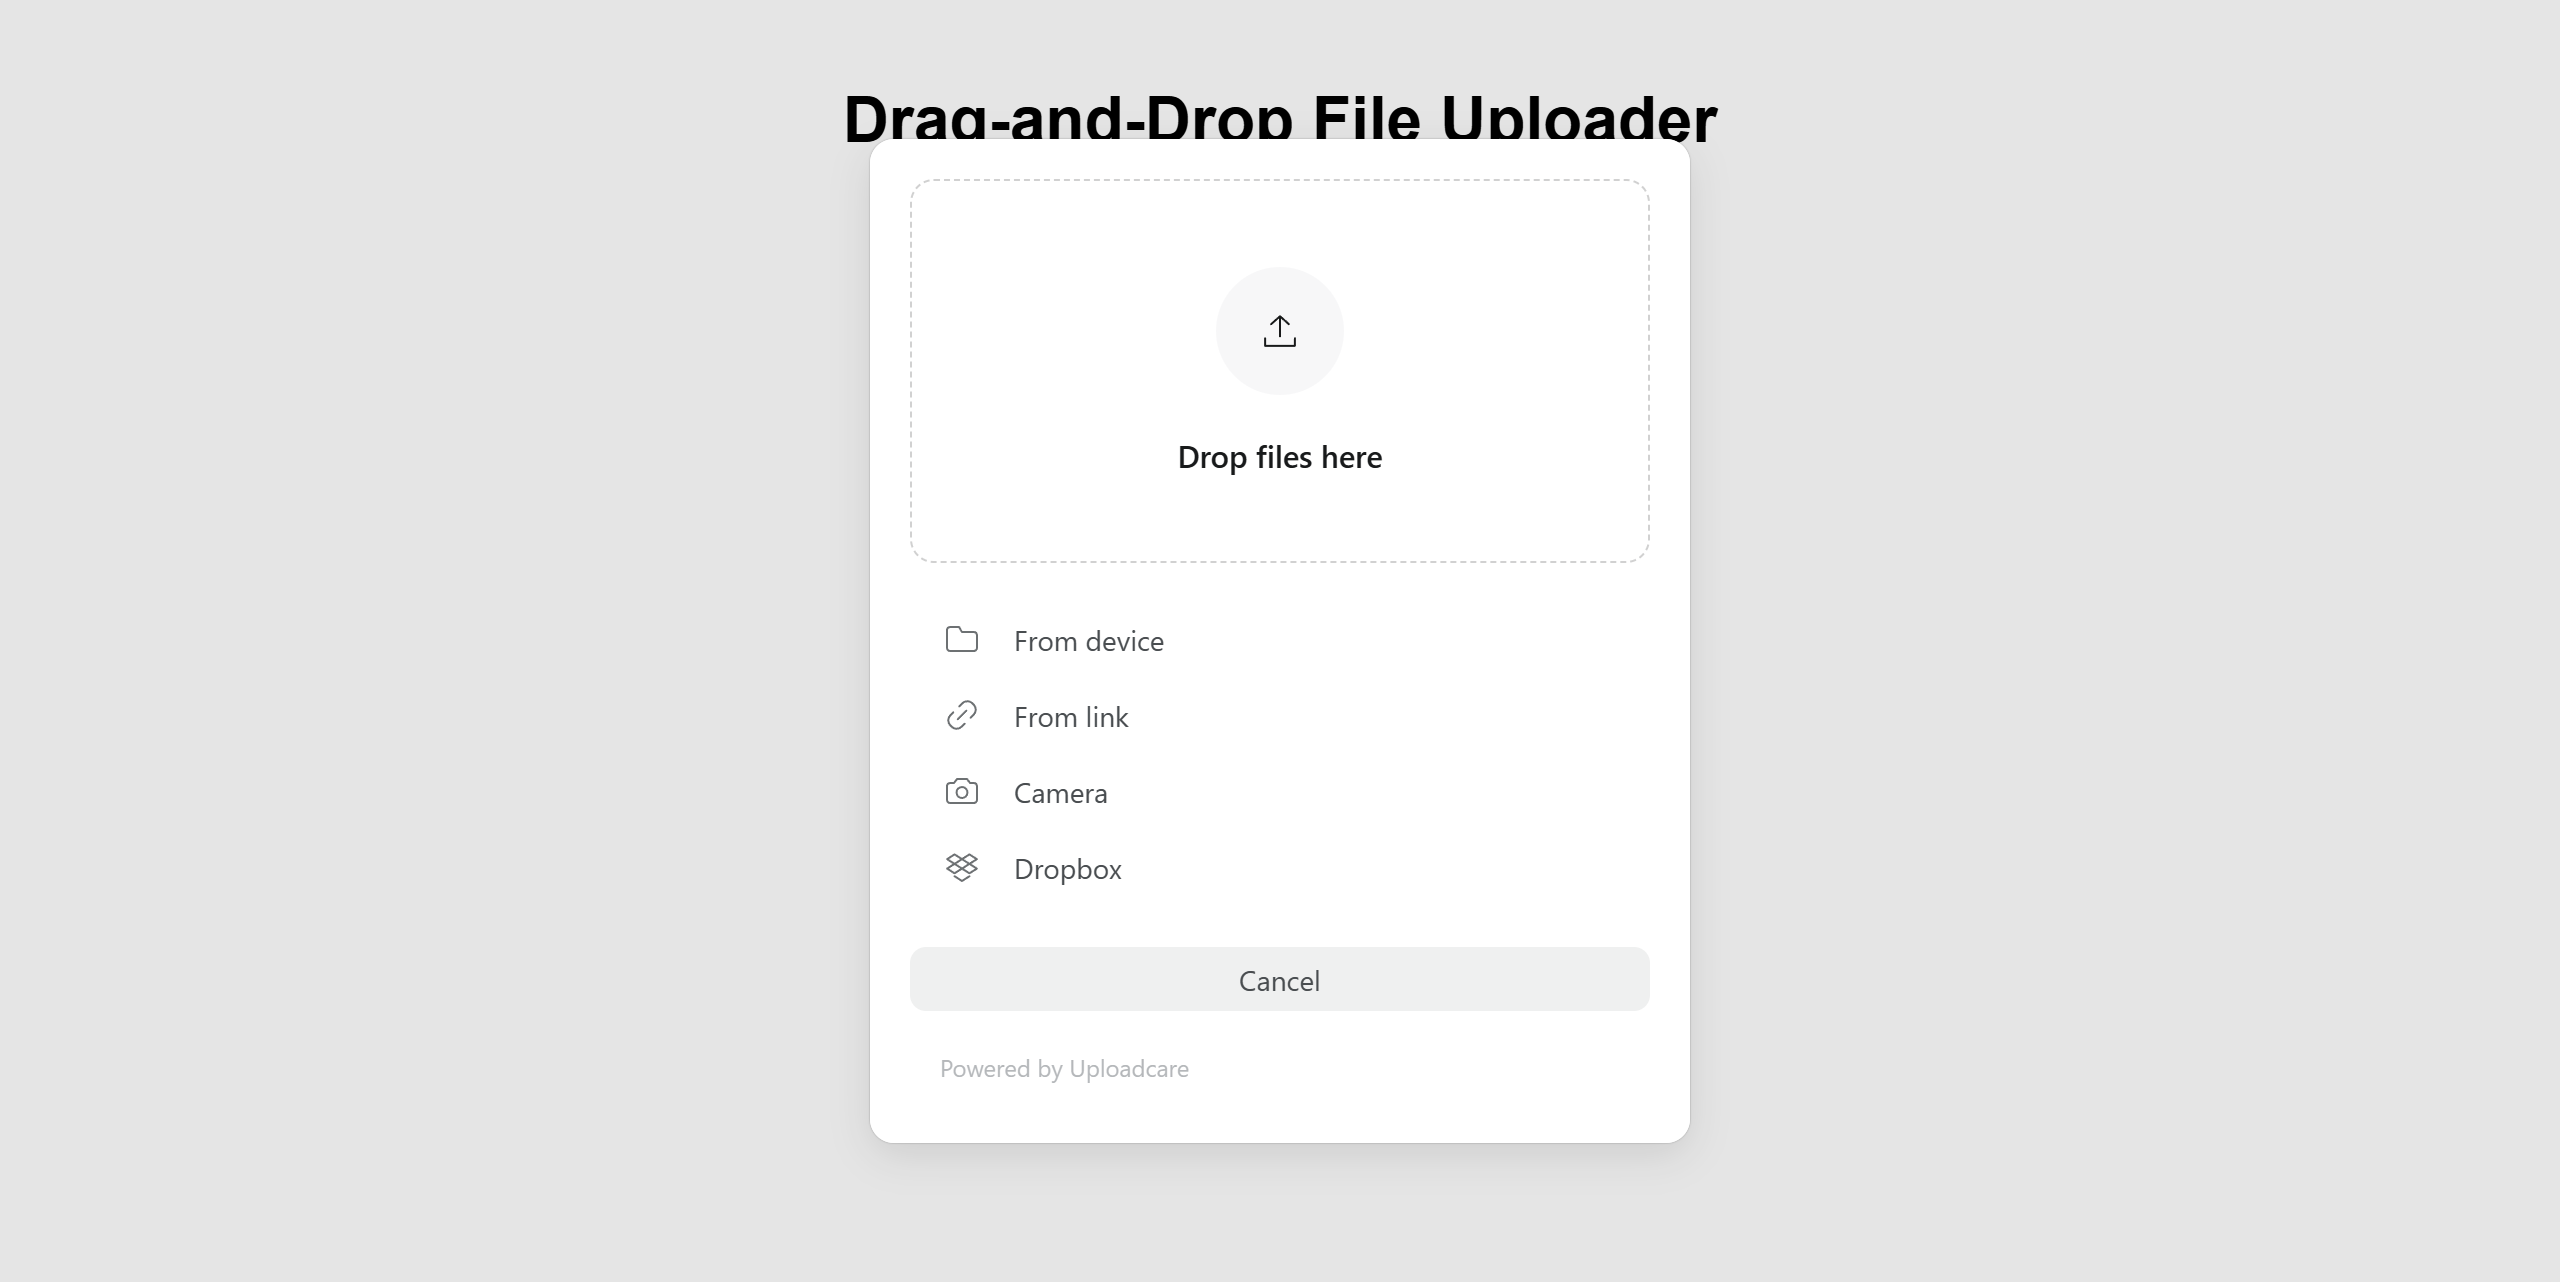 Uploadcare File Uploader embedded onto a page
We used the CDN installation option for simplicity. There are other options to integrate the widget, for example into popular front-end frameworks.
Let’s see how Uploadcare File Uploader implements previews:
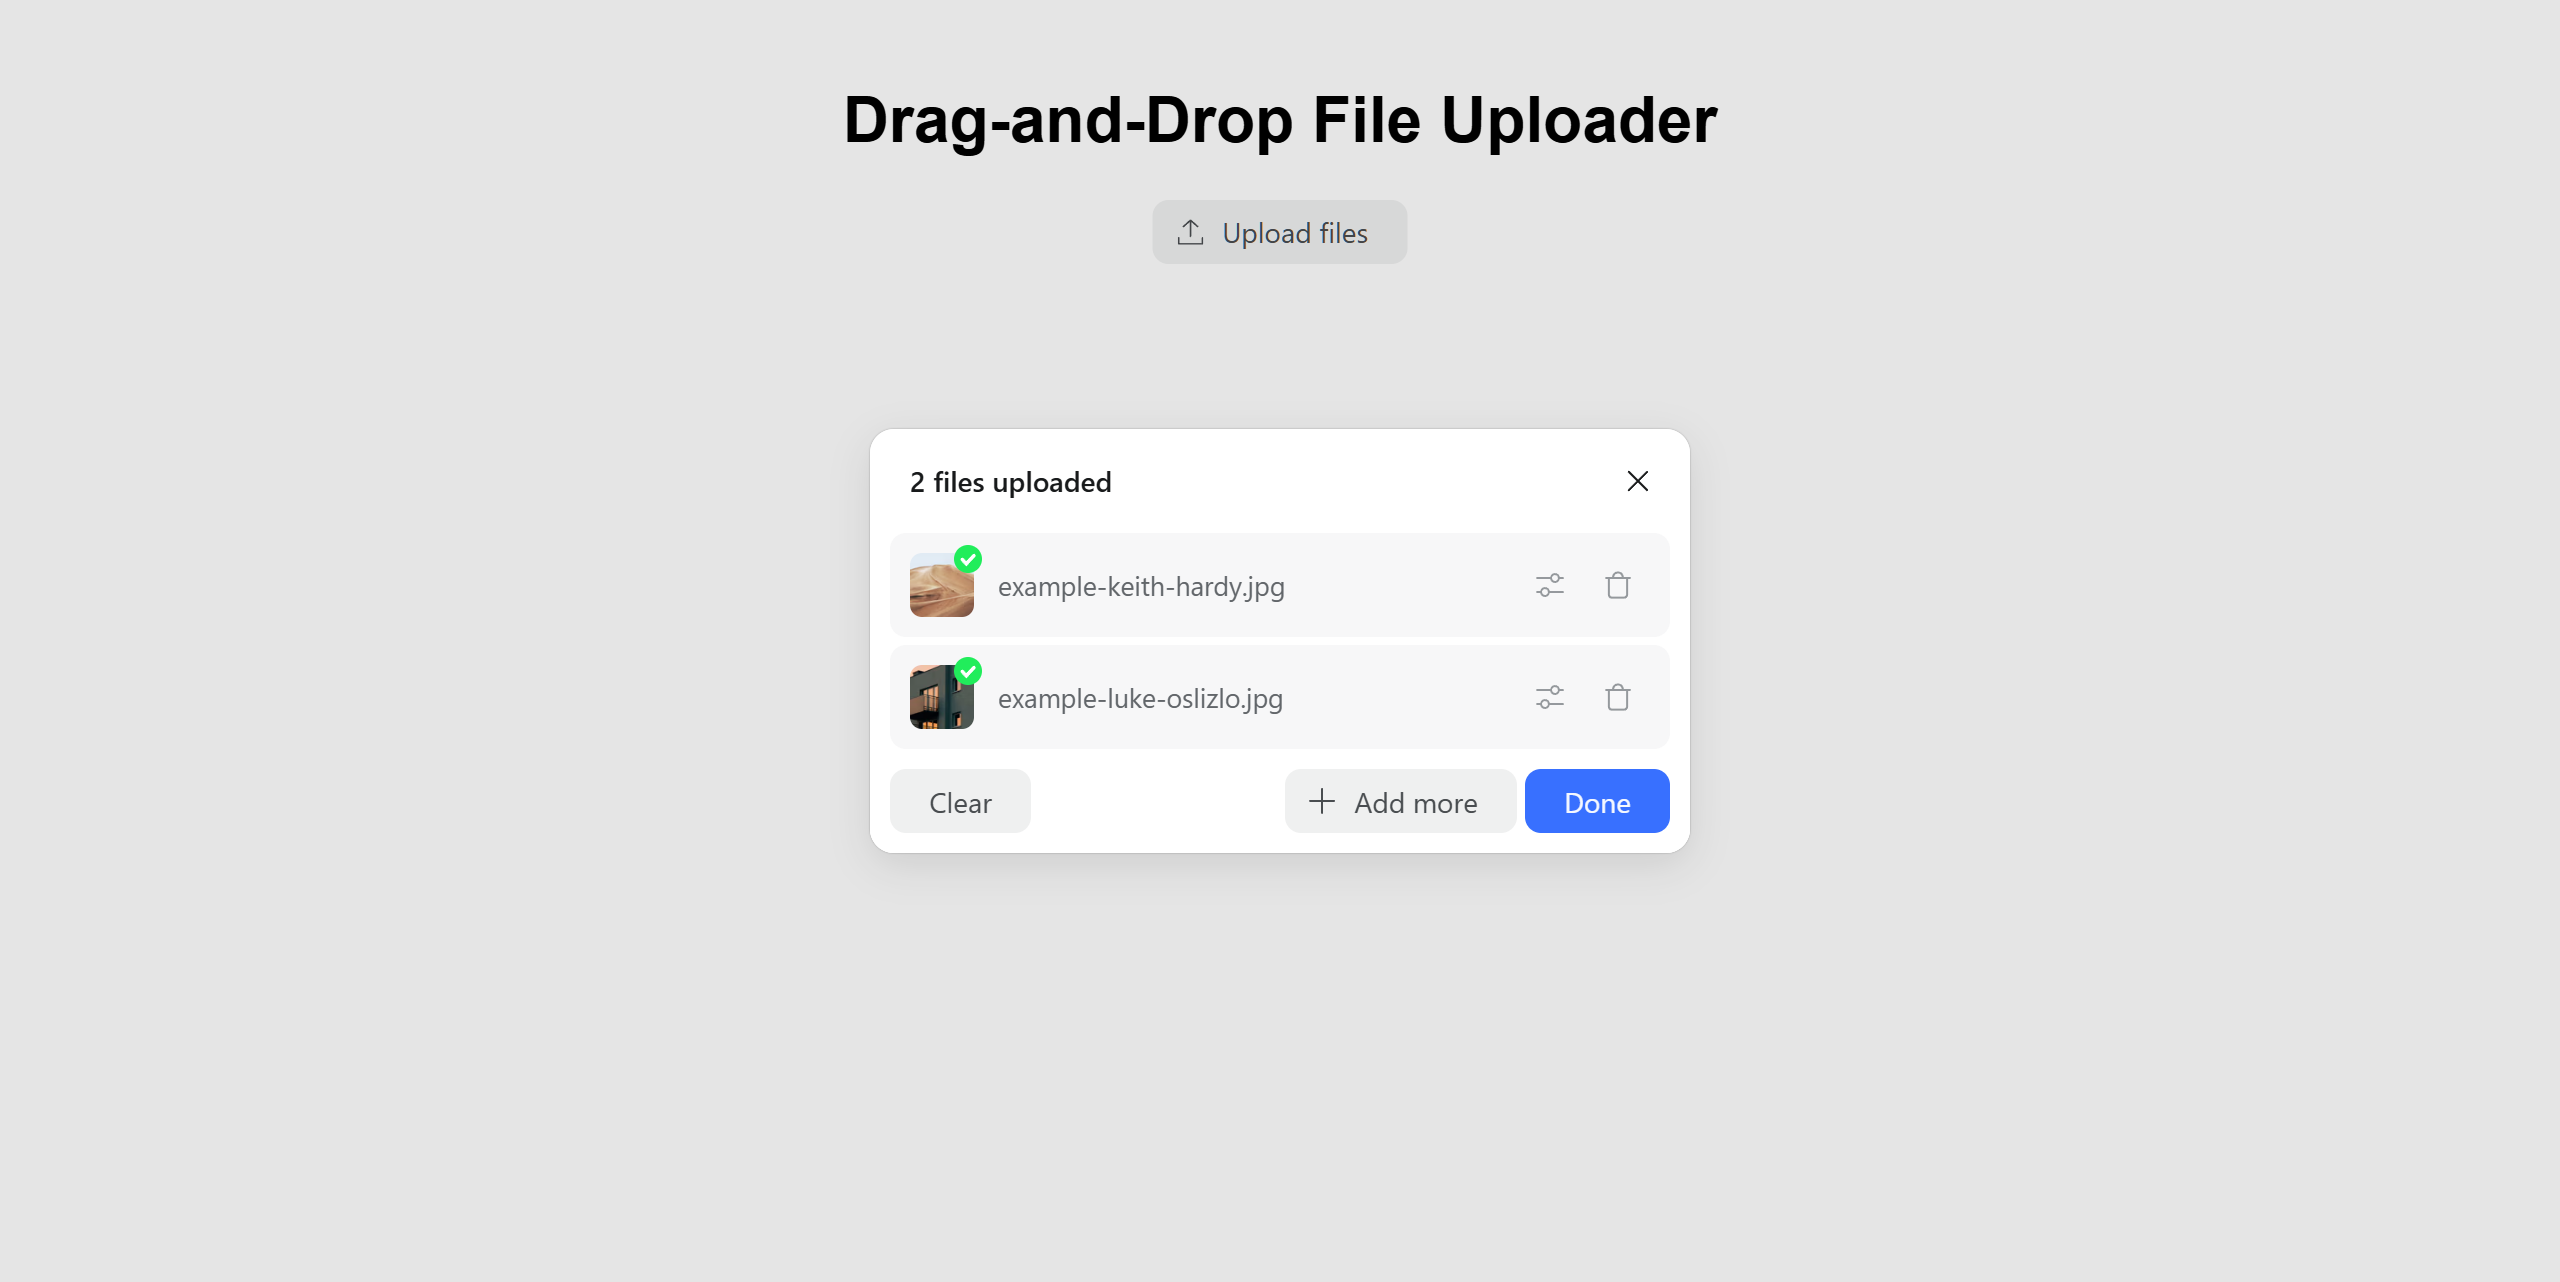 Uploadcare’s File Uploader preview functionality
In the configuration step, I chose the “Images Only” option. Let’s try uploading a video file and see what happens:
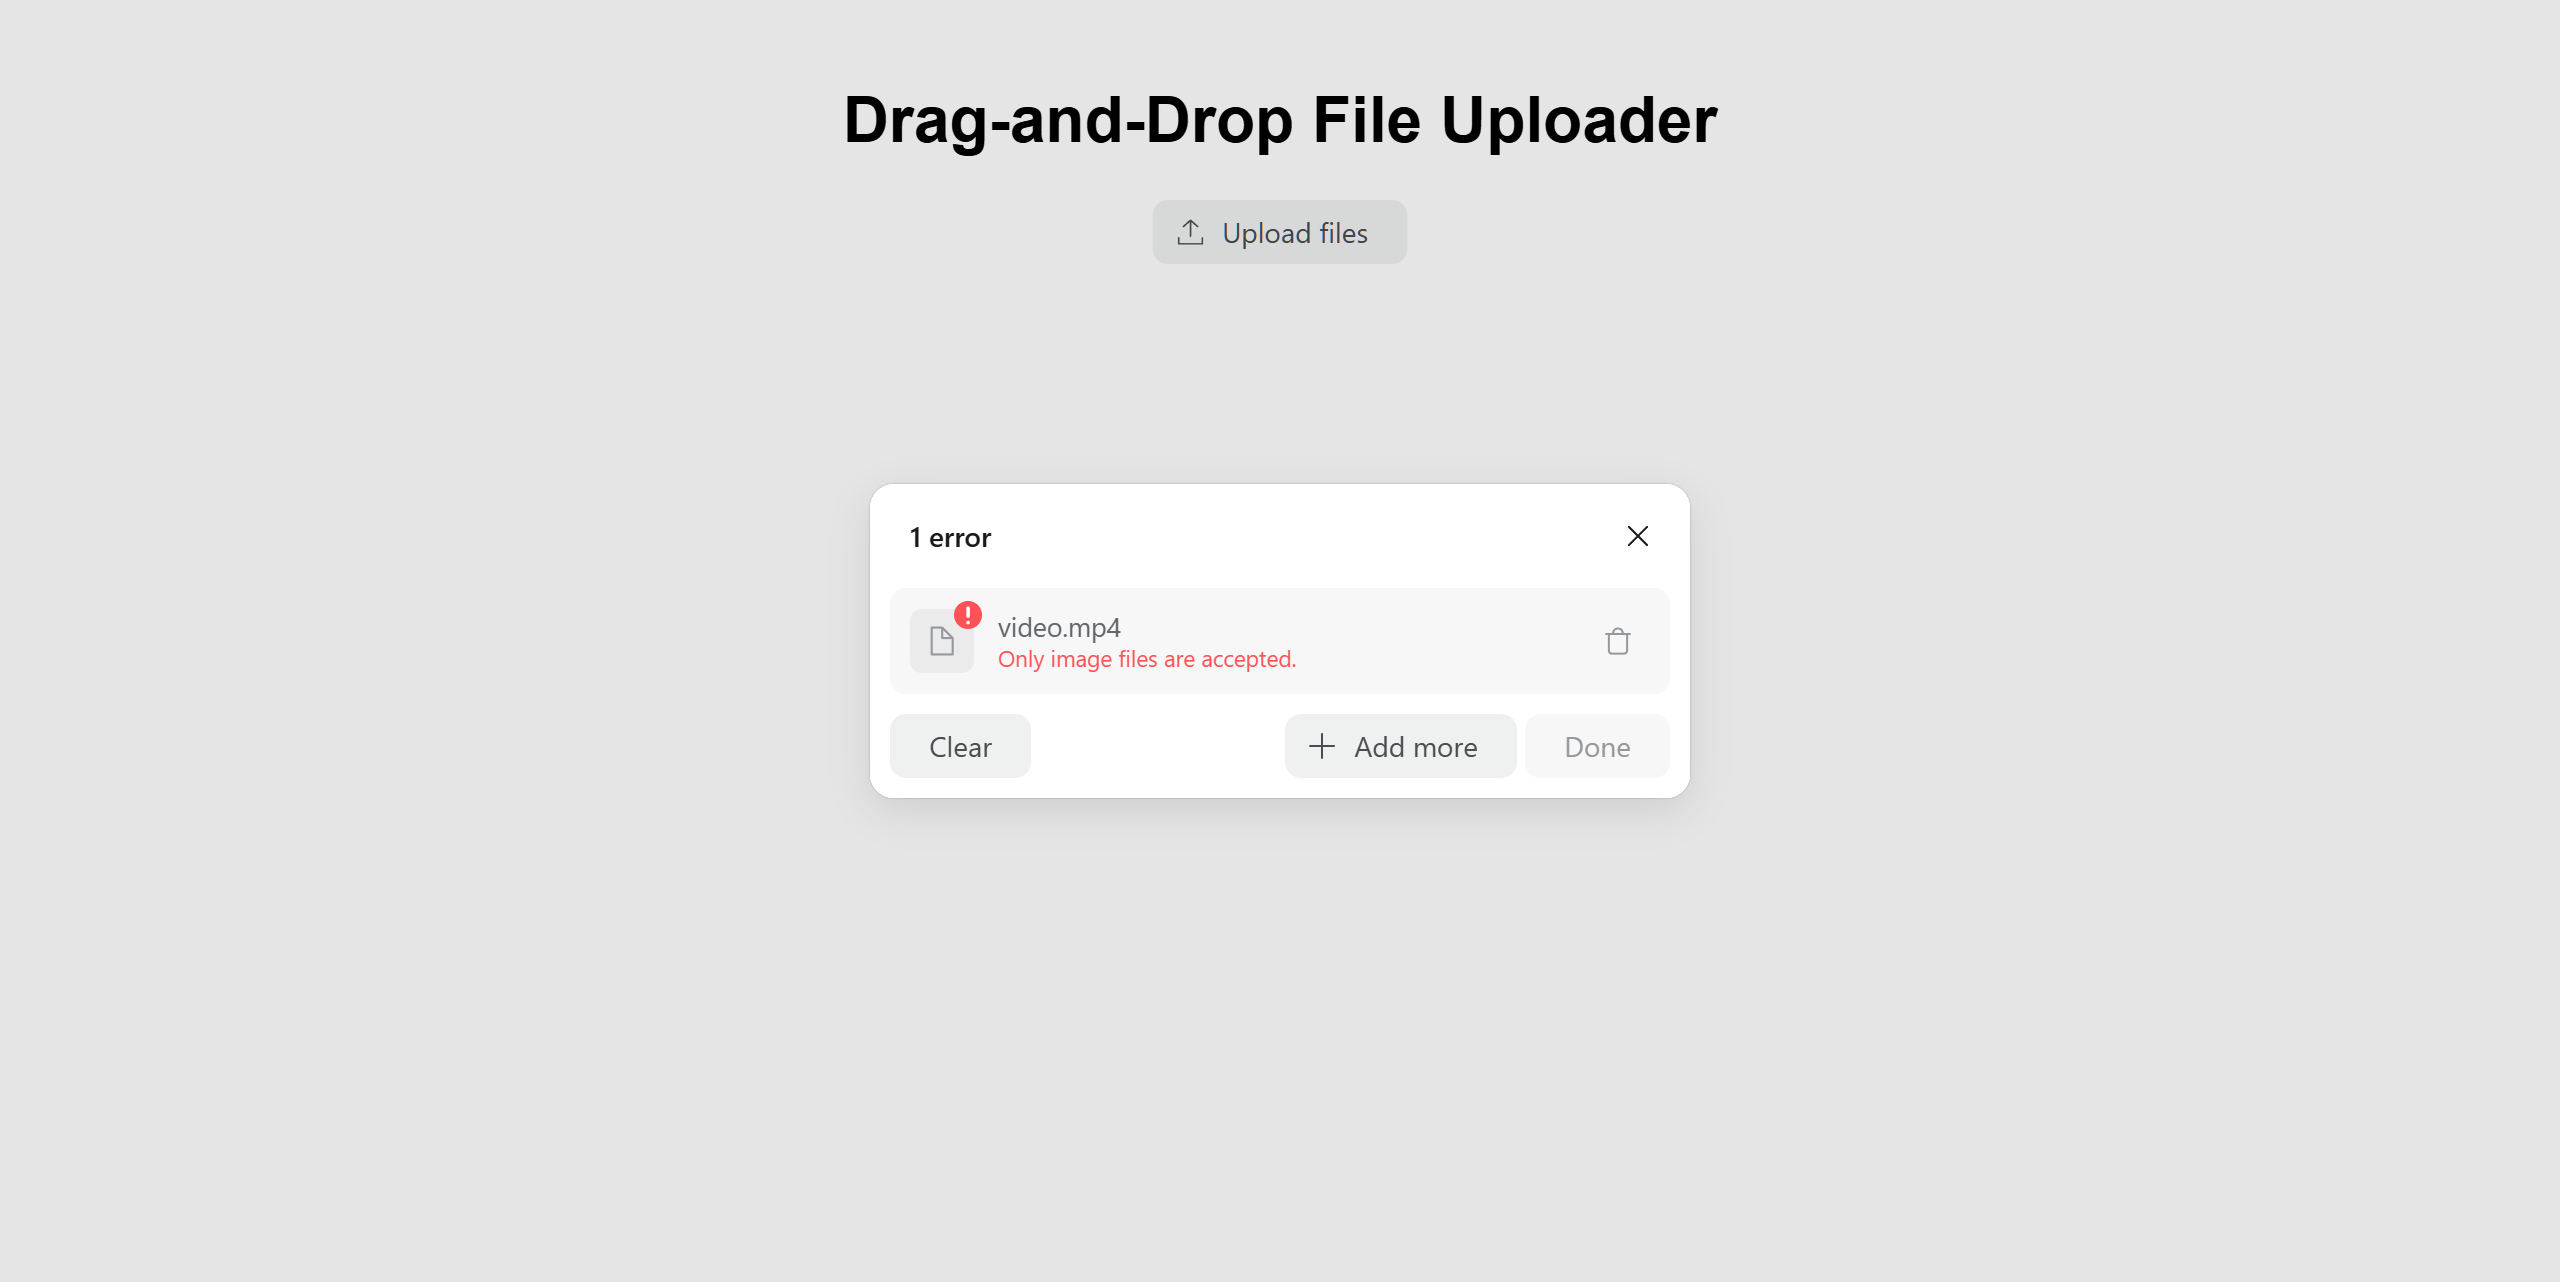 Uploadcare’s File Uploader file type restriction management
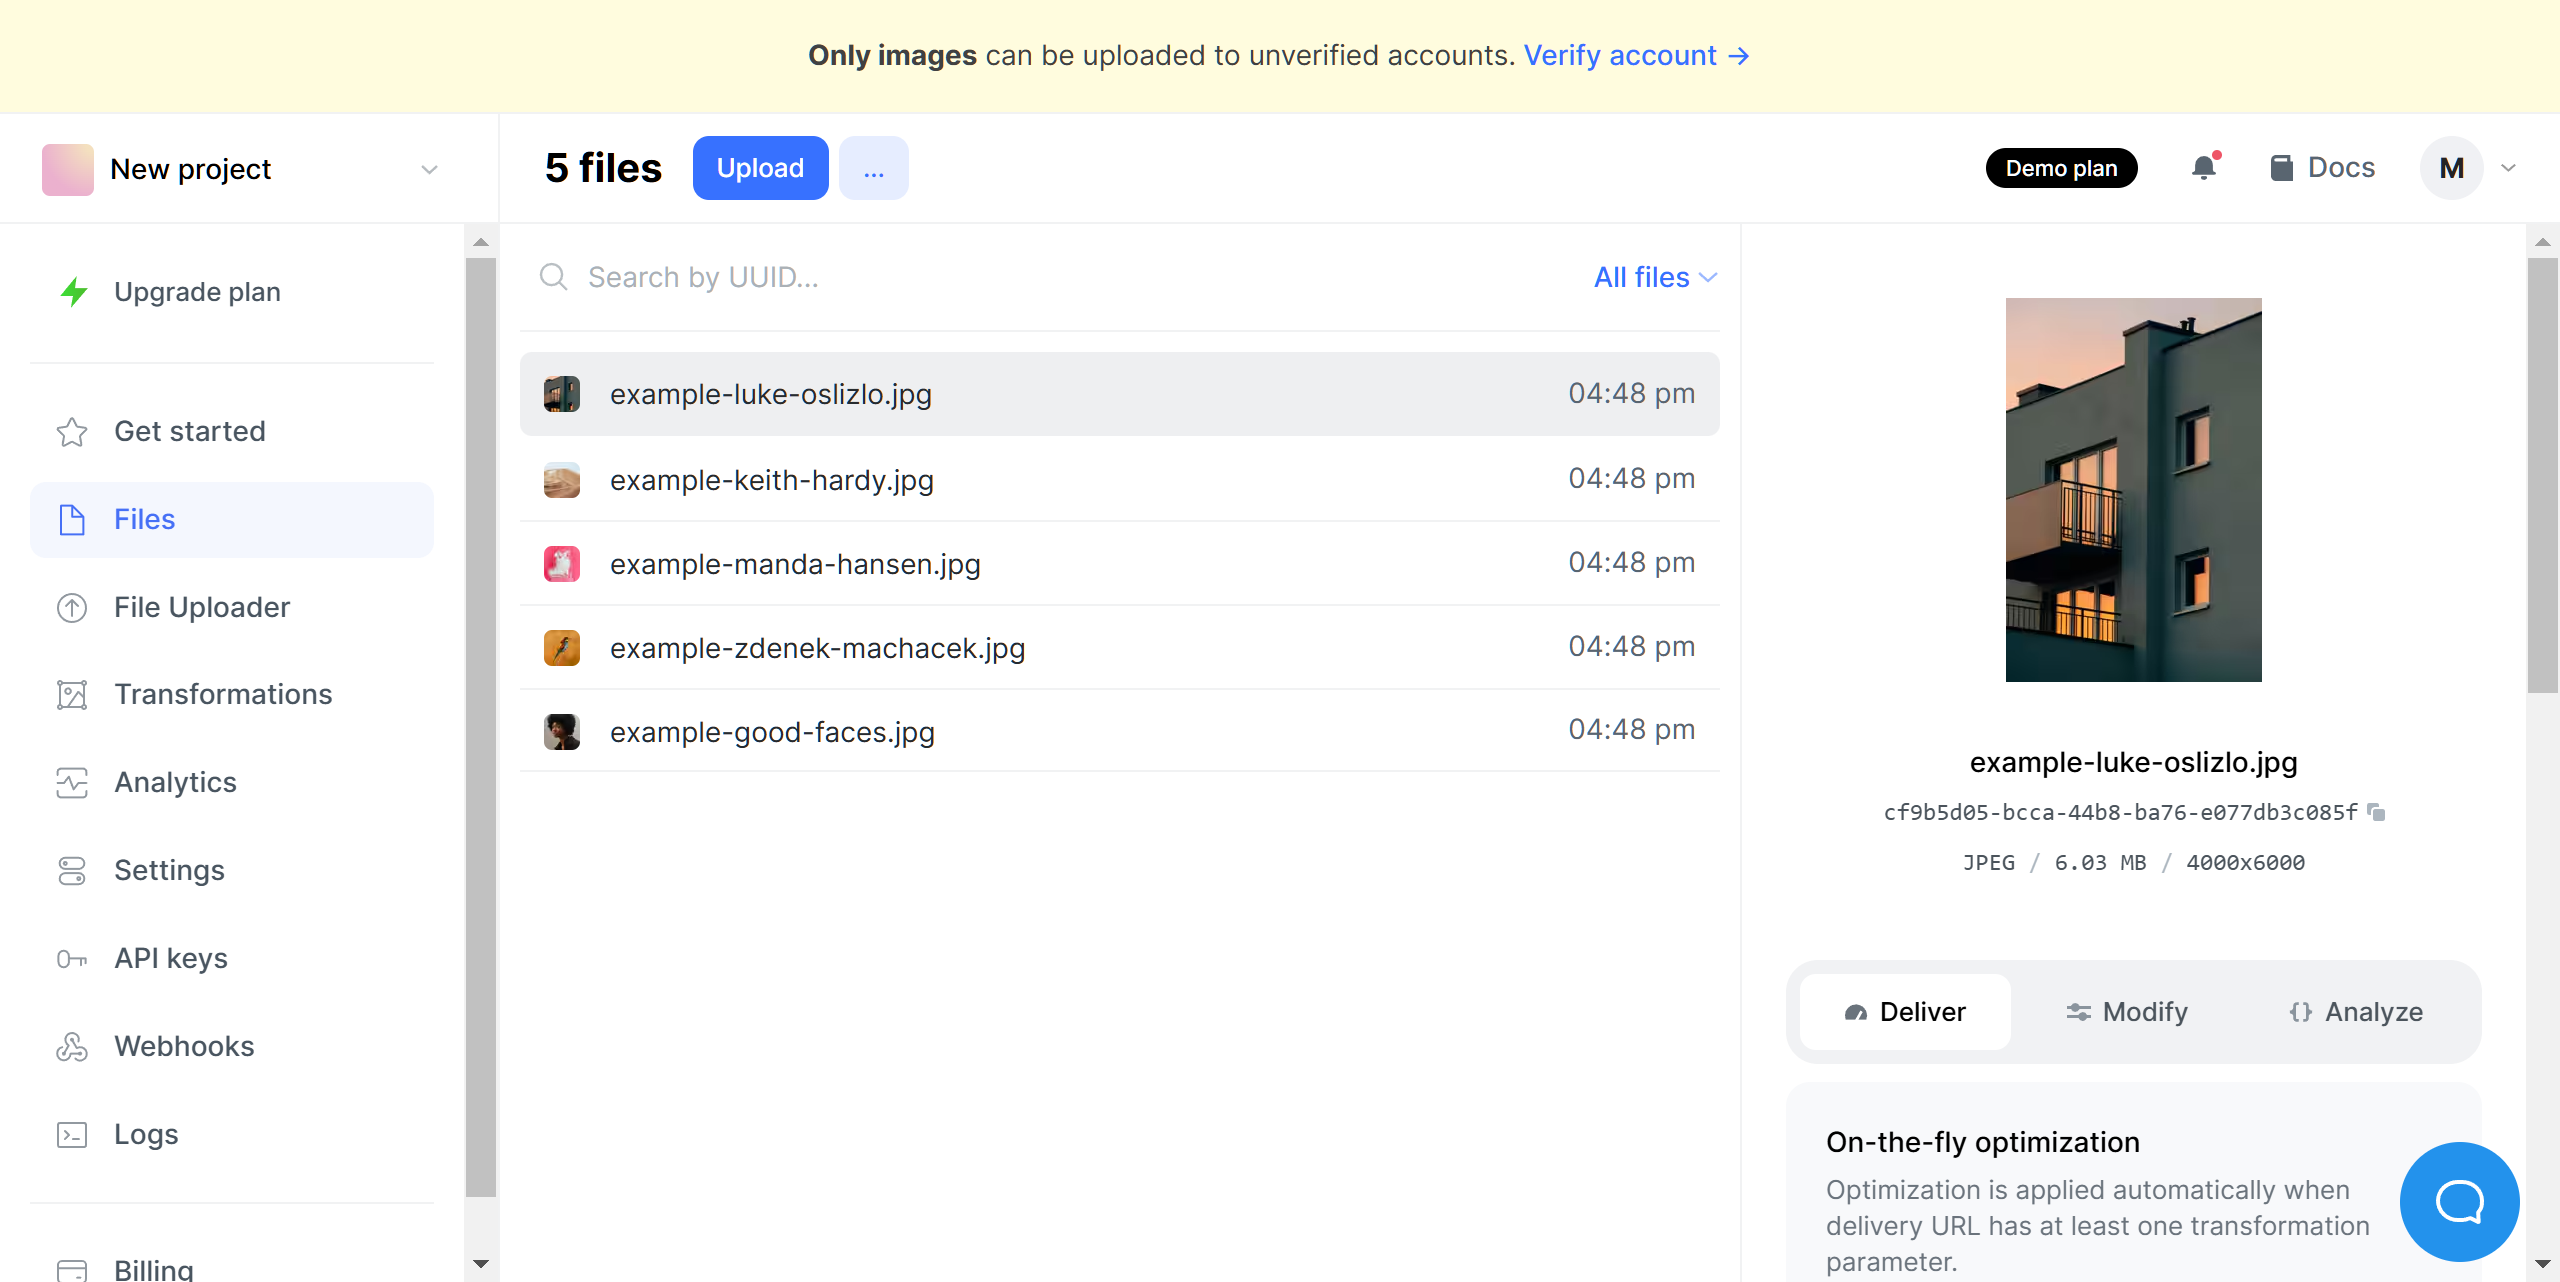
Uploaded files go into your account’s storage, where you can apply further transformations and deliver them in different formats. Uploadcare also shows the estimated file size for On-The-Fly optimization:
 Uploadcare’s File Storage
Conclusion
We take drag-and-drop functionality for granted these days. As the article shows, the process consists of several steps that developers should take care of.
Try creating one yourself following this tutorial, or simplify the process by using Uploadcare’s File Uploader and CDN to save time and focus on further aspects of developing your product.