We asked ChatGPT how to use our service. Here is what AI answered
Welcome to 2023! Here we have chatbots that can easily replace real humans!
OpenAI launched ChatGPT in November 2022. We played with this bot, discovered some appealing applications, and forgot about it.
But then we thought: “What if we ask ChatGPT to build a file uploader page using Uploadcare?” Why not? It should be entertaining.
Instead of providing the context to the bot at the start, we decided to play a role of a junior developer. Our “developer” heard something about frontend, HTML, CSS & JS, but they do not know much. This is why they ask a lot of newbie questions. To make it easier to read: our questions are headlines, and ChatGPT’s answers are the normal text. Italic text is our comments on the whole play.
We used the bot’s answers as is. The only thing we removed is the ubiquitous reminders that the bot is ready for any questions. The bot says it at the end of each reply.
Let’s get started, huh?
How to create a simple HTML webpage with a file input?
Here is a simple HTML webpage with a file input field that allows users to select a file to upload:
<html>
  <body>
    <form>
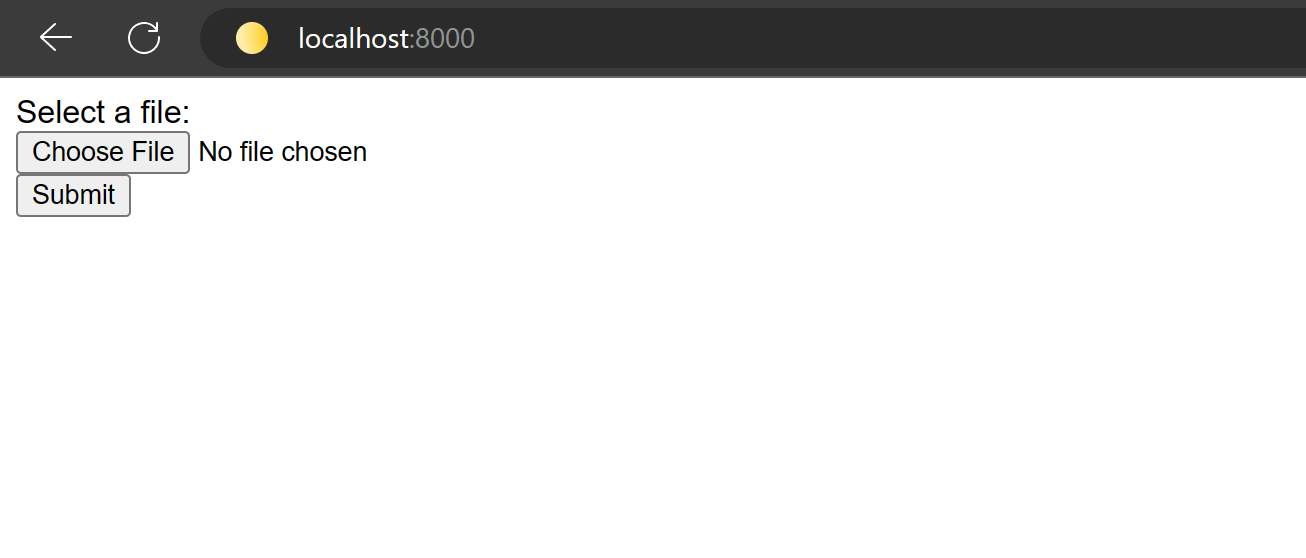
      <label for="file">Select a file:</label><br>
      <input type="file" id="file" name="file"><br>
      <input type="submit" value="Submit">
    </form>
  </body>
</html>
This HTML code creates a form with a file input field and a submit button. When the user selects a file and clicks the submit button, the form will be submitted and the selected file will be uploaded.
How to serve a simple HTML file on localhost to be able to open it in a browser?
To serve an HTML file on localhost, you will need to use a web server. Here are the steps to serve an HTML file on localhost using a simple Python web server:
-
Install Python: Make sure you have Python installed on your computer. You can check if Python is already installed by opening a terminal and entering the command
python --version. If Python is not installed, you can download and install it from the Python website. -
Start the web server: Open a terminal and navigate to the directory that contains your HTML file. Then start the Python web server by entering the following command:
python -m http.server 8000This will start a web server on your local machine that listens on port 8000.
-
View the HTML file in your browser: Open a web browser and enter the following URL:
http://localhost:8000/your_html_file.html
Replace “your_html_file.html” with the name of your HTML file. This will open the HTML file in your browser.
Well, it works for now:
Give me the code that installs the Uploadcare widget on my website, please
We are trying to be polite. Never know when AI becomes Skynet!
To install the Uploadcare jQuery widget on your website, you will need to add the following code to your HTML:
<script src="https://ucarecdn.com/libs/widget/3.x/uploadcare.full.min.js" charset="utf-8"></script>This will include the Uploadcare widget library in your website.
Once you have added this script to your HTML, you can then use the widget to allow users to upload files from your website. Here is an example of how you can do this:
<!-- HTML for file input -->
<input type="hidden" role="uploadcare-uploader" name="my_file" />

<!-- JavaScript to initialize the widget -->
<script>
  UPLOADCARE_PUBLIC_KEY = 'your_public_key';
  var widget = uploadcare.Widget('[role=uploadcare-uploader]');
</script>
In this example, the input element with the uploadcare-uploader role serves as a placeholder for the widget.
The JavaScript code initializes the widget and specifies your Uploadcare public key, which you can find in your account settings.
Again, it works:
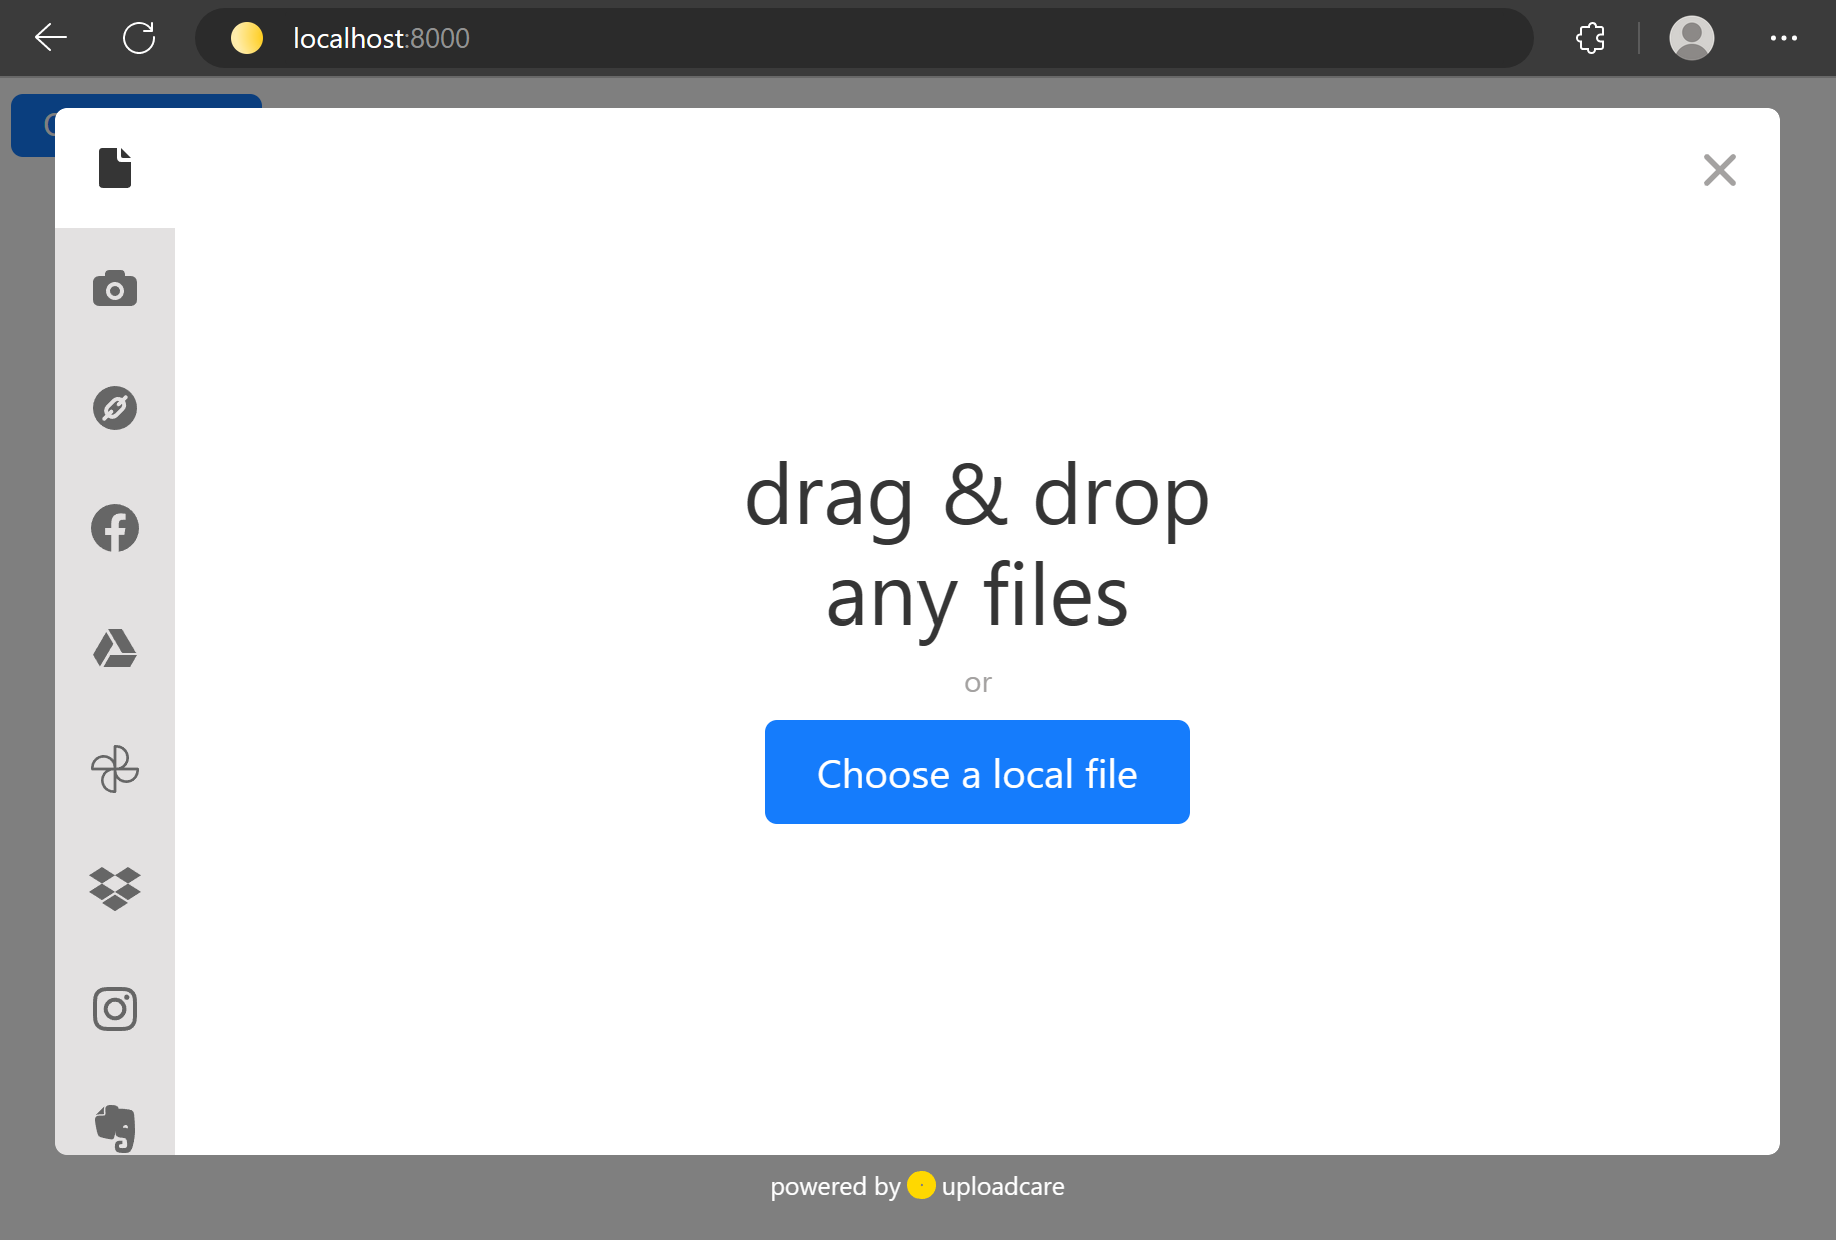
We tested the widget, it works properly. But this is an old way to install our uploader. Currently, we have a beta version of File Uploader, that is based on Uploadcare Blocks. Let’s find out what the bot knows about it!
I see on their website, that now they offer something called “Blocks”. How do I create a file uploader using these?
Uploadcare Blocks is a new way to build file uploaders and file handling workflows using pre-built UI components. It allows you to easily add file uploading and file handling functionality to your website or application with minimal code.
To create a file uploading form using Uploadcare Blocks, you will need to do the following:
-
Sign up for an Uploadcare account: Go to the Uploadcare website and sign up for an account. You will need to provide your email address and create a password.
-
Install the Uploadcare Blocks library: To use Uploadcare Blocks, you will need to include the Blocks library in your HTML code. You can do this by adding the following script tag to your HTML:
<script src="https://ucarecdn.com/libs/blocks/2.x/uploadcare.min.js" charset="utf-8"></script> -
Add a file input element to your HTML: To create a file uploading form using Uploadcare Blocks, you will need to add a file input element to your HTML code. You can do this by using the following HTML:
<lr-file-uploader-regular name="my_file"></lr-file-uploader-regular>This will create a file input element that will be used to select and upload files.
-
Initialize the Uploadcare Blocks library: To initialize the library set the Uploadcare public key when using the
lr-file-uploader-regularelement. You can use the--cfg-pubkeyattribute as a CSS context property. For example:<style> lr-file-uploader-regular { --cfg-pubkey: "your_public_key"; } </style>Replace “your_public_key” with your actual Uploadcare public key, which you can find in your account settings. This will set the public key for the file uploader and allow it to connect to the Uploadcare API.
Ha! This time it does not work!

Let’s ask the robot why!
The link you provide, which should install the library, is broken
I apologize for the broken link. The correct URL for the Uploadcare Blocks library is https://unpkg.com/@uploadcare/blocks@0.14.3/web/blocks-browser.min.js. You should use this URL to include the Blocks library in your HTML code.
To include the Blocks library in your HTML, you will need to add the following script tag to your HTML:
<script src="https://unpkg.com/@uploadcare/blocks@0.14.3/web/blocks-browser.min.js" charset="utf-8"></script>This will include the Blocks library in your HTML, allowing you to use the Blocks library to build file uploaders and file handling workflows.
Well, mister smarty-pants, it looks like you’ve forgotten something:
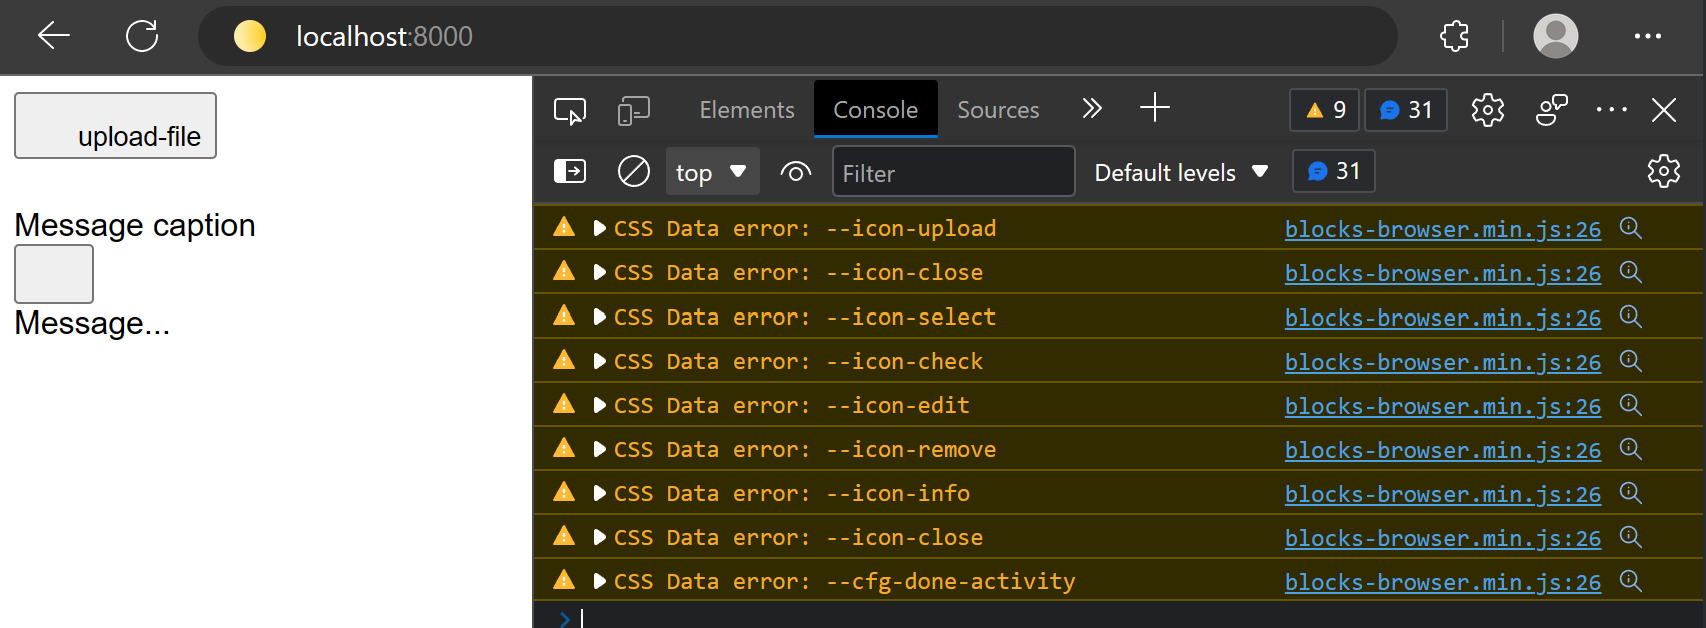
Thanks, now the script works, but it looks like styles are not loaded. Here’s what I see in the console: “CSS Data error: --icon-upload”. How to fix the styles?
To fix the CSS errors that you are seeing in the console, you will need to include the CSS styles for the Uploadcare Blocks library in your HTML.
You can do this by adding the following link element to the head of your HTML:
<link href="https://unpkg.com/@uploadcare/blocks@0.14.3/web/file-uploader-regular.min.css" rel="stylesheet">This will include the CSS styles for the Blocks library in your HTML, and should fix the CSS errors that you are seeing in the console.
Alternatively, you can use the css-src attribute on the lr-file-uploader-regular element to specify the URL of the CSS styles for the Blocks library. For example:
<lr-file-uploader-regular
  name="my_file"
  css-src="https://unpkg.com/@uploadcare/blocks@0.14.3/web/file-uploader-regular.min.css"
></lr-file-uploader-regular>
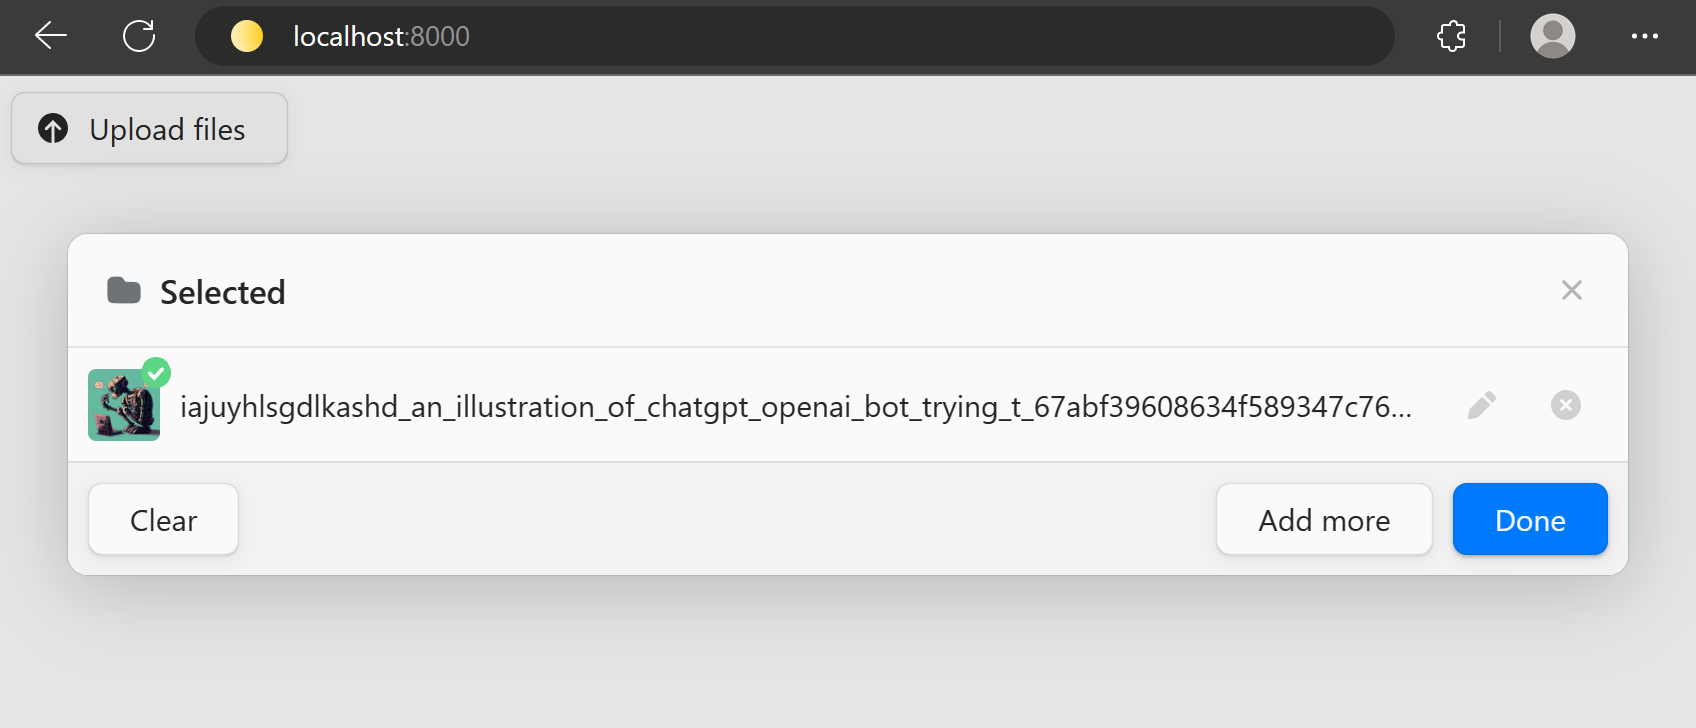
It works!

We’ve managed to upload a file using the code the bot suggests:
Alright. When I uploaded an image to Uploadcare, how do I inject it into the webpage? I also want to resize it to 256×256px
To display an image that you have uploaded to Uploadcare on your webpage, you will need to use an img element and set the src attribute to the URL of the image on Uploadcare’s servers.
For example:
<img src="https://ucarecdn.com/image_id/">Replace “image_id” with the actual ID of the image that you want to display. You can find the ID of the image in the response that the Blocks library returns when you upload the image.
To resize the image to a specific size, you can use the -/resize/ operation in the URL of the image.
For example, to resize the image to 256×256 pixels, you can use the following URL:
<img src="https://ucarecdn.com/image_id/-/resize/256x256/">This will display a 256×256 pixel version of the image. You can specify any size that you want by changing the values in the resize operation.
Easy-peasy:
Now, let’s sum up our experiment without italic.
Conclusion
To be honest, when we started the experiment we did not believe that ChatGPT could deal with it. Sure, it’s a cool toy, and it even knows how to generate code examples related to your problem. But we are surprised that the bot knows a lot about our new features, recent documentation, and so on.
It feels like you’re talking to an assistant who can google for you.
After the first rapture had passed, we asked ChatGPT more programming-related questions. We would say that it generates code that looks like it should work. If you do not know how to solve the problem, the code you get can mislead you because it is too convincing.
Besides, ChatGPT makes mistakes. In this article, we’ve encountered only one — the broken link. But the more questions you ask, the more connected the bot’s answers are. Sometimes they become too connected and start to affect each other. E.g. ChatGPT adapts replies to the language or programming paradigm you prefer. This “feature” sometimes leads to broken or unoptimized code.
Anyway, ChatGPT is still a handy tool to use. There are some use cases:
-
To collect a broad overview of some topics. E.g. you may ask about scientific concepts or discoveries. When the bot answers, you may ask about relations to other concepts, key people in the field, and so on. It’s like reading those Wikipedia snippets in Google, but you can get such a snippet for any of your questions. Try: "Tell me, please, what Alan Turing’s most popular paper was about?"
-
To handle interactive chats on your website or app (no way!). Or to help a human in a call center to find an answer in a bunch of documentation.
-
To generate blocks of boring text, like legal documents or official letters. Sure, a lawyer should review the output, but the result is not that bad already. Try: "I’m creating an Android game that does not collect any data. It is not even connected to the Internet. Do you mind generating the privacy policy for the game?"
-
To extract SEO keywords from the provided text. But we will see what Google thinks about it.
-
To simplify the description of a complex thing to the desired level. E.g. try to copy-paste a science term definition from Wikipedia and ask ChatGPT to simplify it for a second-grade student.
-
To solve puzzles together. It can solve crosswords with ease. If you try hard, you can even explain the bot Wordle rules and get help with today’s word!
Finally, if you have a tech company, it’s interesting to see whether the bot can use your service. The result of such a check may trigger you to improve the docs or to clarify the purpose of your product.
Give it a try, and, who knows, you may find ChatGPT a place in your toolset.
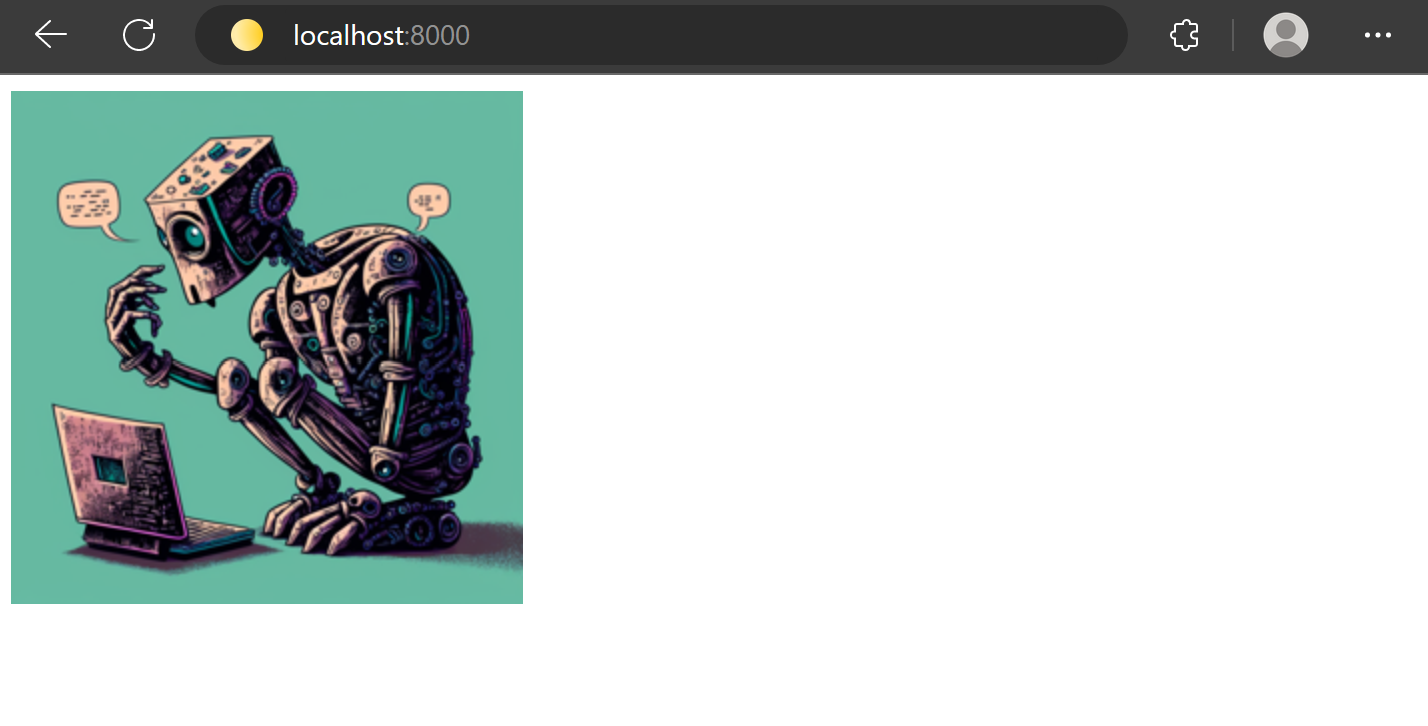
P.S. By the way, we generated an OpenGraph image and the image you see below via Midjourney, while ChatGPT helped us to write the text on that images. Gosh, what a time to be alive!