How to upload files in Node.js application
Express.js is one of the most popular backend frameworks for building web APIs with Node.js. If you’re building a content management system, an e-commerce platform, or an application that requires handling file uploads using Node.js, it is important that you do so securely and efficiently.
In this tutorial, you’ll learn how to upload files in a Node.js application and store them on the server using the popular multer middleware. We’ll also demonstrate a more scalable and robust approach by integrating the Uploadcare JavaScript SDK to upload files directly to Uploadcare’s CDN, allowing you to take advantage of features like fast file delivery, storage management, and image processing.
At the end of this article, you should have a solid understanding of how to set up a Node.js server to handle file uploads, validate files before and during upload, and leverage Uploadcare’s features to enhance your file uploading process in a Node.js application. Let’s dive in!
Prerequisites
Before you begin, you need:
- A free Uploadcare account
- Node.js installed on your computer
- A basic understanding of JavaScript and Express.js
Building a file upload solution with Node.js and Multer
Before we use Uploadcare, let’s build a custom file-uploading solution from scratch using Express.js and Multer middleware.
Multer is middleware for handling multipart/form-data forms, and it’s widely used for uploading files in Express.js applications.
It attaches the form’s values to the req.body object of the endpoint request and, for files, to the req.file object.
Using Multer, you can process the files sent via the HTML form to the Node.js application.
Step 1: Create a new directory and initialize a project
First things first, let’s create a new directory for the project and initialize a new Node.js project using the following commands:
mkdir node-uc
cd node-uc
Inside the node-uc directory, run the following command to initialize a new Node.js project:
npm init -yThis will create a package.json file in your project directory with the default settings.
Step 2: Install the required dependencies
Next, let’s install the required dependencies for the project using the following command:
npm install express multerThe express package will be used to create the Node.js server, and multer for handling multipart/form-data forms.
If you want live reloading of the project during development, install the nodemon package as a dev dependency:
npm install nodemon --save-devNext, update the scripts object in the package.json file for running the application:
{
  "scripts": {
    "start": "node index.js",
    "dev": "nodemon index.js"
  }
}
Also, let’s add a type field to the package.json file to specify that the project uses ES modules
so that you can use import and export syntax in your code:
{
  "type": "module"
}
Step 3: Create an entry point
Create an index.js file in the root of your project directory.
Inside of this file add the following code to set up an Express server that listens on port 3000
and uses the Multer middleware for file uploads:
import express from 'express';
import multer from 'multer';
import path from 'path';

const app = express();
const PORT = 3000;

// Set up storage engine for multer
const storage = multer.diskStorage({
  // Directory to save uploaded files
  destination: './uploads',
  filename: (req, file, cb) => {
    // Unique file name
    cb(null, `${Date.now()}-${file.originalname}`);
  },
});

// Initialize upload middleware
const upload = multer({
  storage,
  // 5 MB file size limit
  limits: { fileSize: 5 * 1024 * 1024 },
  fileFilter: (req, file, cb) => {
    // Accept only certain file types, e.g., images
    const fileTypes = /jpeg|jpg|png|gif/;
    const extName = path.extname(file.originalname).toLowerCase();

    const isExtNameValid = fileTypes.test(extName);
    const isMimeTypeValid = fileTypes.test(file.mimetype);

    if (isExtNameValid && isMimeTypeValid) {
      cb(null, true);
    } else {
      cb(new Error('Only images are allowed'));
    }
  },
});

// File upload endpoint
app.post('/upload', upload.single('file'), (req, res) => {
  if (req.file) {
    res.send(`File uploaded successfully: ${req.file.filename}`);
  } else {
    res.status(400).send('File upload failed');
  }
});

// Error handling for file upload
app.use((err, req, res, next) => {
  if (err instanceof multer.MulterError) {
    res.status(400).send(err.message);
  } else if (err) {
    res.status(400).send(err.message);
  } else {
    next();
  }
});

// Start the server
app.listen(PORT, () => {
  console.log(`Server is running on http://localhost:${PORT}`);
});
The code above does the following:
- Creates an Express server that listens on port
3000 - Sets up a storage engine for Multer to save uploaded files to an uploads directory with a unique filename (timestamp + original filename)
- Initializes the Multer middleware with file size limits and file type filtering in an
uploadvariable - Defines a file upload endpoint (
/upload) and then uses theuploadmiddleware to handle file uploads for a single file (upload.single('file')) - When the upload is successful, it sends a success message with the filename; otherwise, it sends an error message
With this in place, you’ve successfully set up a Node.js server that is ready to receive files from a browser and upload them to a server.
To use the server, run the following command to start the server:
npm run devThis will start the server on http://localhost:3000 and also create the uploads directory on the server.
Let’s move on to the next step: creating an HTML page that will allow users to upload files to the server.
HTML setup for uploading files
In the root of your project directory, create a public directory and inside of it an index.html file with the following content to create a simple form for uploading files:
<!DOCTYPE html>
<html lang="en">
<head>
  <meta charset="UTF-8">
  <meta name="viewport" content="width=device-width, initial-scale=1.0">
  <title>File Upload</title>
</head>
<body>
  <h1>File Upload from Node.js with Uploadcare</h1>
  <form action="/upload" method="post" enctype="multipart/form-data">
    <input type="file" name="file" required />
    <button type="submit">Upload</button>
  </form>
</body>
</html>
Next, update the index.js file so that the server can serve the index.html file whenever someone visits the root URL:
// Serve static files for the HTML page
app.use(express.static('public'));
With this in place, the server will serve the index.html file when you visit http://localhost:3000 in your browser:
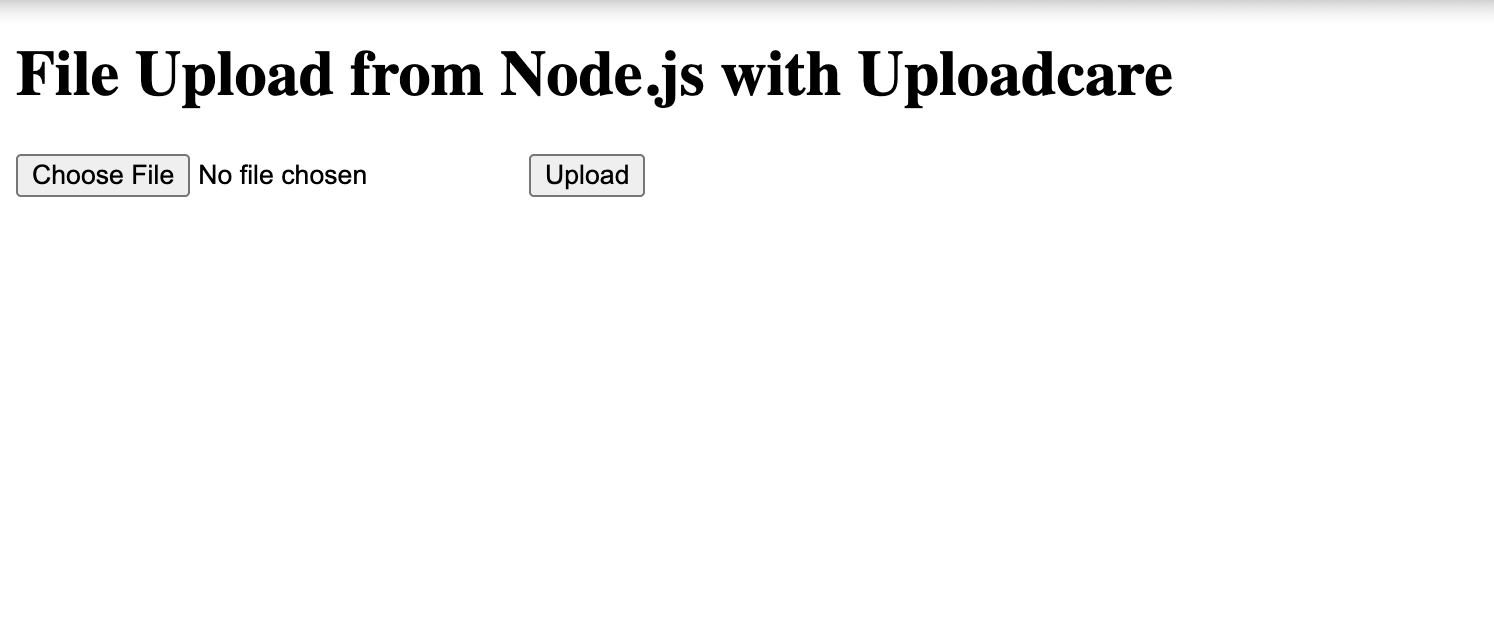 File upload form
Congratulations! You’ve successfully set up a Node.js server that can handle file uploads and serve an HTML page for uploading files.
Let’s look at a better way to handle file uploads using the Uploadcare SDK.
Uploading files using Uploadcare
Uploadcare provides a JavaScript SDK that makes it easy to upload files to its CDN and handle file uploads in your Node.js applications. If you need a fast, reliable, and robust solution for your image uploads, you can use a solution like Uploadcare. It’ll give you more reliability, fast uploads, and much more robust features for implementing file uploading.
Why should you use Uploadcare?
- Uploadcare provides a secure CDN for fast file delivery, ensuring your files are readily available to your users when needed
- Designed with scalability in mind, it can handle projects of any size, from startups to enterprise-level applications
- Uploadcare also includes additional features like image processing, on-the-fly transformations, and adaptive delivery to optimize images for any device or platform
- With built-in integrations and developer-friendly APIs, Uploadcare simplifies file uploads, management, and delivery across your app
- Prioritizing security, Uploadcare ensures your data is protected with advanced encryption and compliance with industry standards like GDPR
In addition to the SDKs and APIs it provides, Uploadcare offers a framework-agnostic File Uploader widget that you can easily integrate into your application to allow users to upload files directly to your Uploadcare project.
Let’s integrate the Uploadcare JavaScript SDK to handle the file-uploading process in the Node.js application.
First, let’s install the Uploadcare Upload SDK:
npm install @uploadcare/upload-clientNext, rather than using the Multer middleware to upload files to your own server, let’s use the Uploadcare SDK to handle file uploads, uploading the file directly to your Uploadcare projects.
Inside the index.js file, import the Uploadcare Upload SDK and initialize it with your public API key:
import { UploadClient } from '@uploadcare/upload-client'

const client = new UploadClient({ publicKey: 'YOUR_PUBLIC_KEY' })
Replace YOUR_PUBLIC_KEY with your Uploadcare public API key.
You can find your public API key in your Uploadcare dashboard.
Now, let’s update the Multer middleware to only store the files from the HTML for in memory storage and not in the uploads directory since we will be uploading the files directly to Uploadcare:
 // Store uploaded files in memory instead of disk
const upload = multer();
Next, update the /upload endpoint to use the Uploadcare SDK to upload files to your Uploadcare project:
// File upload endpoint
app.post('/upload', upload.single('file'), async (req, res) => {
  try {
    if (!['image/jpeg', 'image/png'].includes(req.file.mimetype)) {
      return res
        .status(400)
        .send('Invalid file type. Only JPEG and PNG files are allowed.');
    }

    const response = await client.uploadFile(req.file.buffer, {
      fileName: req.file.originalname,
      contentType: req.file.mimetype,
    });

    // Send response back to the client
    res
      .status(200)
      .send(`File uploaded to Uploadcare successfully: ${response.uuid}`);
  } catch (error) {
    console.error('Error uploading file:', error);
    res.status(400).send('File upload failed');
  }
});
Where:
req.file.bufferis the file buffer from the HTML formreq.file.originalnameis the original filename of the filereq.file.mimetypeis the MIME type of the fileclientis the Uploadcare client instance initialized with your public API keyclient.uploadFileis the method to upload the file to Uploadcare
When the file is successfully uploaded to Uploadcare, the response will contain the UUID of the uploaded file. You can use this UUID to retrieve the file from Uploadcare later.
Uploading a file via the HTML form will now upload the file directly to your Uploadcare project
and will redirect you to the /upload page with a success message:
 File upload success
And that’s it! You’ve successfully integrated Uploadcare to upload files directly to your Uploadcare project in your Node.js application.
Conclusion
In this tutorial, you learned how to upload files in a Node.js application using the Multer middleware and the Uploadcare JavaScript SDK. You set up a Node.js server that can handle file uploads and serve an HTML page for uploading files. You also integrated the Uploadcare SDK to upload files directly to your Uploadcare project.
Uploadcare also provides additional features you should check out, such as image processing, document conversion, image CDN, and video CDN that you can explore to enhance your file-uploading experience.