How to upload files to Wix with Uploadcare
Last edited:
Wix is a powerful and easy-to-use tool to build websites for any purpose, from eCommerce to private blogging. You probably already know that since you’re here. What you may be unaware of, however, is that with Uploadcare jQuery File Uploader, your users will be able to upload images and other media via uploading forms — in just a few clicks.
Wix does have file uploading functionality, but Uploadcare jQuery File Uploader will increase it by literally tenfold. It will allow you to upload multiple files and automatically optimize them to get the fastest page load times possible, dynamically adapt them to fit users’ devices, and make it possible to significantly economize on your storage space. You will also be able to edit images directly in the browser. Uploadcare jQuery File Uploader is very intuitive and easy to install and use.
This article will guide you through the process of integrating Uploadcare jQuery File Uploader with Wix. In just 5 minutes, and with just a few lines of HTML code, you can embed a file uploader interface into your Wix website.
Okay, now we’re ready to begin, so let’s get our hands dirty (just a little).
Step 1. Create an account with Uploadcare
Since you’re here, chances are you already have a Wix account — but if not, it takes about 1 minute to sign up and begin building your new website. You will also need an account with Uploadcare: simply create one by signing up on the website. Once you’re done, navigate to your dashboard: here, you can create a new project or have a look at the Public and Secret API Keys for an existing one.
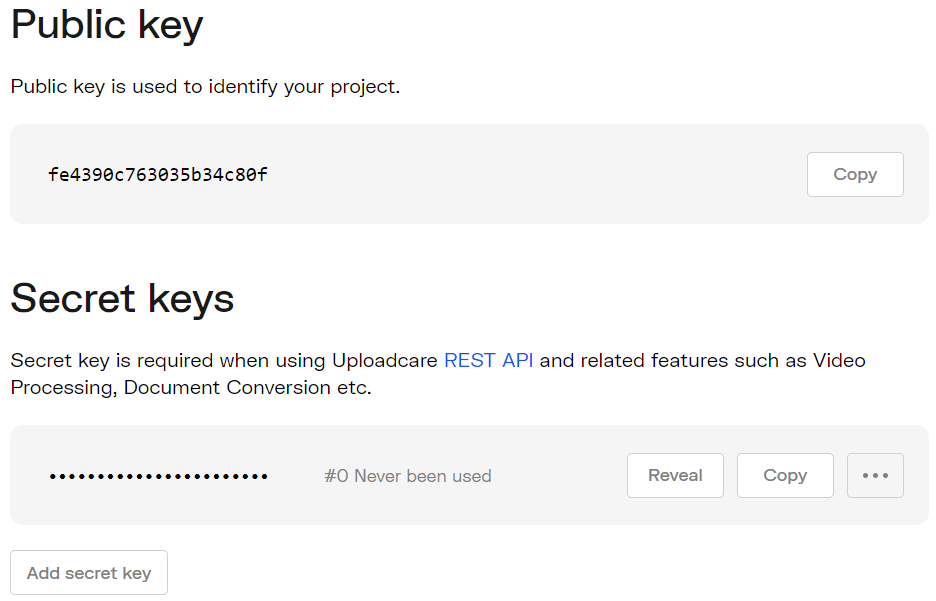 Uploadcare API keys screen
Step 2. Create an HTML block
Now that you have an Uploadcare account, you’re ready to go. Go to your Wix account and create a new site by hitting the +Create New Site button:
 My Sites screen in Wix
Wix will then ask you what kind of website you want to create — e.g., business, online store, music, portfolio and CV, blog, etc. — and then offer you a choice between creating a website with Wix Editor, or using Artificial Design Intelligence (ADI). ADI is an AI-based algorithm that will create a website for you on the basis of your answers to a few questions about what kind of site you want to build. Once it’s done, you’ll have basically the same editing options as with Wix Editor, so for this article, we will stick to the latter.
 Wix website editor or ADI selection
After hitting Choose a Template, you’ll see a long list of different website templates. For example, let’s pick one of the Conferences & Meetups templates. Choose a template and hit the Edit button. Wix will then show you a very short (less than 2 minutes) video tutorial.
 Website template selection in Wix
Here’s what the Wix Editor looks like. In the center of the screen, you see your website’s main page. There’s a toolbar on the right side, which you can use to modify and rearrange the visual elements of the page, as well as the text. The toolbar on the left side allows you to manage the menus and pages of your website, change the background, and add new elements, apps, and media, as well as a blog and a store. There are also preview options for mobile and desktop. Go ahead and spend a couple of minutes exploring the different editing options.
 Wix Website Editor default screen
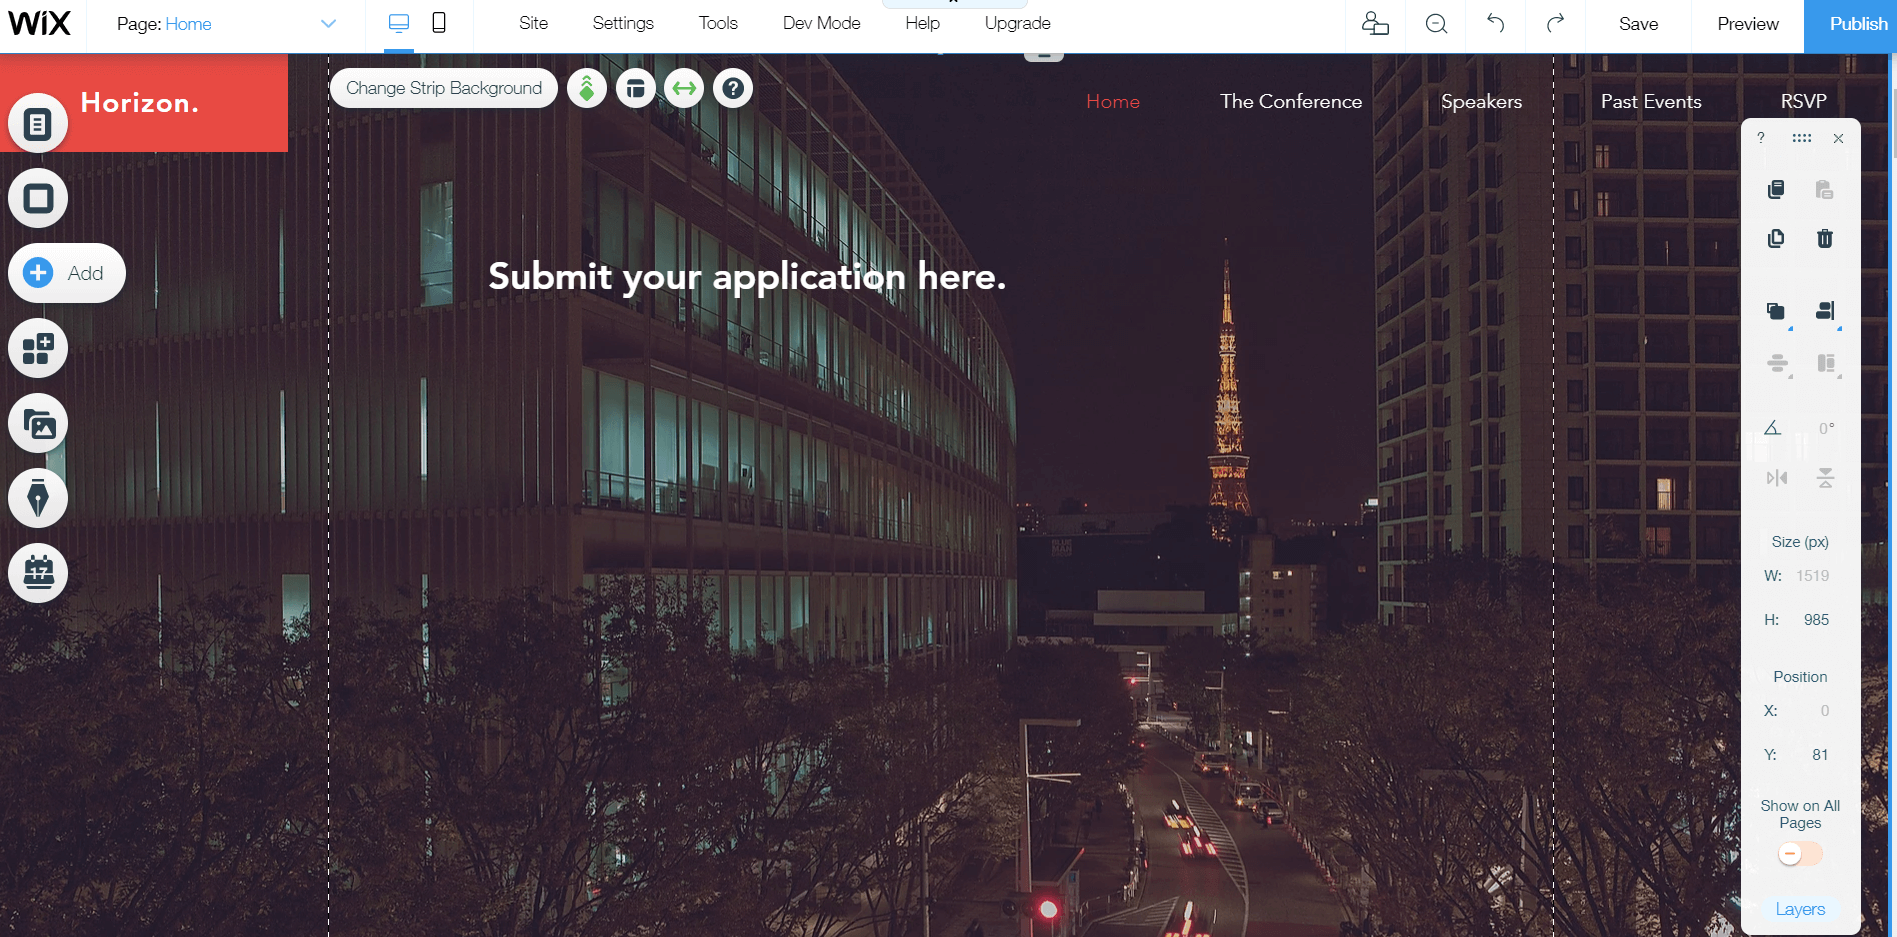
We will be primarily interested in the left toolbar. To integrate Uploadcare, hit the Add button with the plus sign on the left. This will open up a long blue bar with a list of options; here, you need to choose the Embed option. You will then see the list of custom embeds: choose HTML iframe and embed it by dragging and dropping it on your webpage.
 Adding new elements in Wix Website Editor that will help Wix file upload
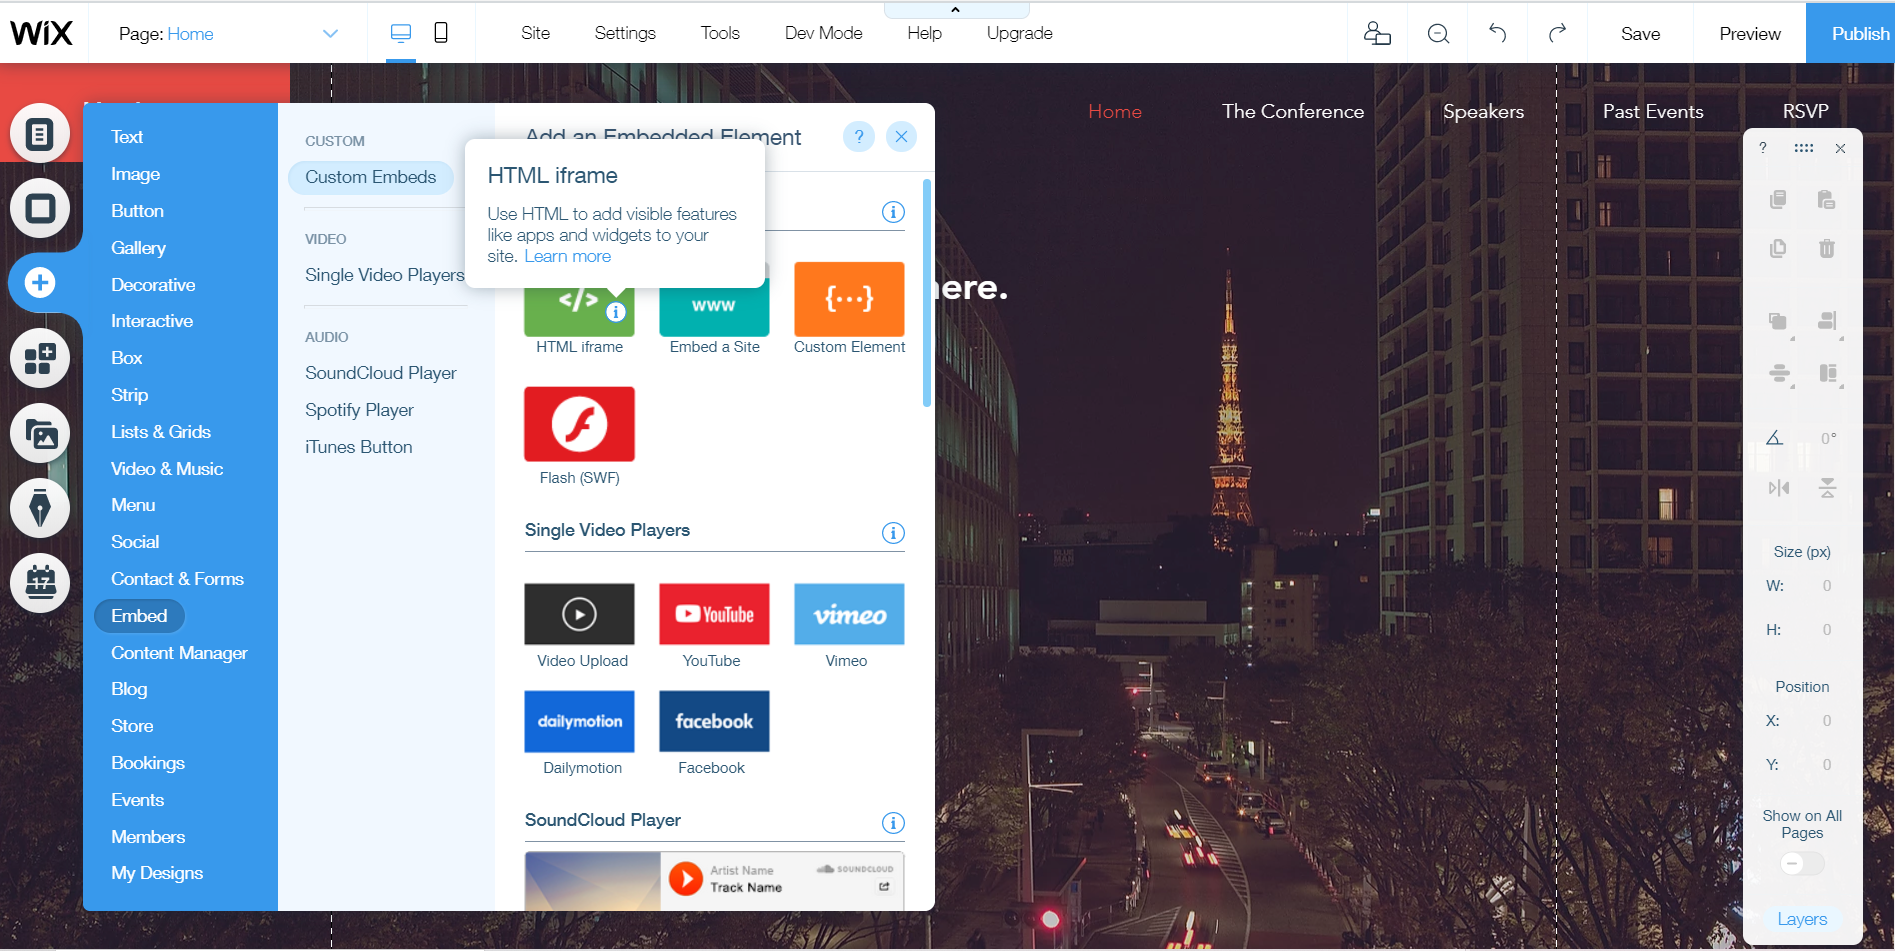
Let’s put the HTML iframe below the text “Submit your application here” to allow users to upload their files. Simply drag the frame and drop it in a good spot. Make sure the block width is at least 760px to ensure that jQuery File Uploader will display correctly.
 Adding HTML iframe in Wix Website Editor
Step 3. Add the Uploadcare jQuery File Uploader
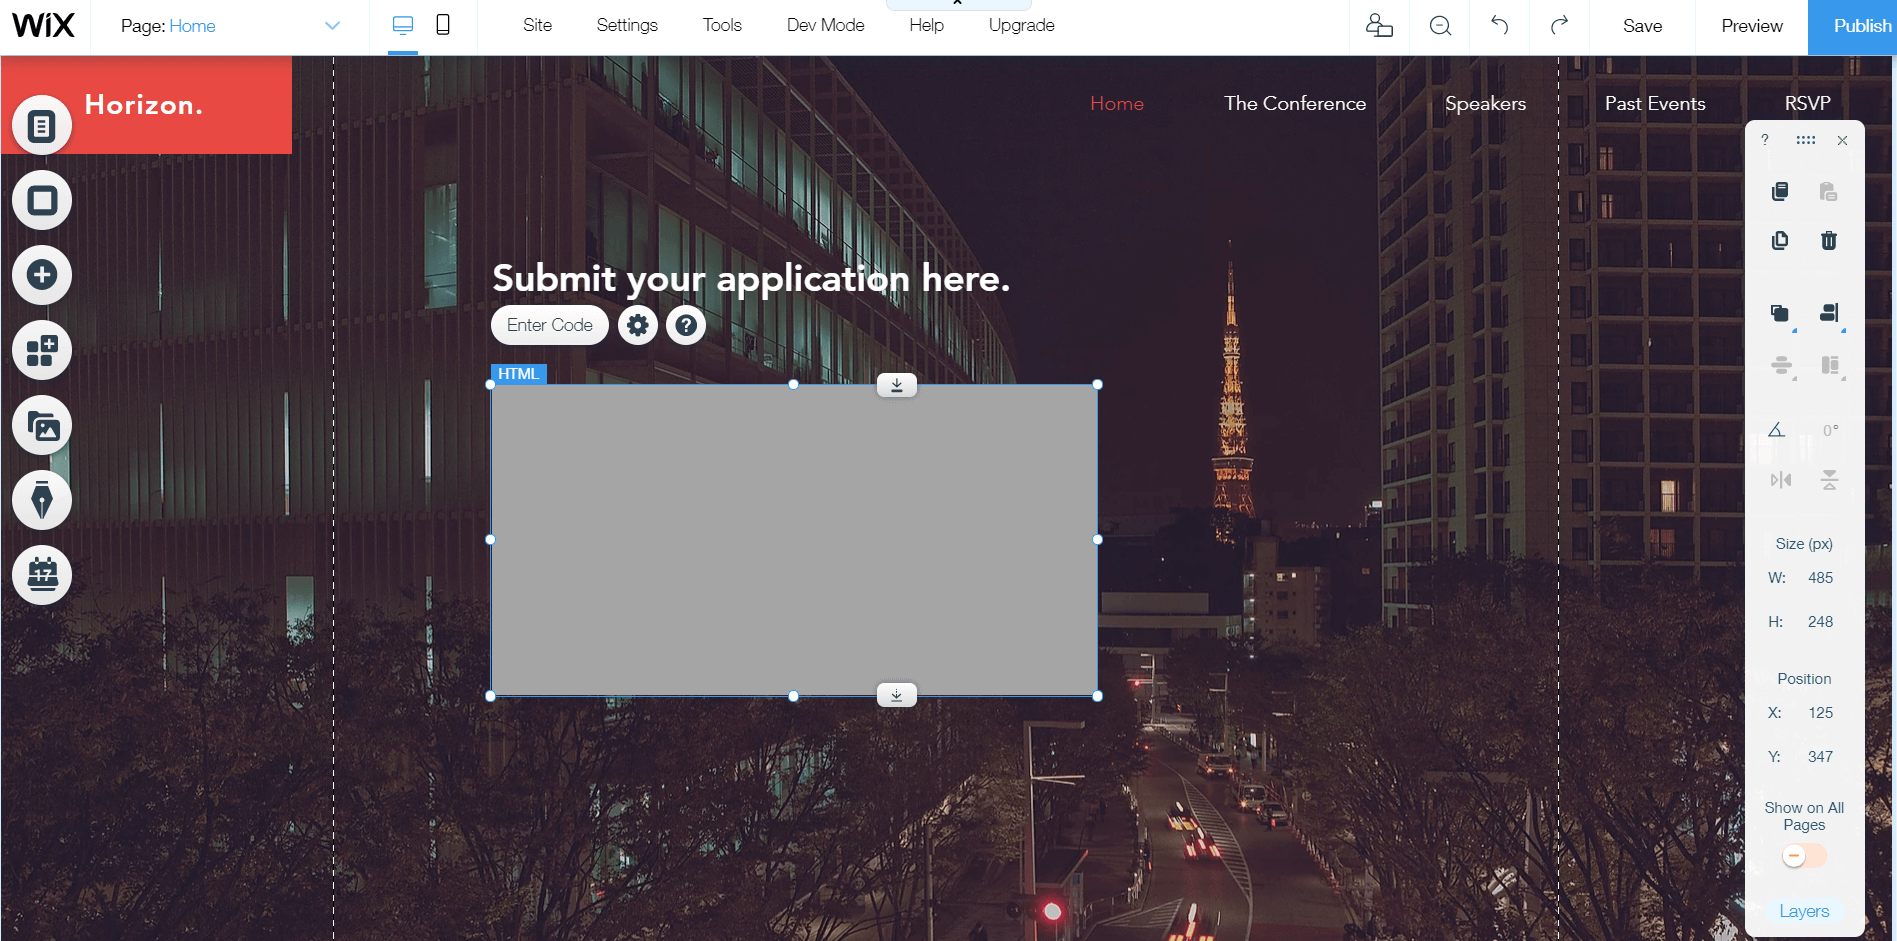
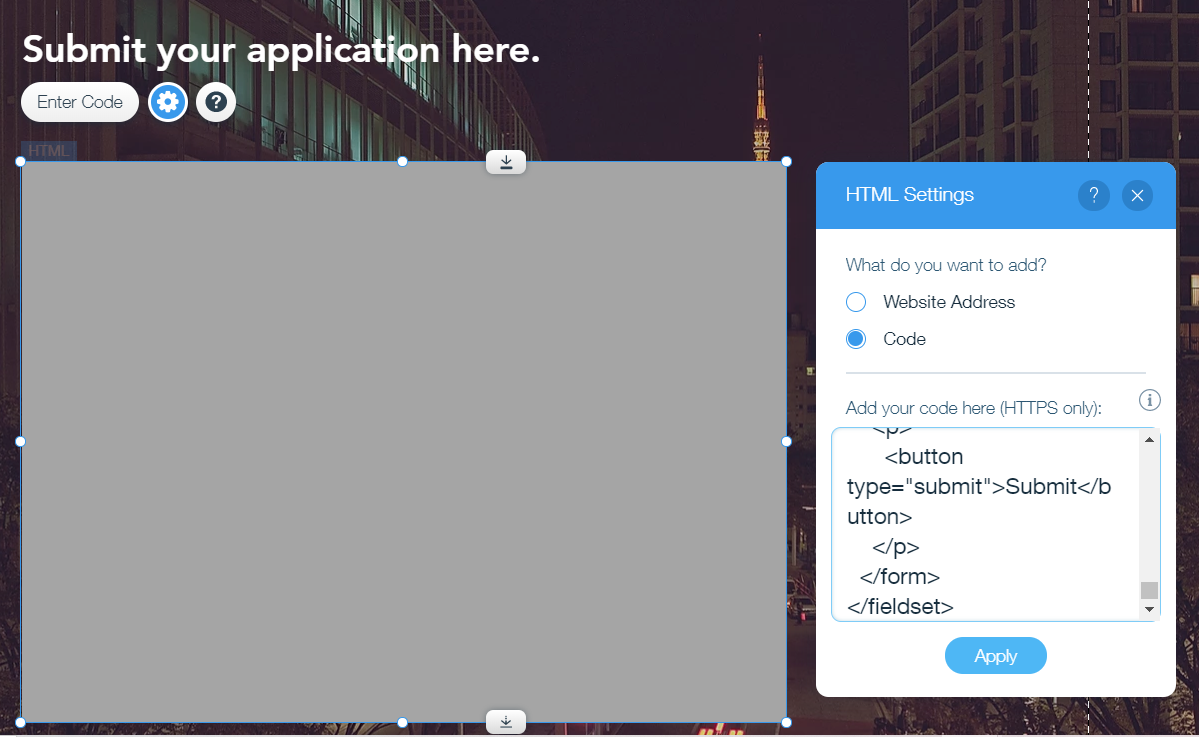
Select the block you’ve just placed and click the Enter Code button. A settings box will appear, providing you with two options: you can either add a website address or HTML code. Note that the box will only accept HTTPS. To add Uploadcare jQuery File Uploader, put in the following code snippet:
<script>
  UPLOADCARE_PUBLIC_KEY = 'YOUR_PUBLIC_KEY'
</script>
<script
  src="https://ucarecdn.com/libs/widget/3.x/uploadcare.full.min.js"
  data-integration="Wix"
></script>

<fieldset>
  <legend>Submit Your Question</legend>
  <form>
    <p>
      <label for="email">E-mail</label>
      <input type="email" id="email" name="email" />
    </p>
    <p>
      <label for="question">Your question</label>
      <textarea id="question" name="question"></textarea>
    </p>
    <p>
      <label for="images">Your files</label>
      <input
        type="hidden"
        id="files"
        name="files"
        role="uploadcare-uploader"
        data-clearable
        data-images-only
        data-crop="free,2:3,4:3,16:9"
      />
    </p>
    <p>
      <button type="submit">Submit</button>
    </p>
  </form>
</fieldset>
Don’t forget to replace YOUR_PUBLIC_KEY with your Public API Key which you got after signing up for Uploadcare. You can also change the labels by changing <label>, <legend>, <textarea id>, <button type> and other attributes. The data-images-only option is in the file uploader config to provide a fail-safe experience when working with accounts on the Free plan with no billing info added: those only allow image uploads. Learn more on how to use HTML code in Wix Editor by checking out the documentation.
Put the code into the text field of the HTML Settings window:
 Entering HTML code to integrate Uploadcare jQuery File Uploader to Wix and allow users to upload files
Now, if you hit Apply, you’ll see the uploader embedded into your webpage. You can change the background color, fonts, and their sizes, and apply other formatting tools to the jQuery File Uploader. Most importantly, the visitors of your Wix site will now be able to upload files, and you only needed a few lines of HTML code.
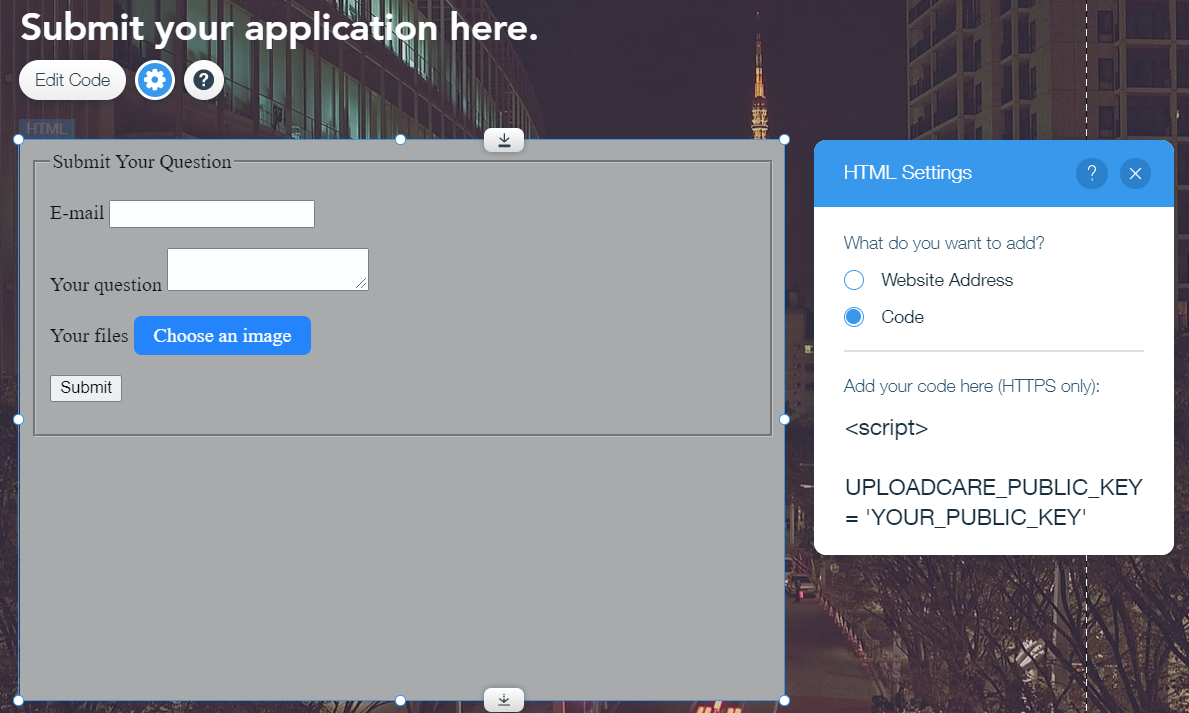 Uploadcare File Uploader in Wix preview
You can rearrange the order of blocks in the Wix editor by moving them a layer up or down. Ensure your form is in the topmost layer (Ctrl + Shift + → will do that), so no other elements are blocking the view when the dialog is activated.
Note that Wix puts external HTML in an <iframe> element, which is not guaranteed to be responsive across devices. Test the form to make sure it displays properly on your users’ most popular devices. Wix also provides extensive documentation on how to use iframes to display visual content on your website.
Conclusion
And, voila! Now you have a Wix website with Uploadcare jQuery File Uploader embedded into it. Your website users can easily upload files to Wix, and the files will be automatically optimized to provide the best page load speed, fit any screen, and take up as little space as possible.
If you have any questions, feel free to post them in our community area or in the comments below.